1. Intro
I got myself another SNES with some games. I was interested in the SNES, as I had this project in mind: A Super Mario World 2: Yoshi’s Island Mod, complete with custom self-made decals.
The hardest part, was to disassemble the SNES, as my bit was quite short and I had to ask a friend to disassemble the last screws 😉 The decals were also new to me, I only knew those from the Revell toys.
2. Materials needed
- SNES in good overall shape, no broken parts, ~50eur
- Nintendo-Bit to unscrew the SNES, ~3-5eur
- other screwdrivers
- spray paint, 6-10eur per can
- finisher, 6-10eur
- paper covers
- decal paper, transparent, 5sheets, 8.8eur
- Sanding paper (~600grain) (optional)
3. Preparation
First, you have to unscrew the SNES. This is pretty easy, all the parts only fit in one place, just one spring can be inverted, but you’ll notice if it’s wrong. You probably need a “Nintendo”-bit to unscrew the 4 outer screws.
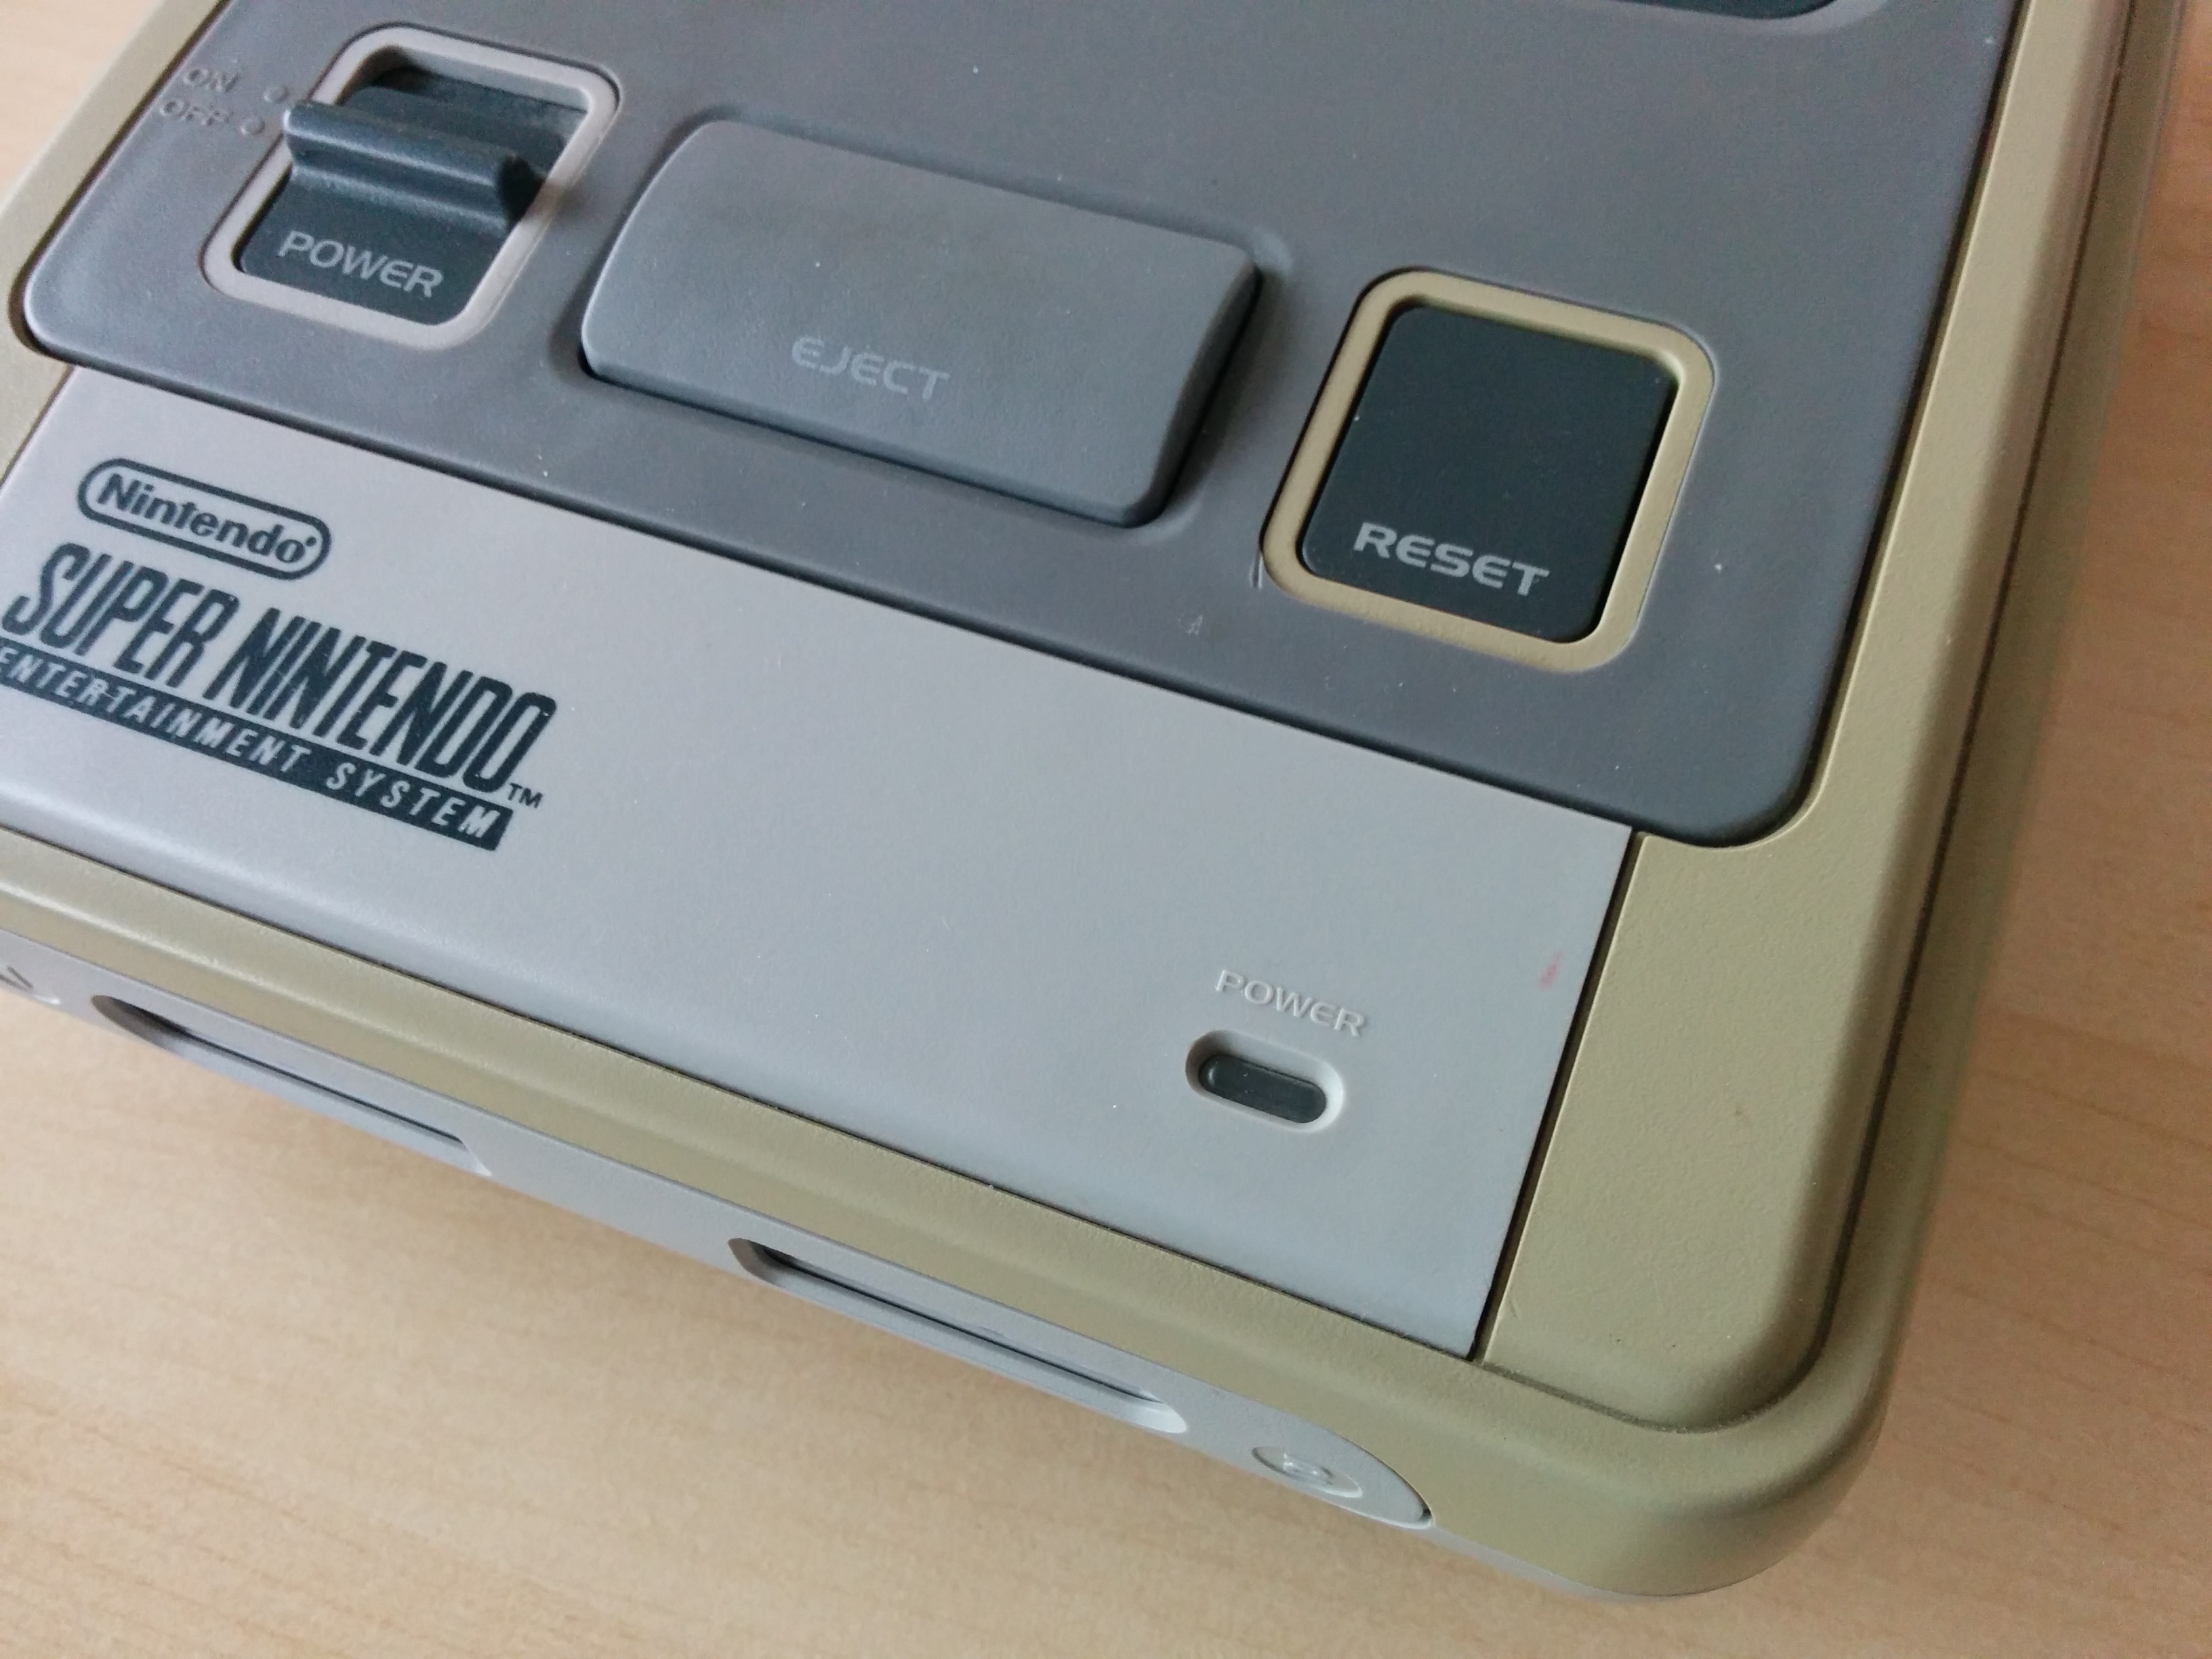
Yellowish SNES – to be modded
Funny fact: the SNES is a dutch version
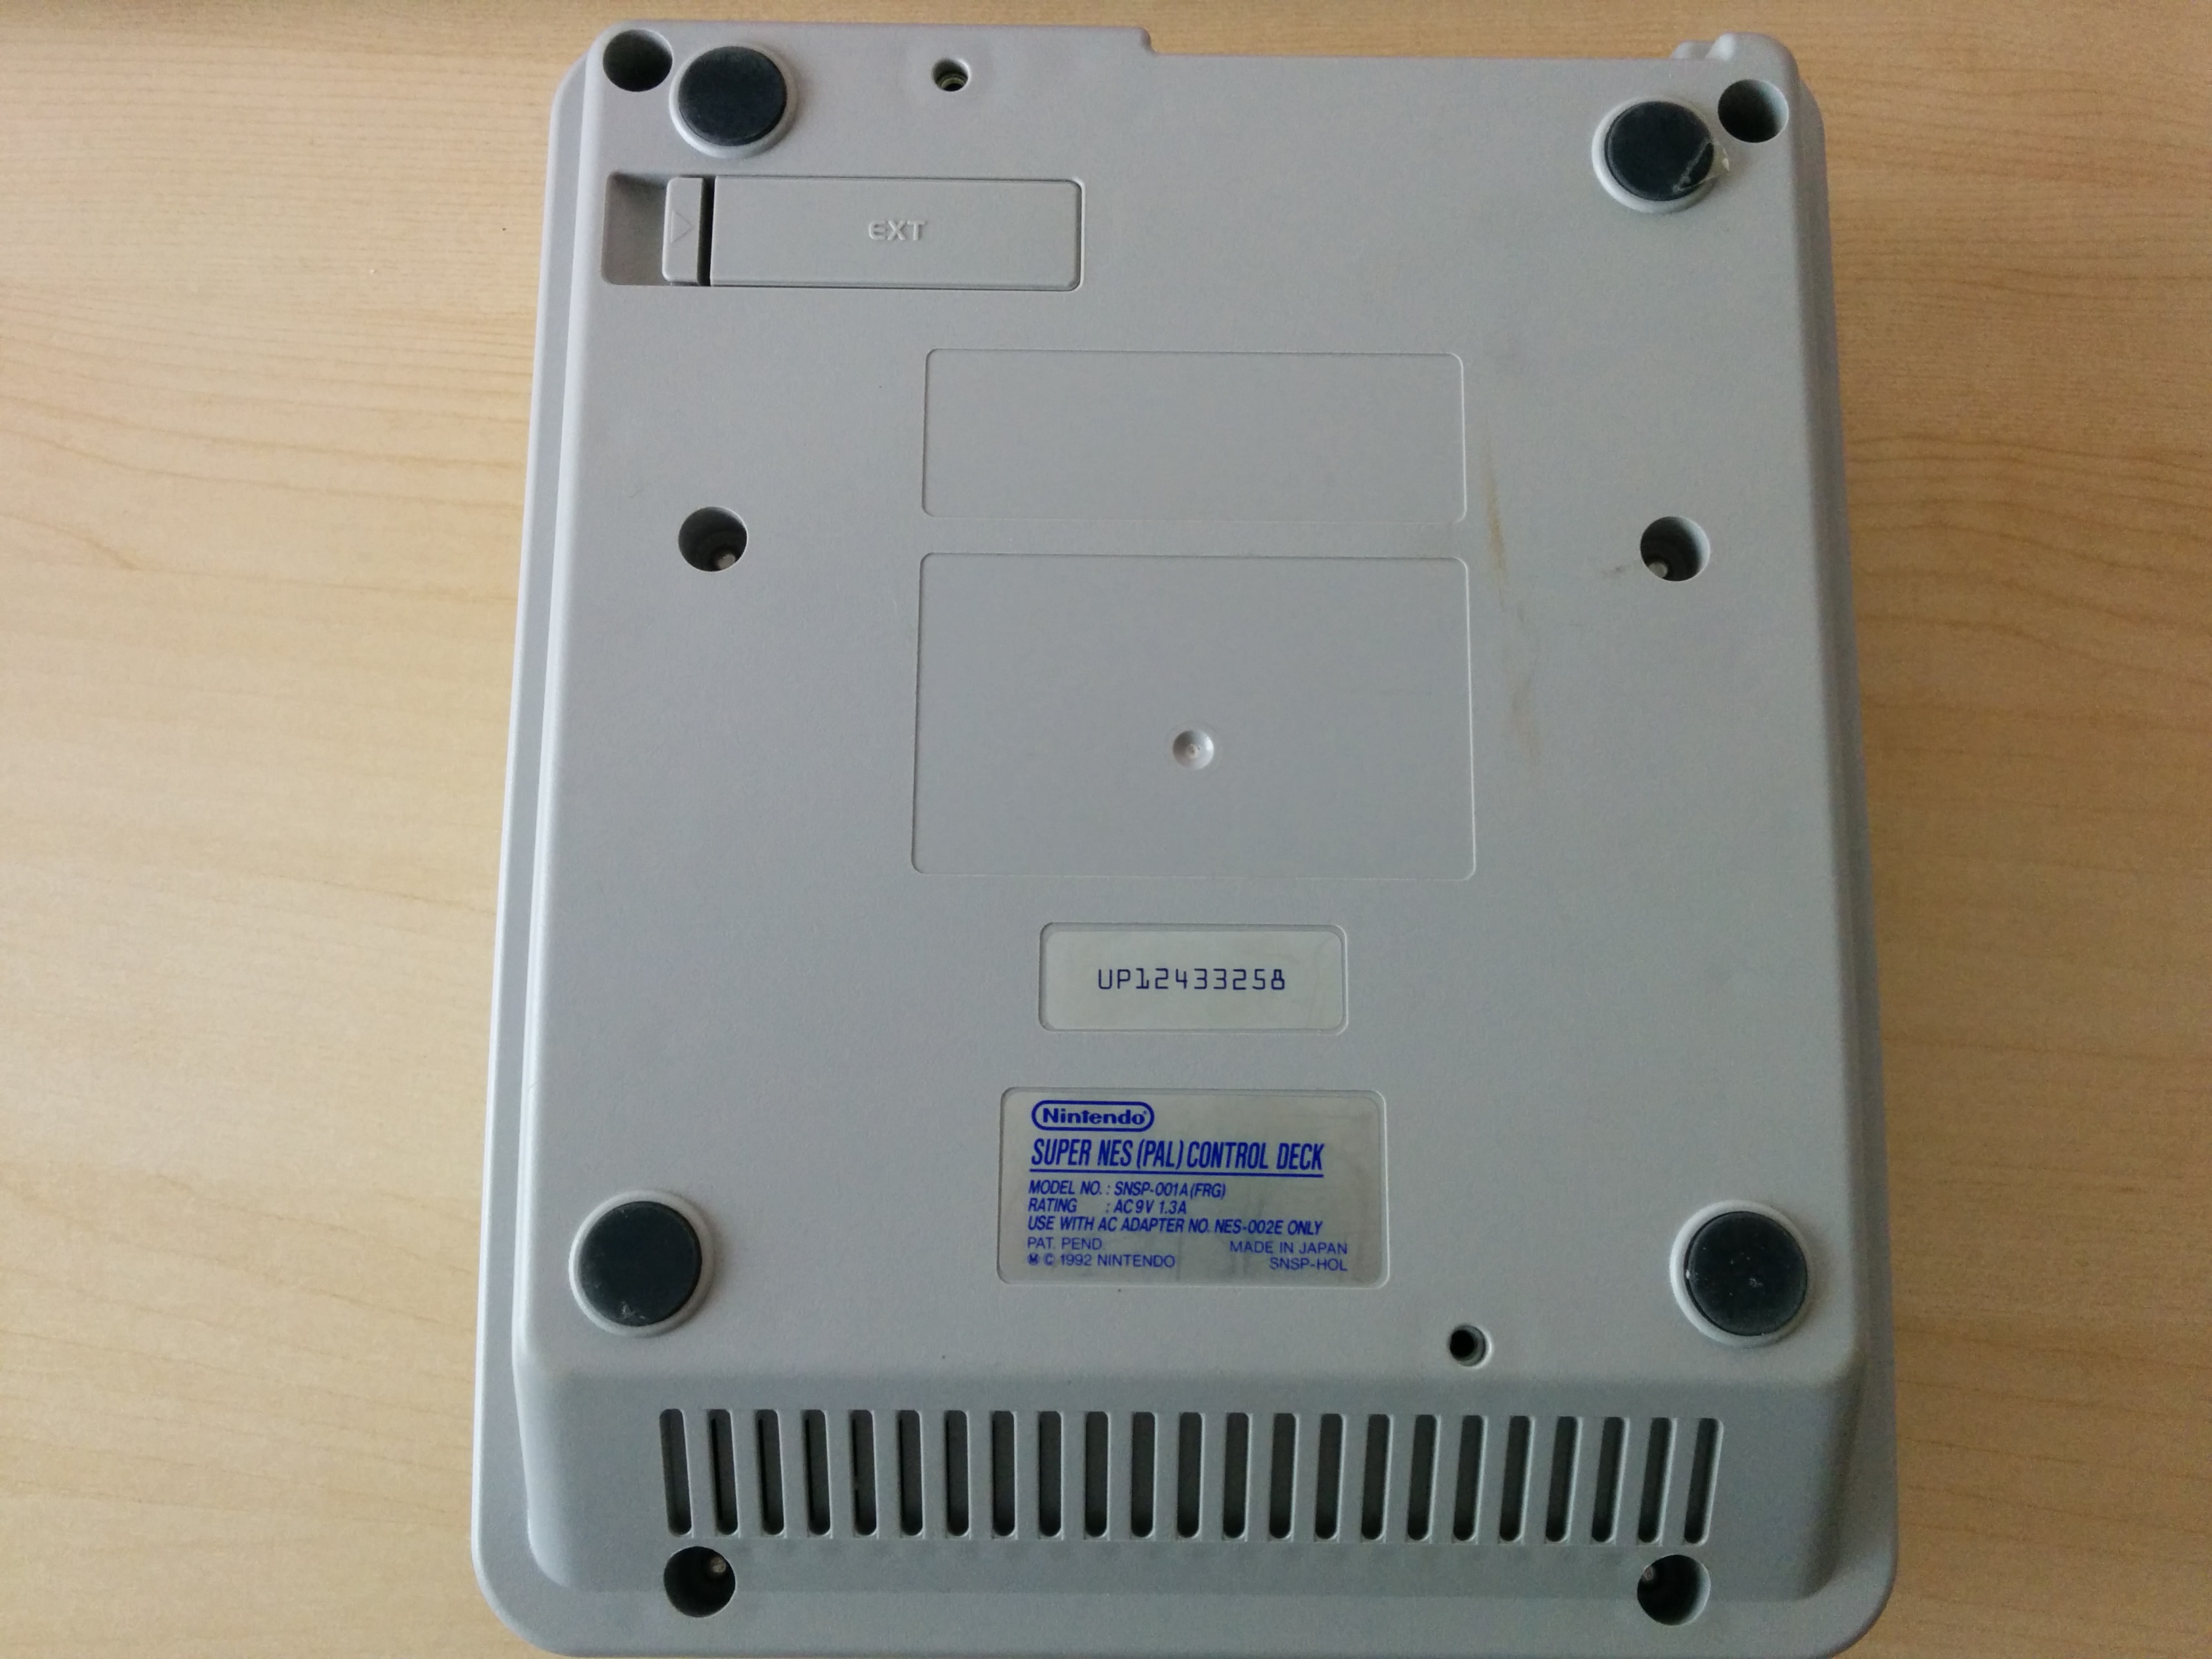
Bottom – 6 screws, all visible
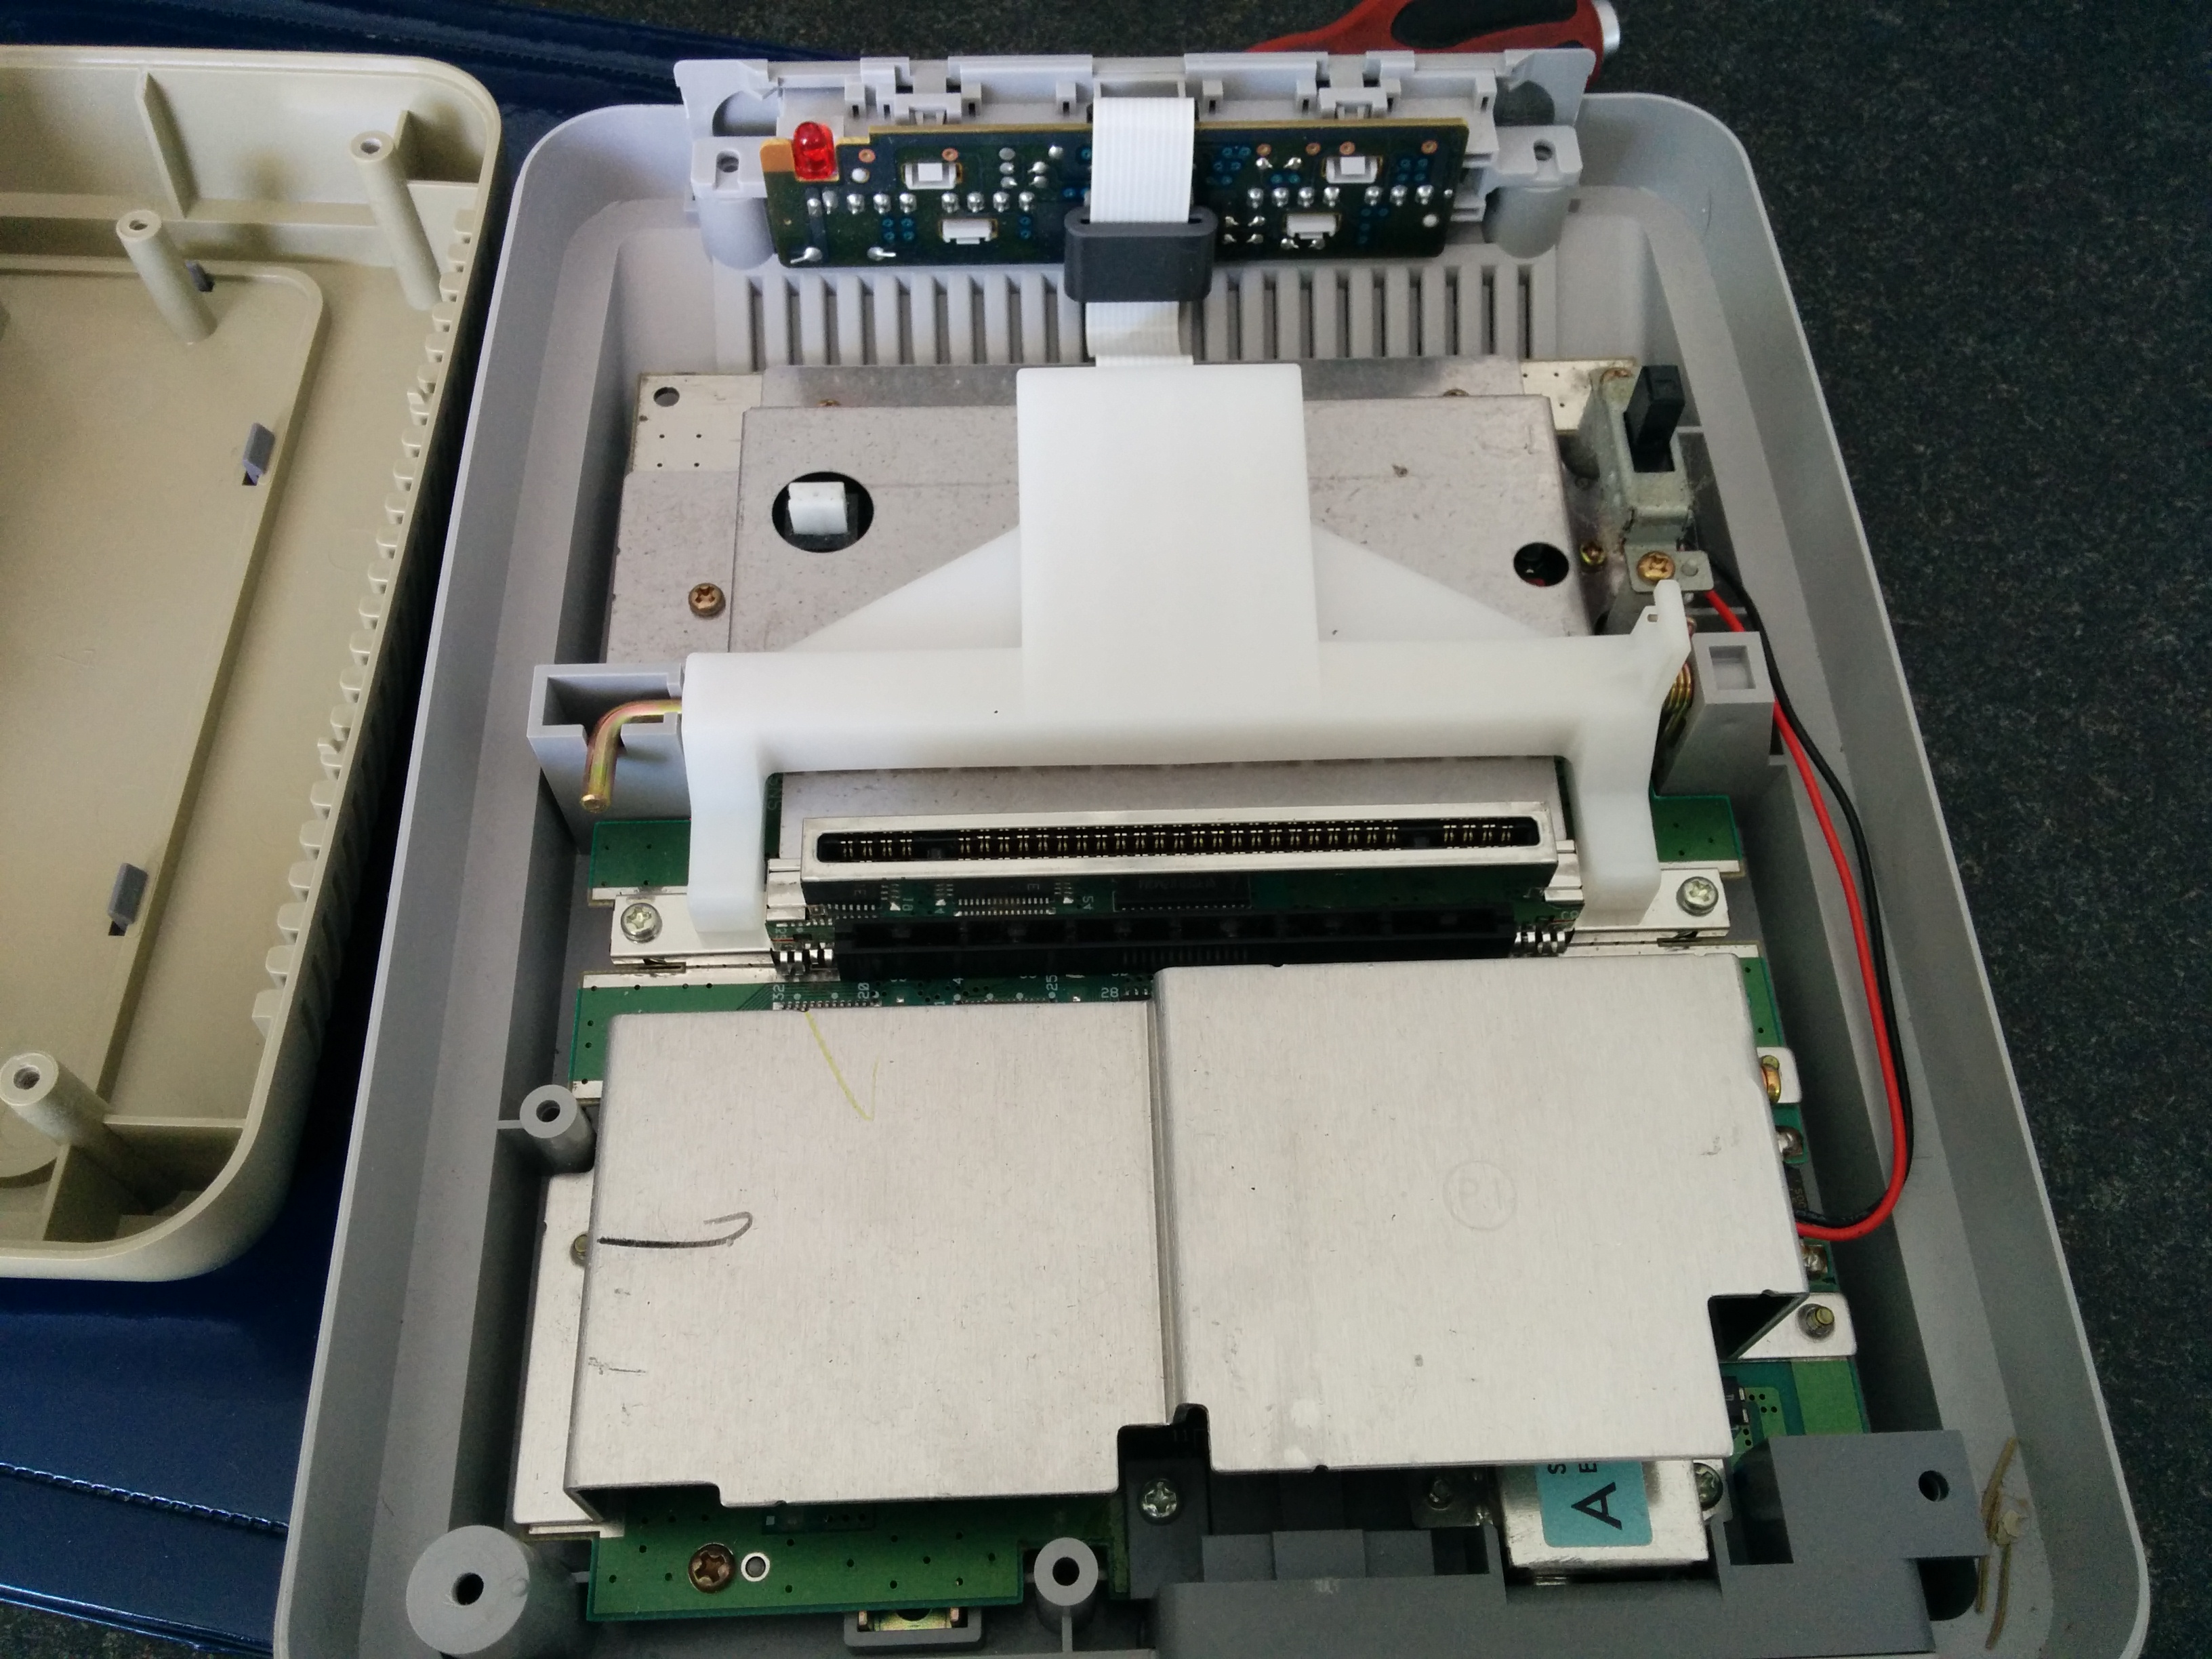
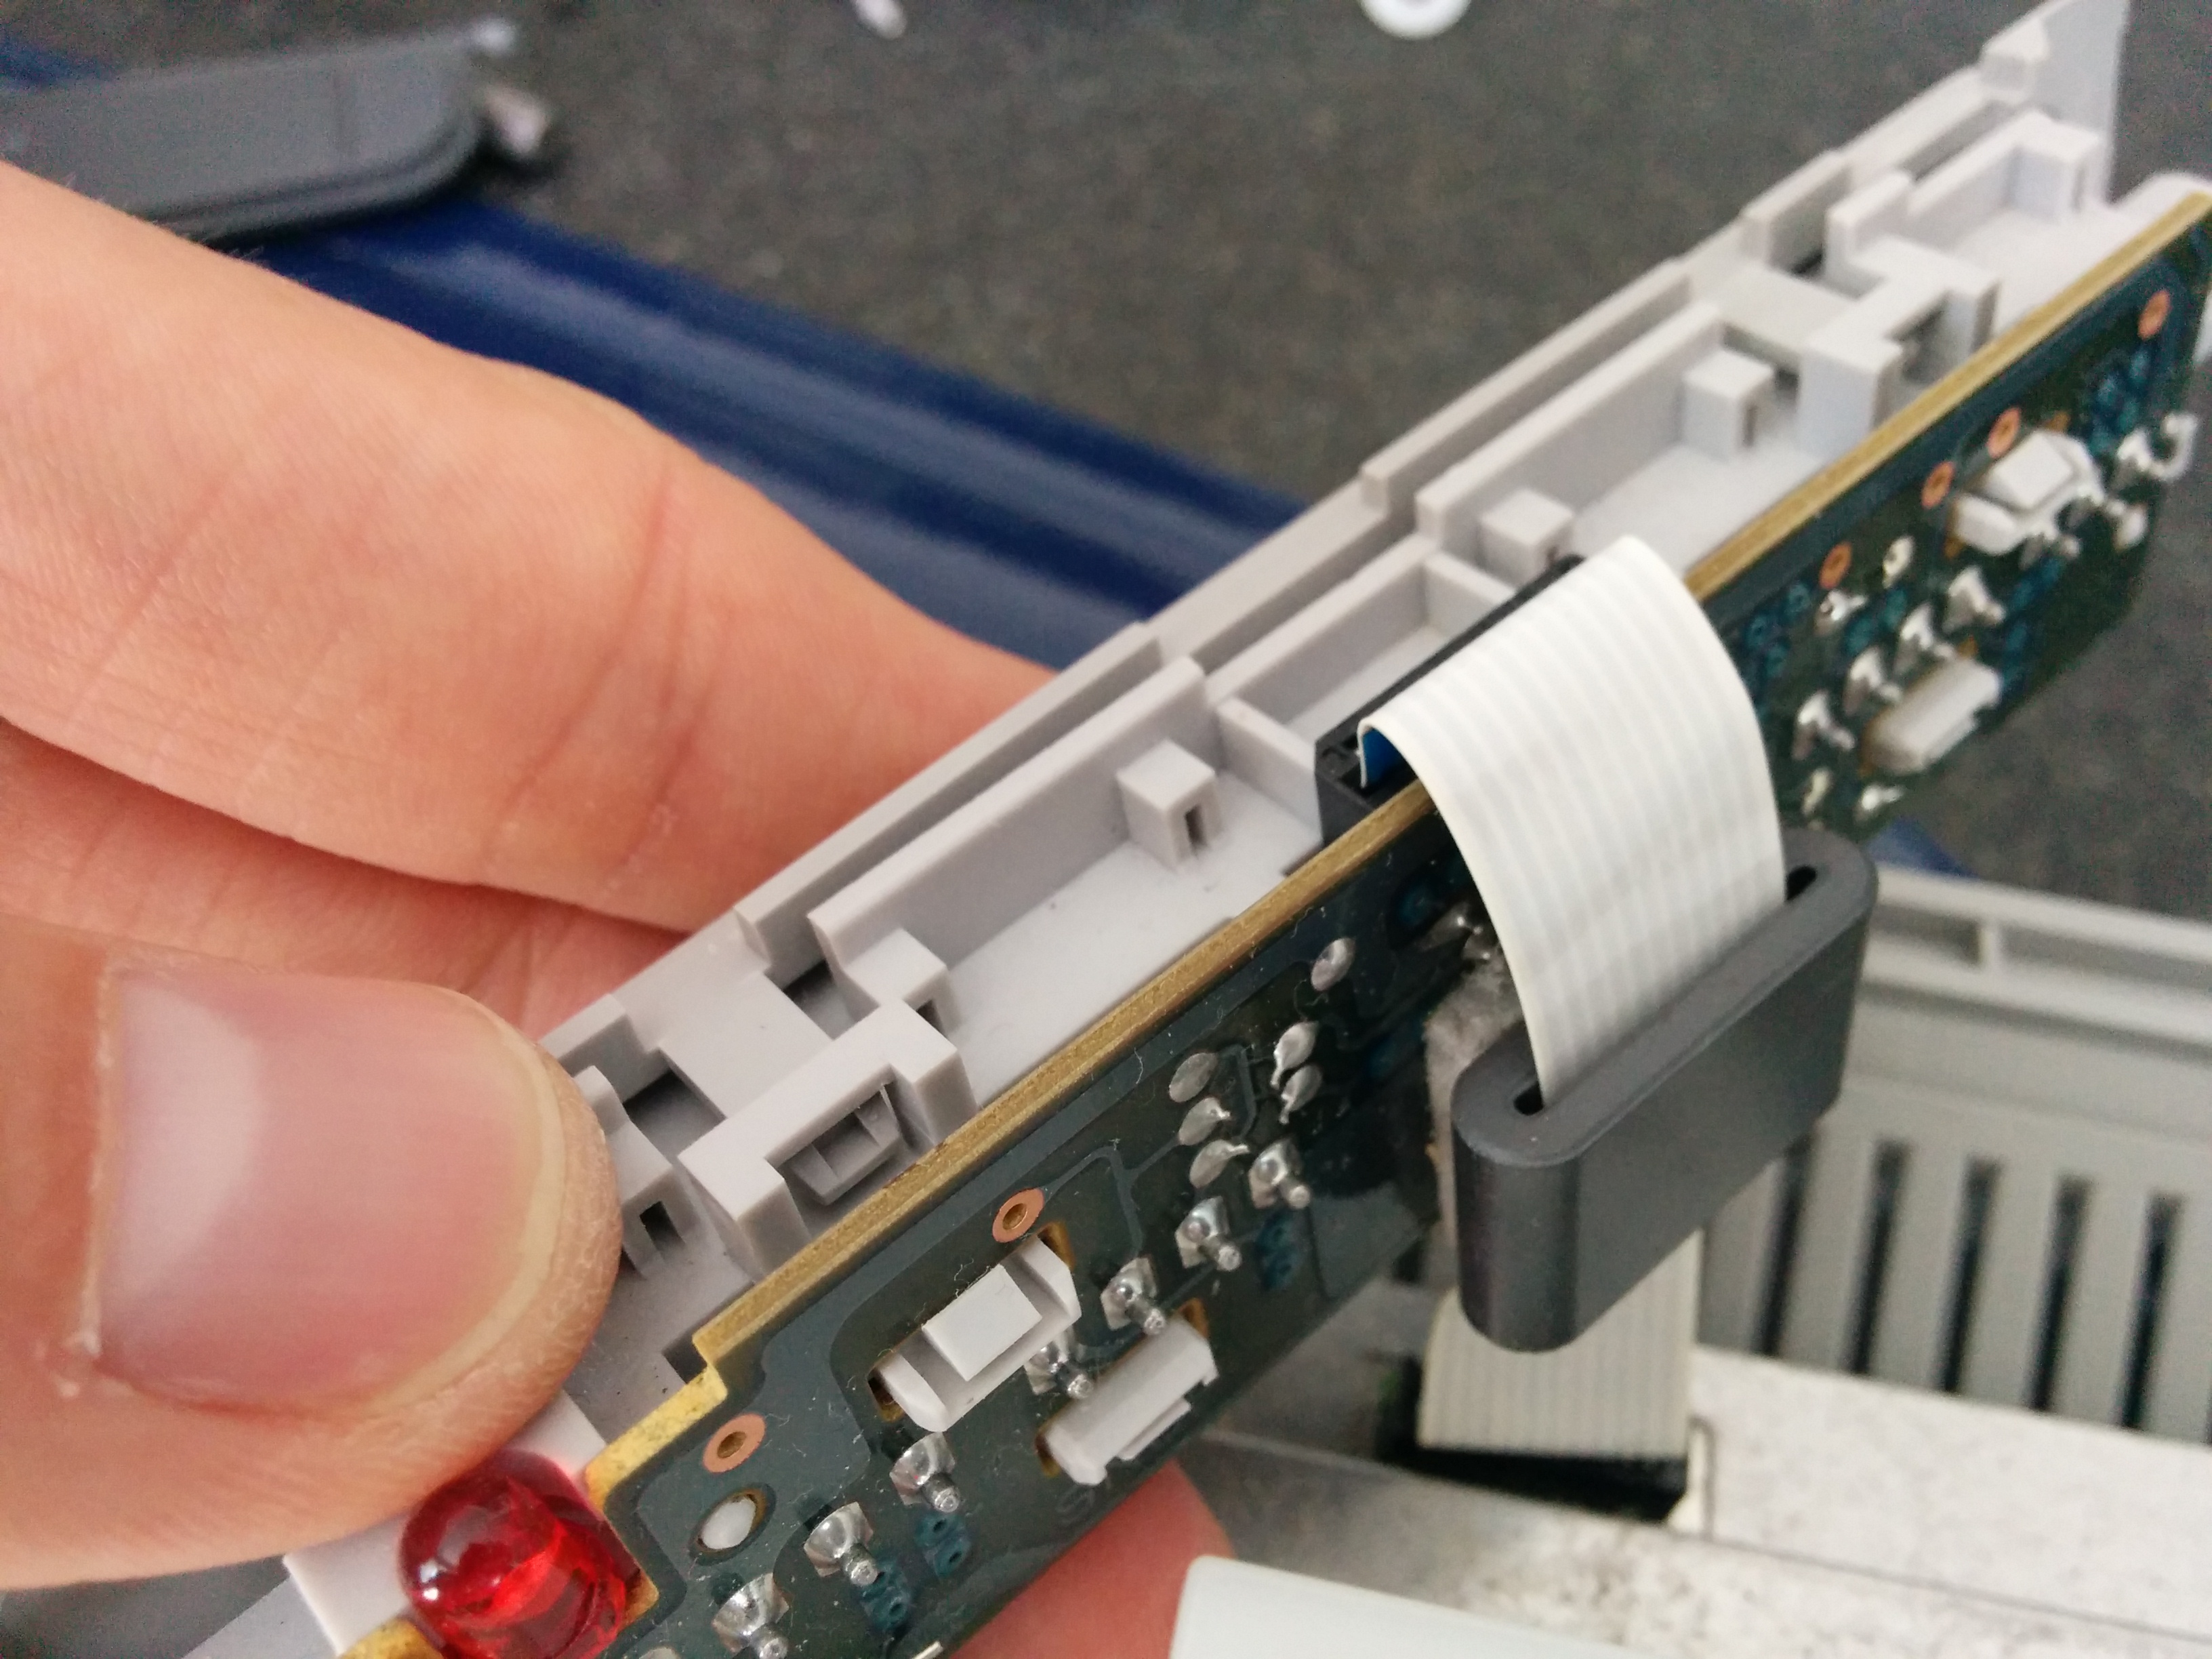
Opened SNES
I have to disassemble the whole to be able to clean it and spray it correctly.
Front part
Dont forget to gently remove the front part.

Dishwashing 😉
I’m cleaning the SNES in hot water and dish liquid. Obviously it doesn’t help removing the yellow tones, but at least the surface will be clean and ready to be modified.
After the cleaning, i use some sanding paper and go quickly over all the parts. This is not always needed, depending on your spray-color.
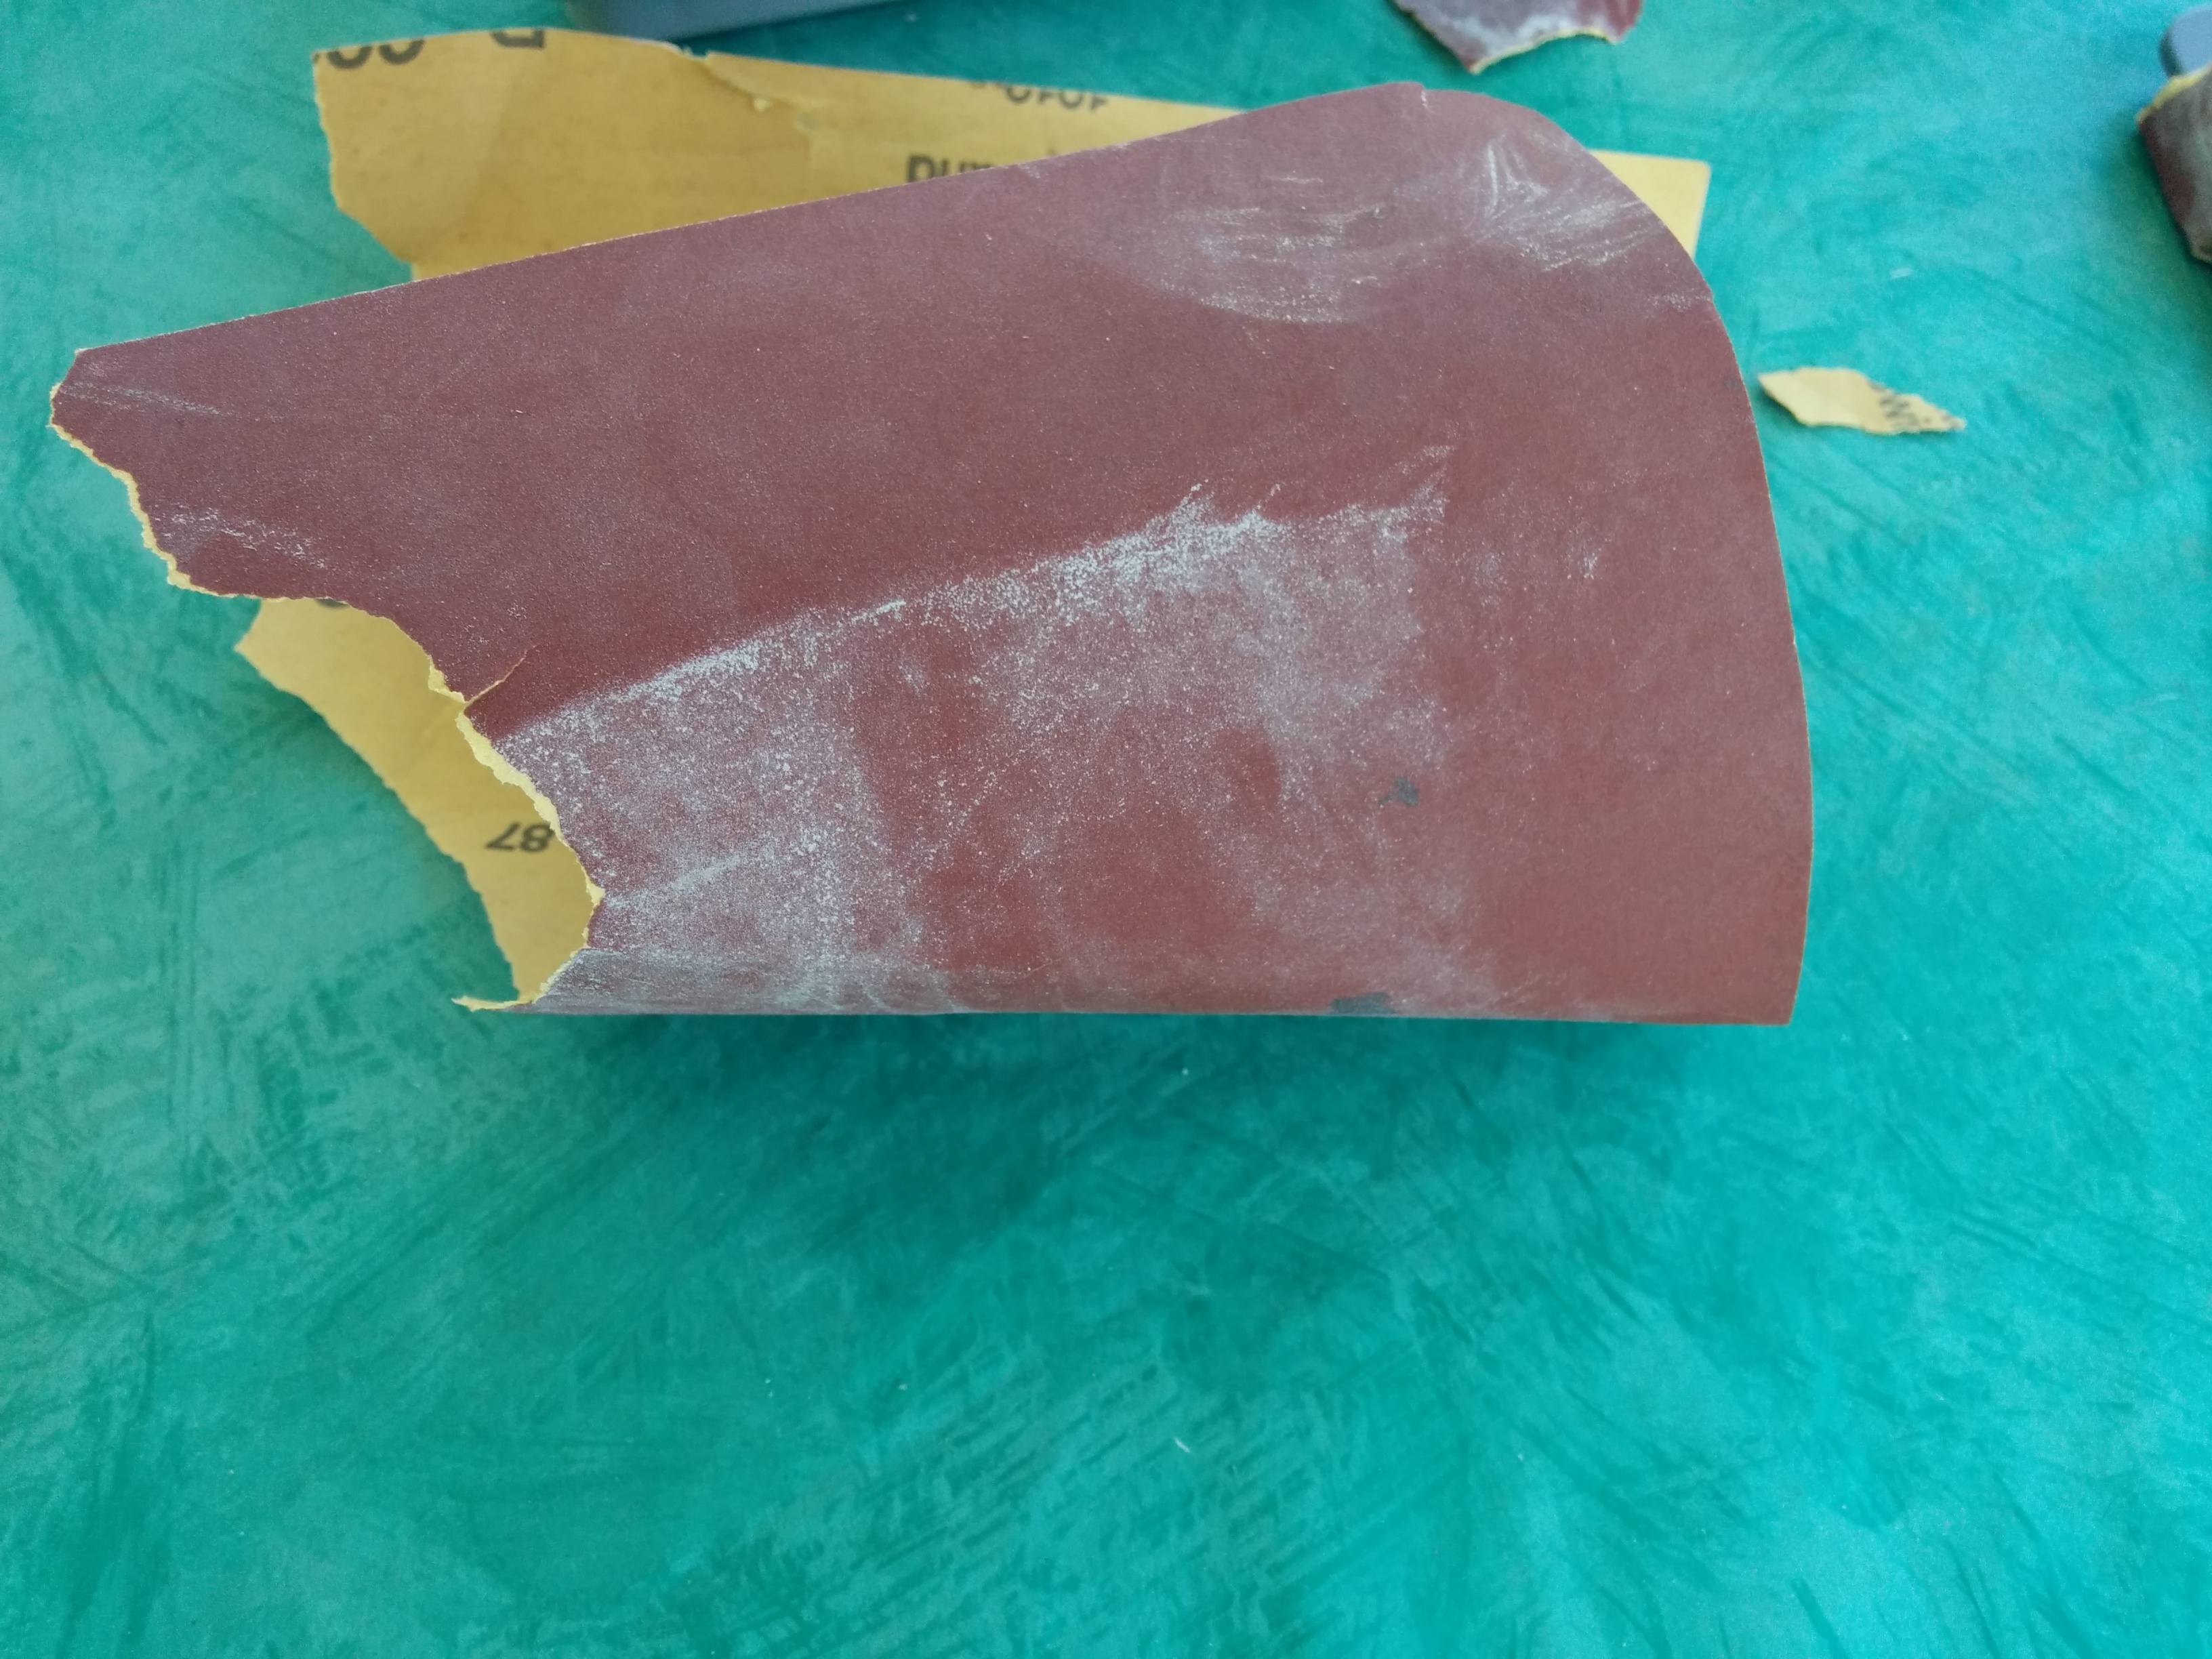
Sanding Paper
4. Paintjob
Best conditions are more or less hot weather and as less wind as possible, if you want to paint outside. Make sure no grass or tree pollen are flying around at that time.
Spread out enough of old paper, and we’re ready to go. I suggest, that you watch some spraying tutorials first. Basically, you just do what the can says: shake shake shake before use. At 20-30cm range, go from left to right. Do not point directly onto the SNES, start besides the SNES over the old paper, then move with constant speed from left to right, ONE layer at the time! Do not spray over the same spots, even if there are spots without color. That’s why it takes patience and time to spray. I usually spray 4-5 layers, until the SNES is covered up. I wait 1 hour between layers, to make sure the layers have time to dry.
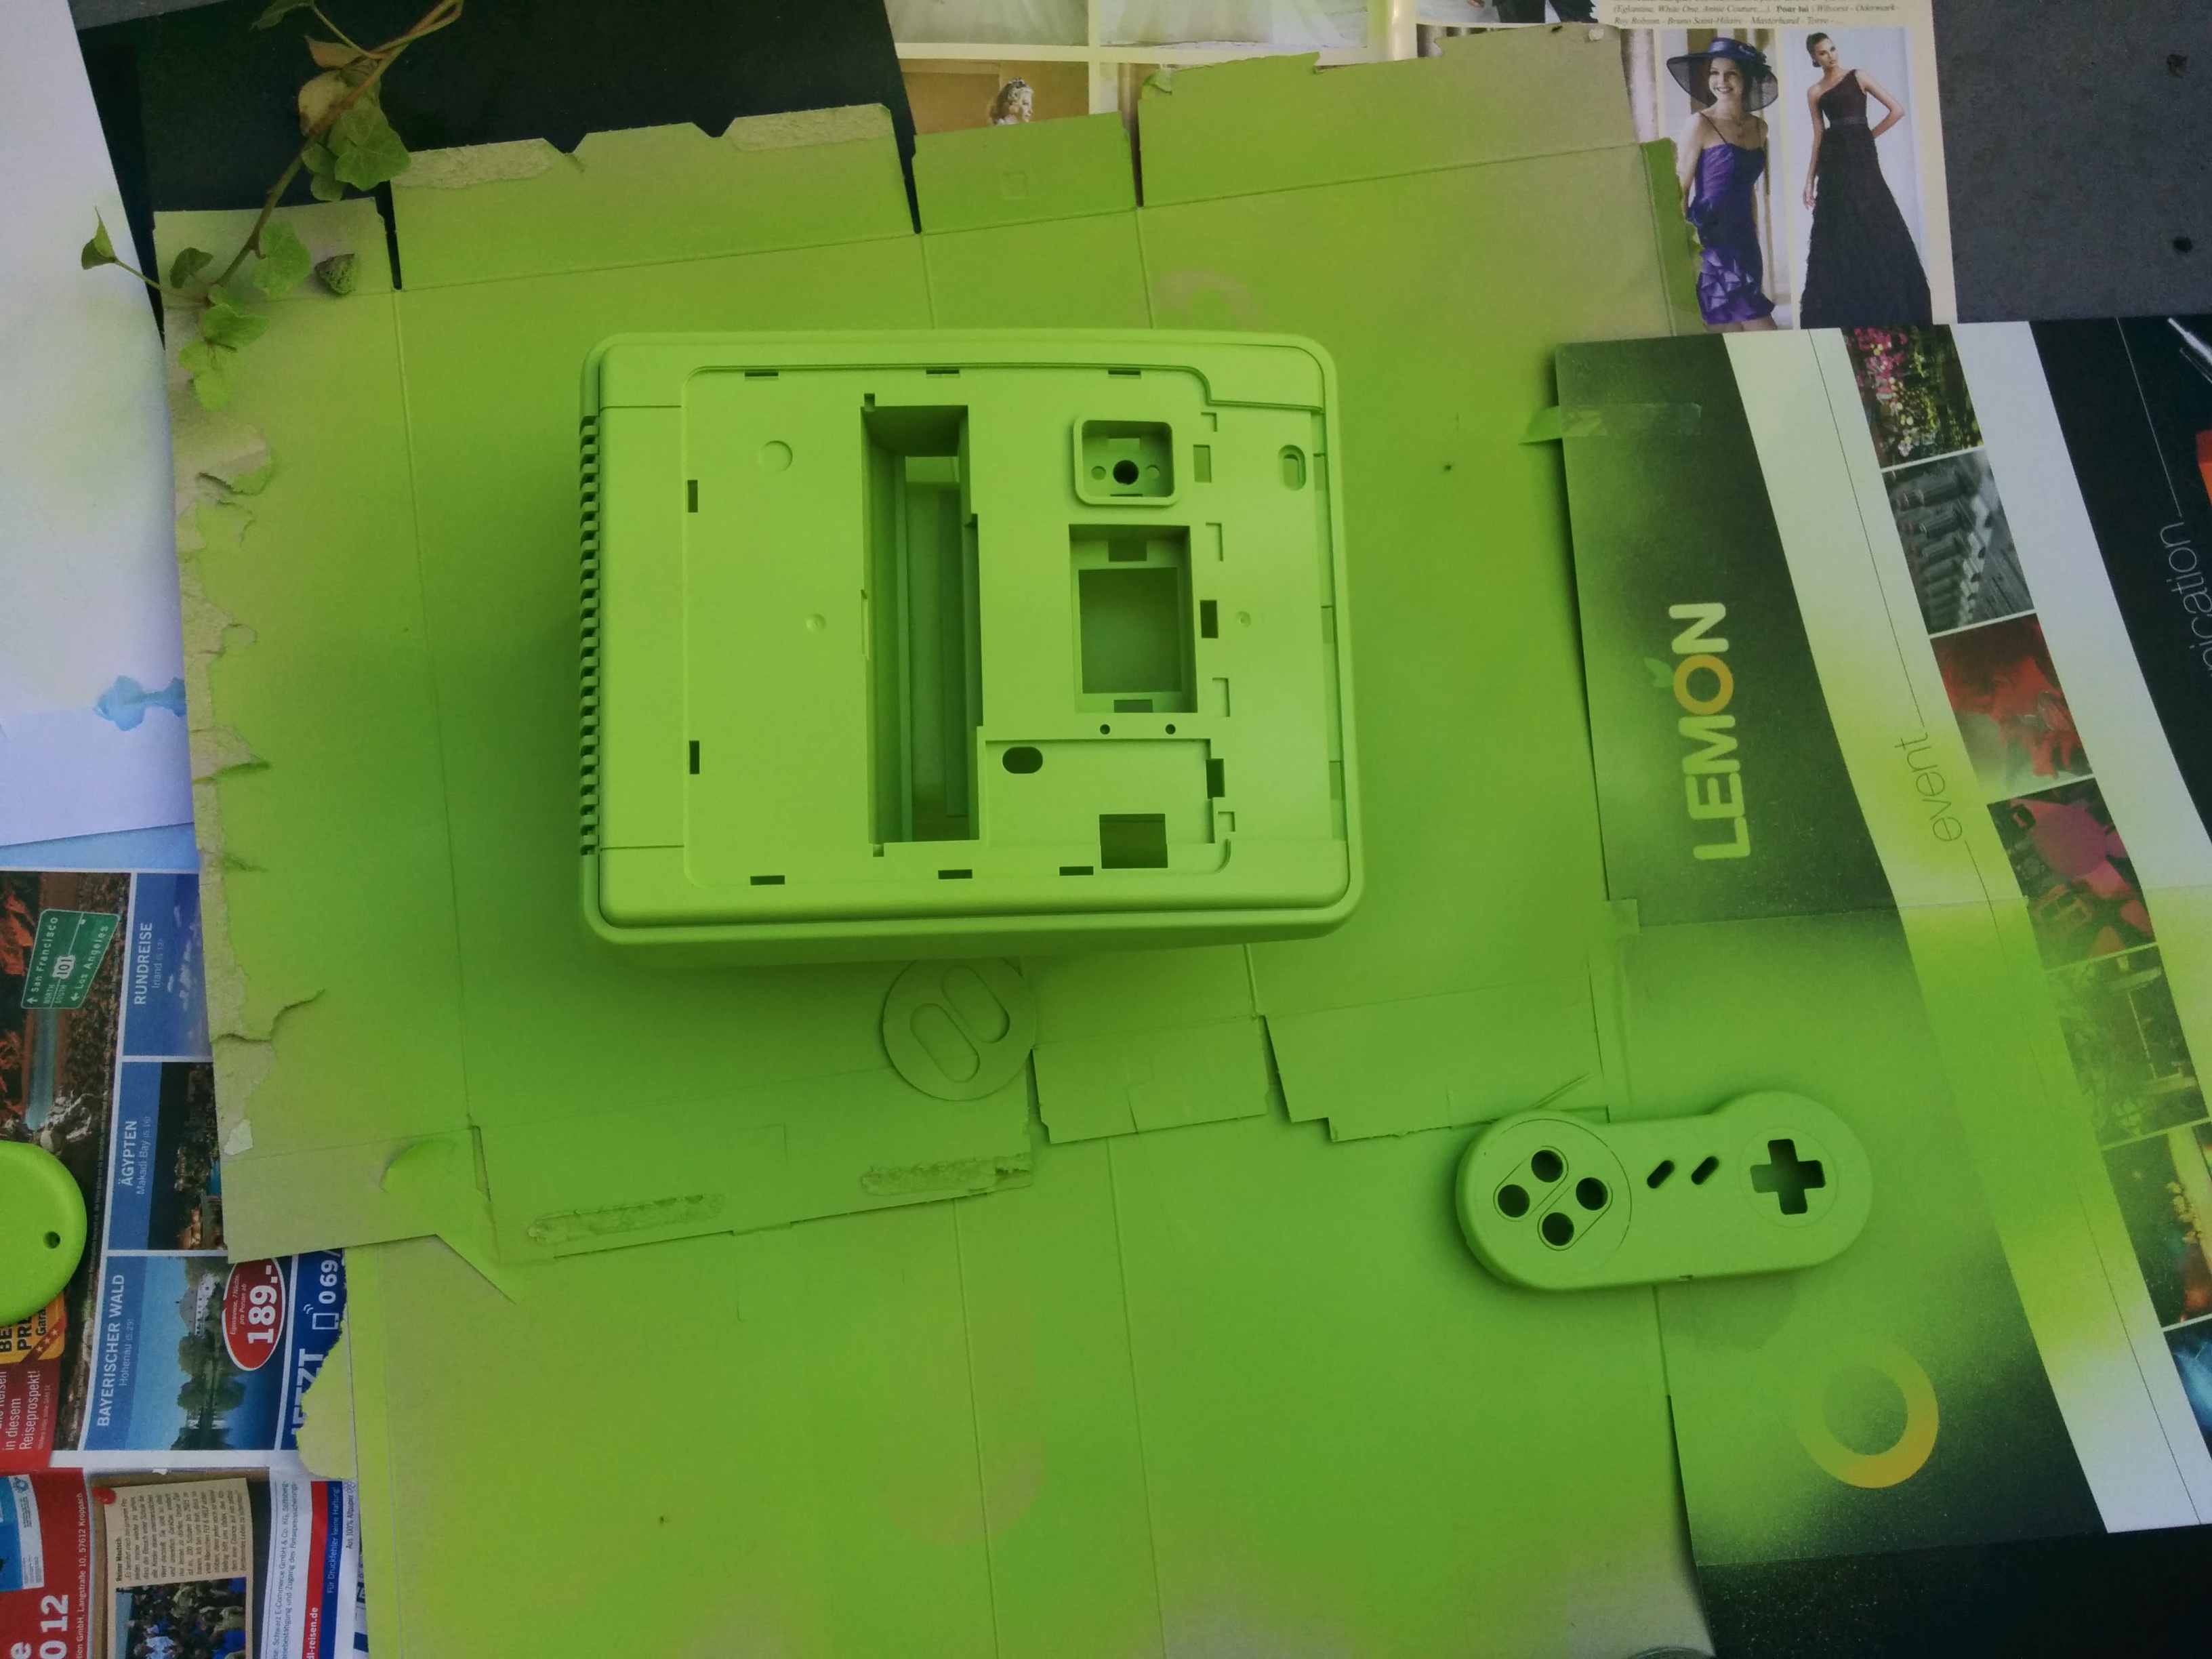
Green!

Yoshi Console white top

Finished Green
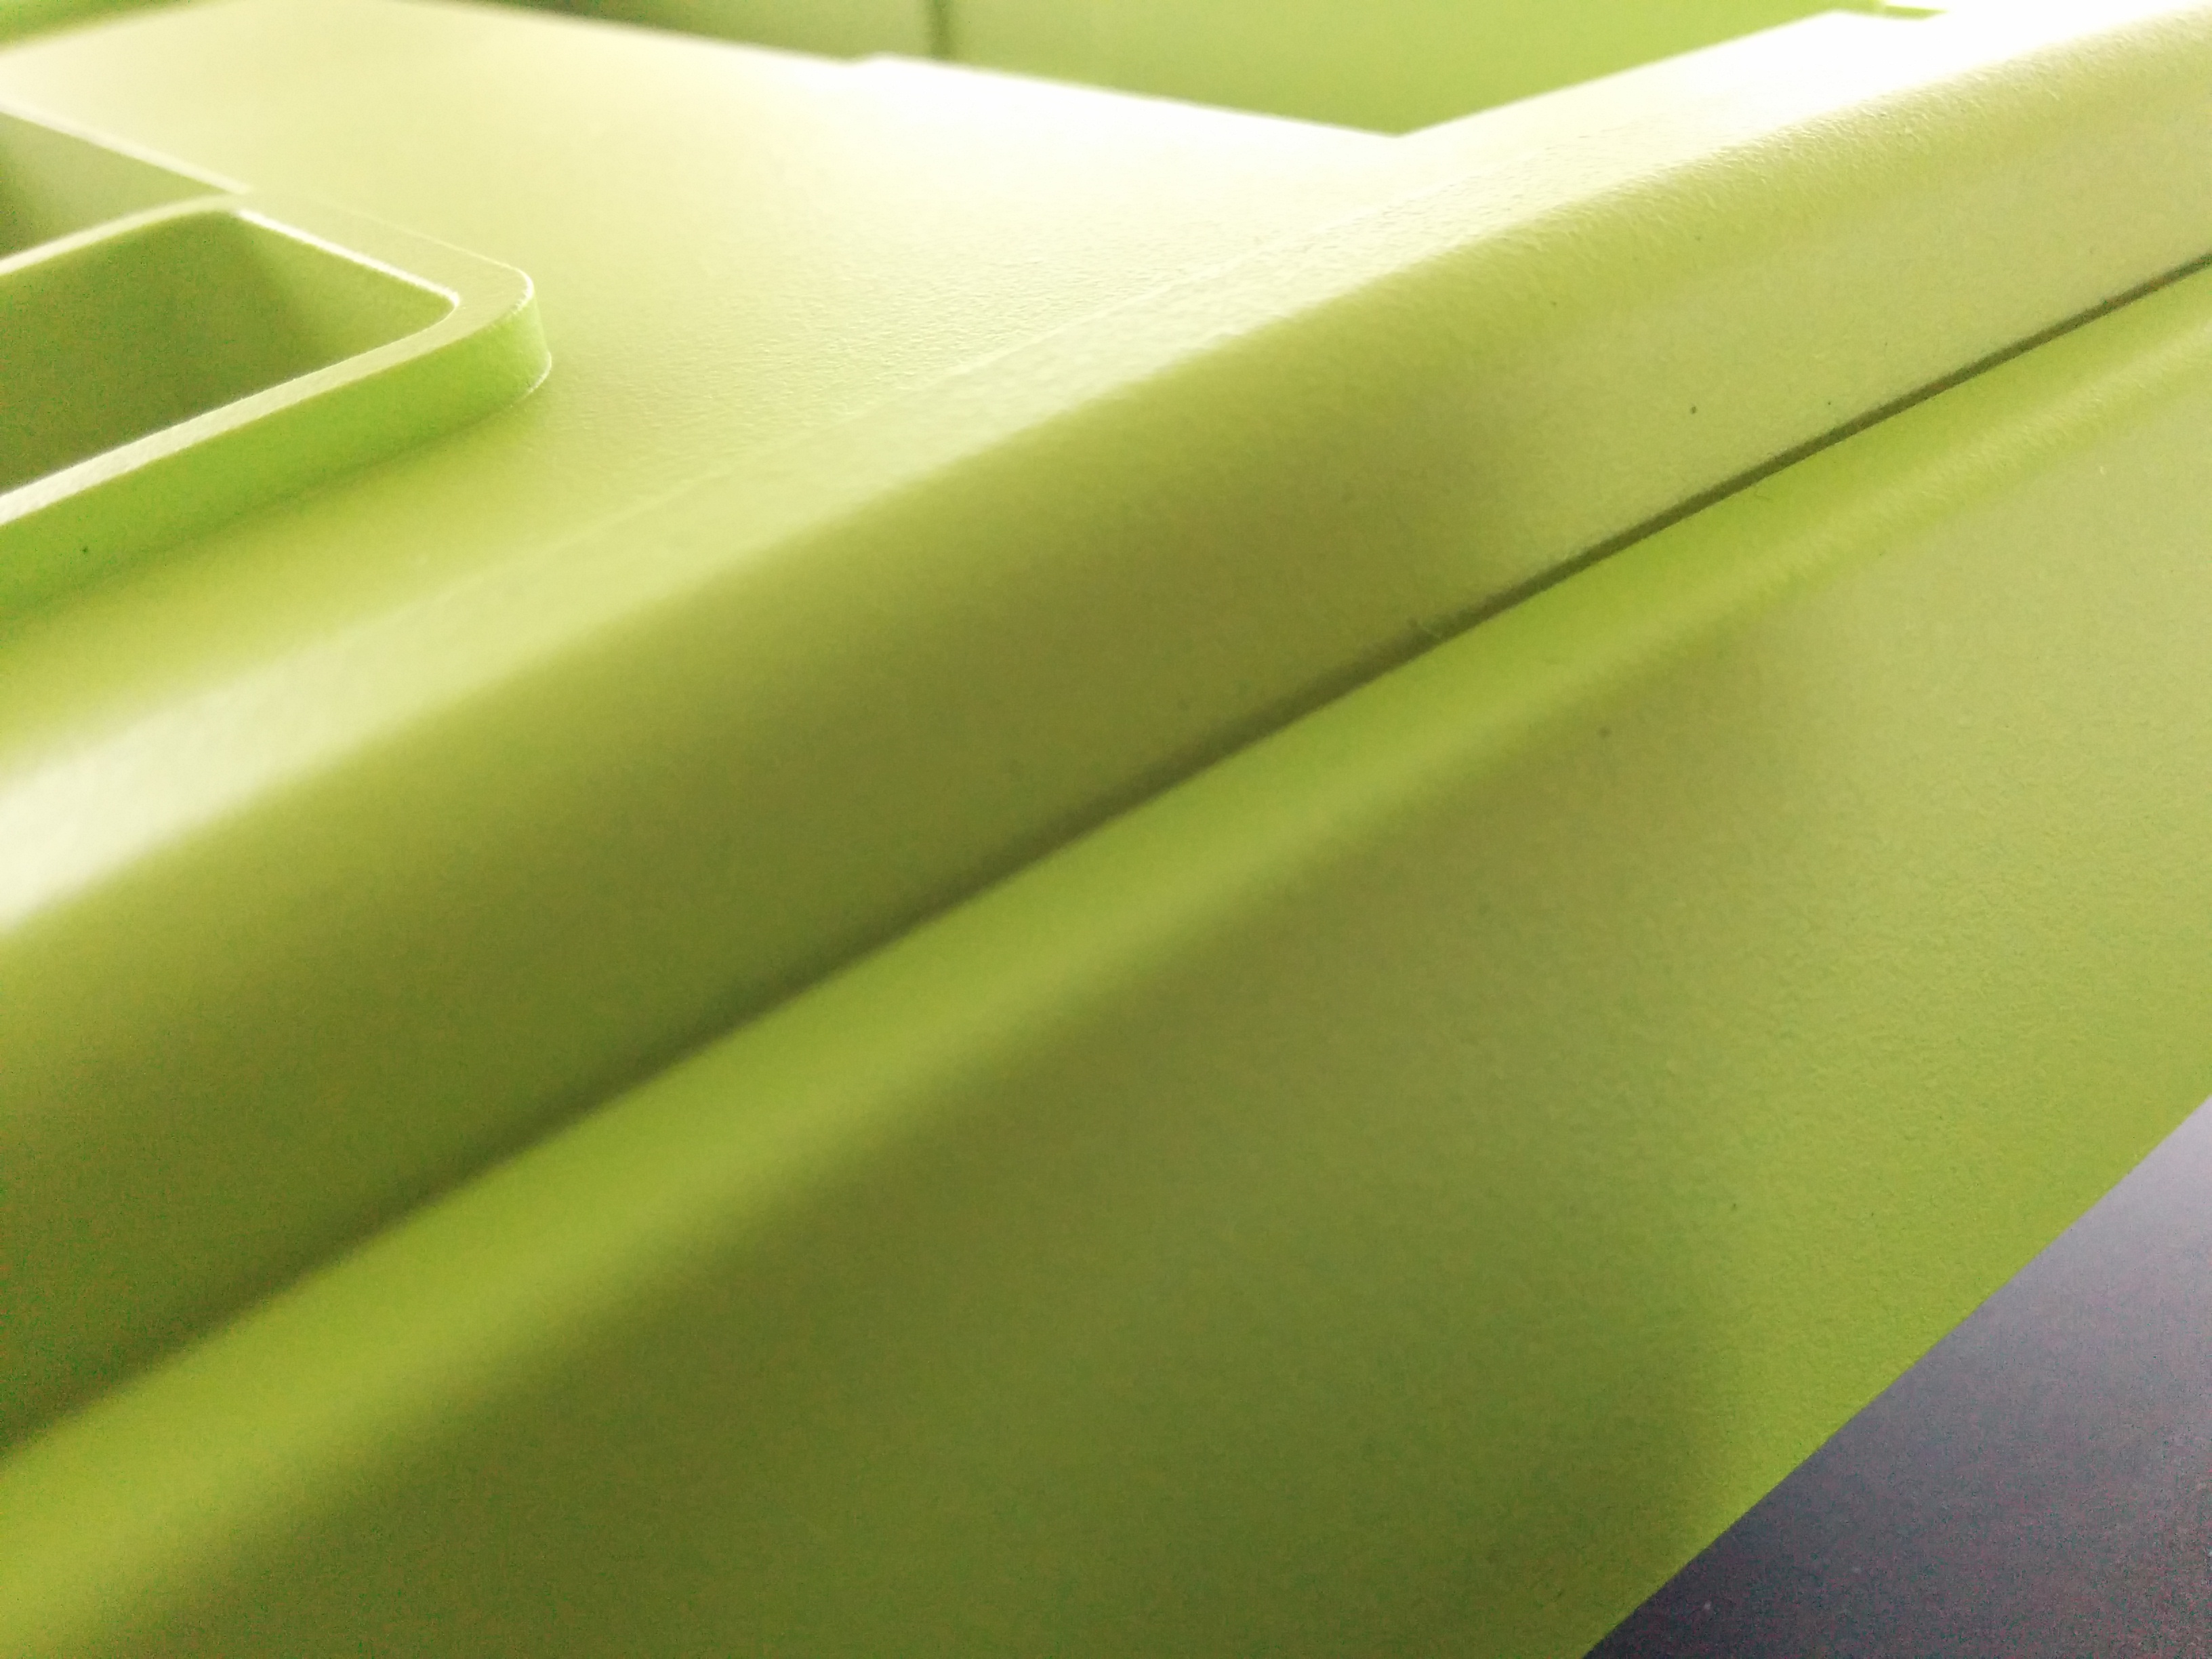
Side View
Painting the parts takes time, a lot of time. Don’t be in a hurry. You can finish a paintjob in one day, but it’s better to consider two days.
Meanwhile you can already create some nice decals for the console 🙂
5. Decals
There are a few things to consider when decalling:
1) What decal should I buy ?
It depends on the colors of your console. Usually for best results, you have to buy clear/transparent decals. These however can only be put on light colors like white or light yellow etc. On a black background, the color just disappear, as the printer color is not thick enough.
2) How to apply ?
After printing on it, let it dry long enough! 1 hour should be fine. We then have to impregnate the decal with 2 coats of finisher. Take good care to just apply a very thin layer, wait an hour, apply another one. You can cut them out more or less precise, the clear decal helps to hide your bad cutouts 😉
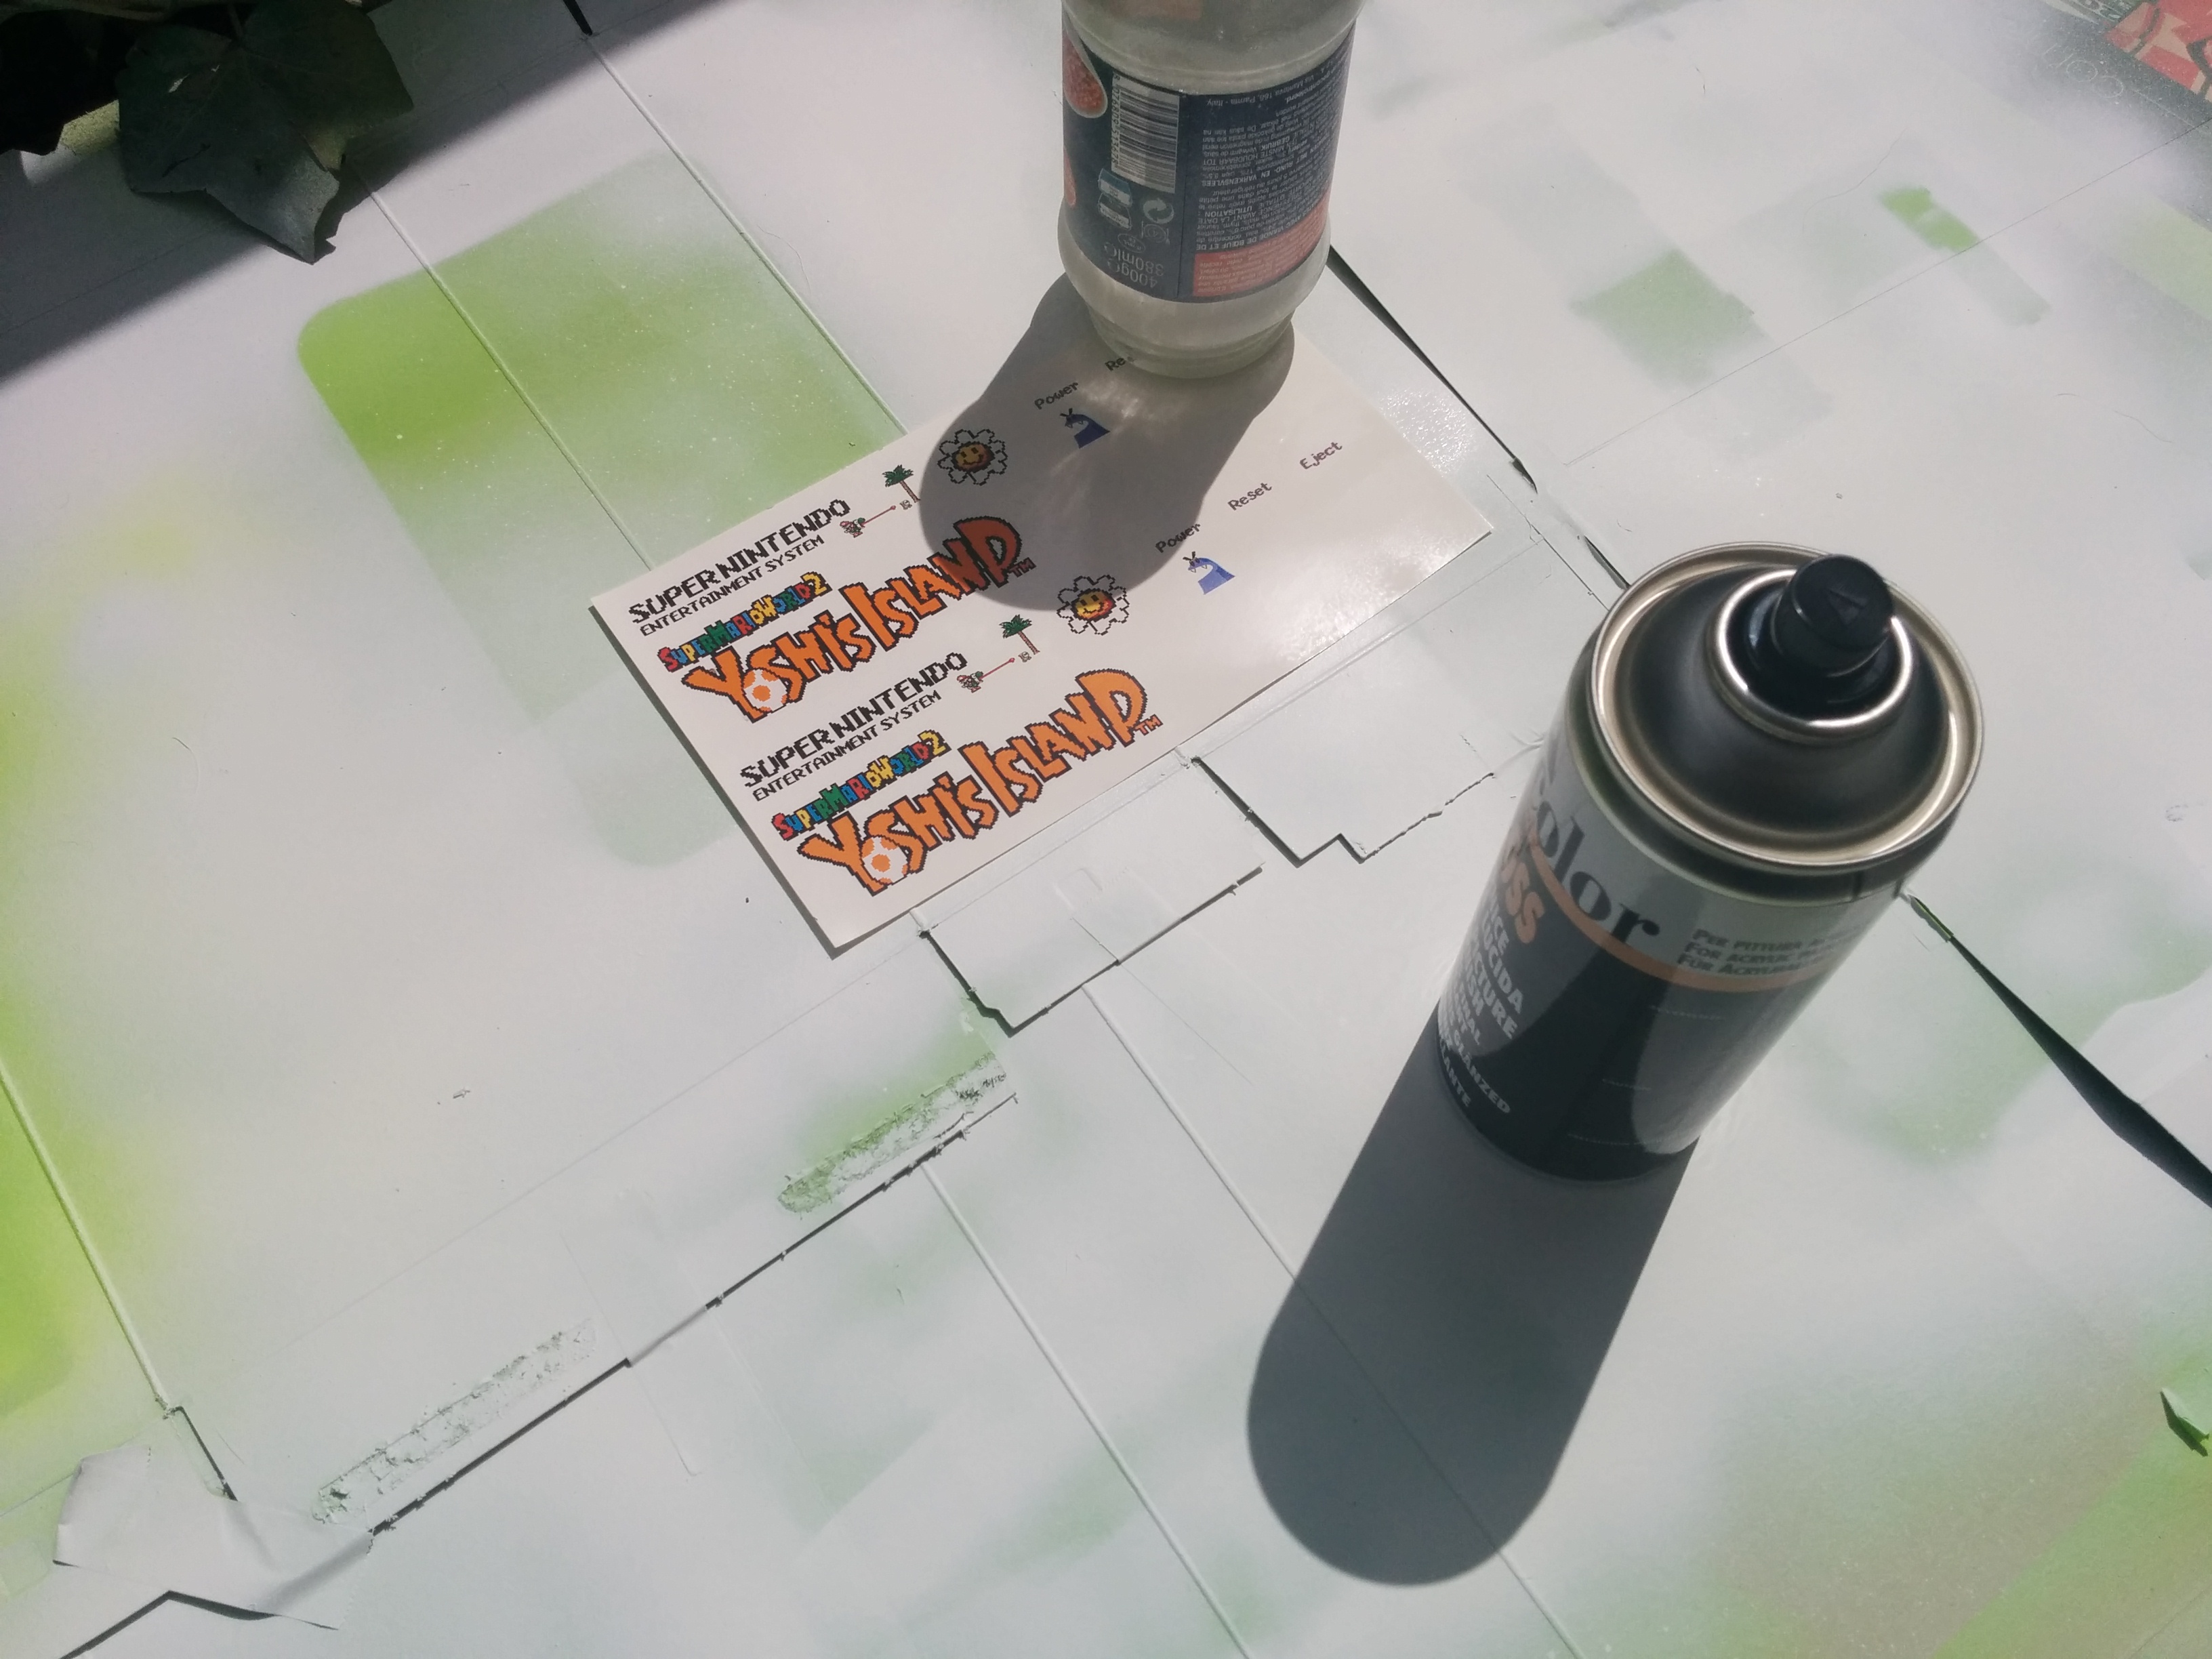
Coating the decals
The freshly coated decals are put into water. That’s why we need to cover them with finisher. It keeps the water of the inkjet printing.

Water :O
I suggest first trying out a smaller decal, so you can get the feeling. You have to learn how to apply them, when they are still wet. You can move it around, since there’s a film of water beneath it. Position the decal, then use some paper or towel to suck up the rest of water.
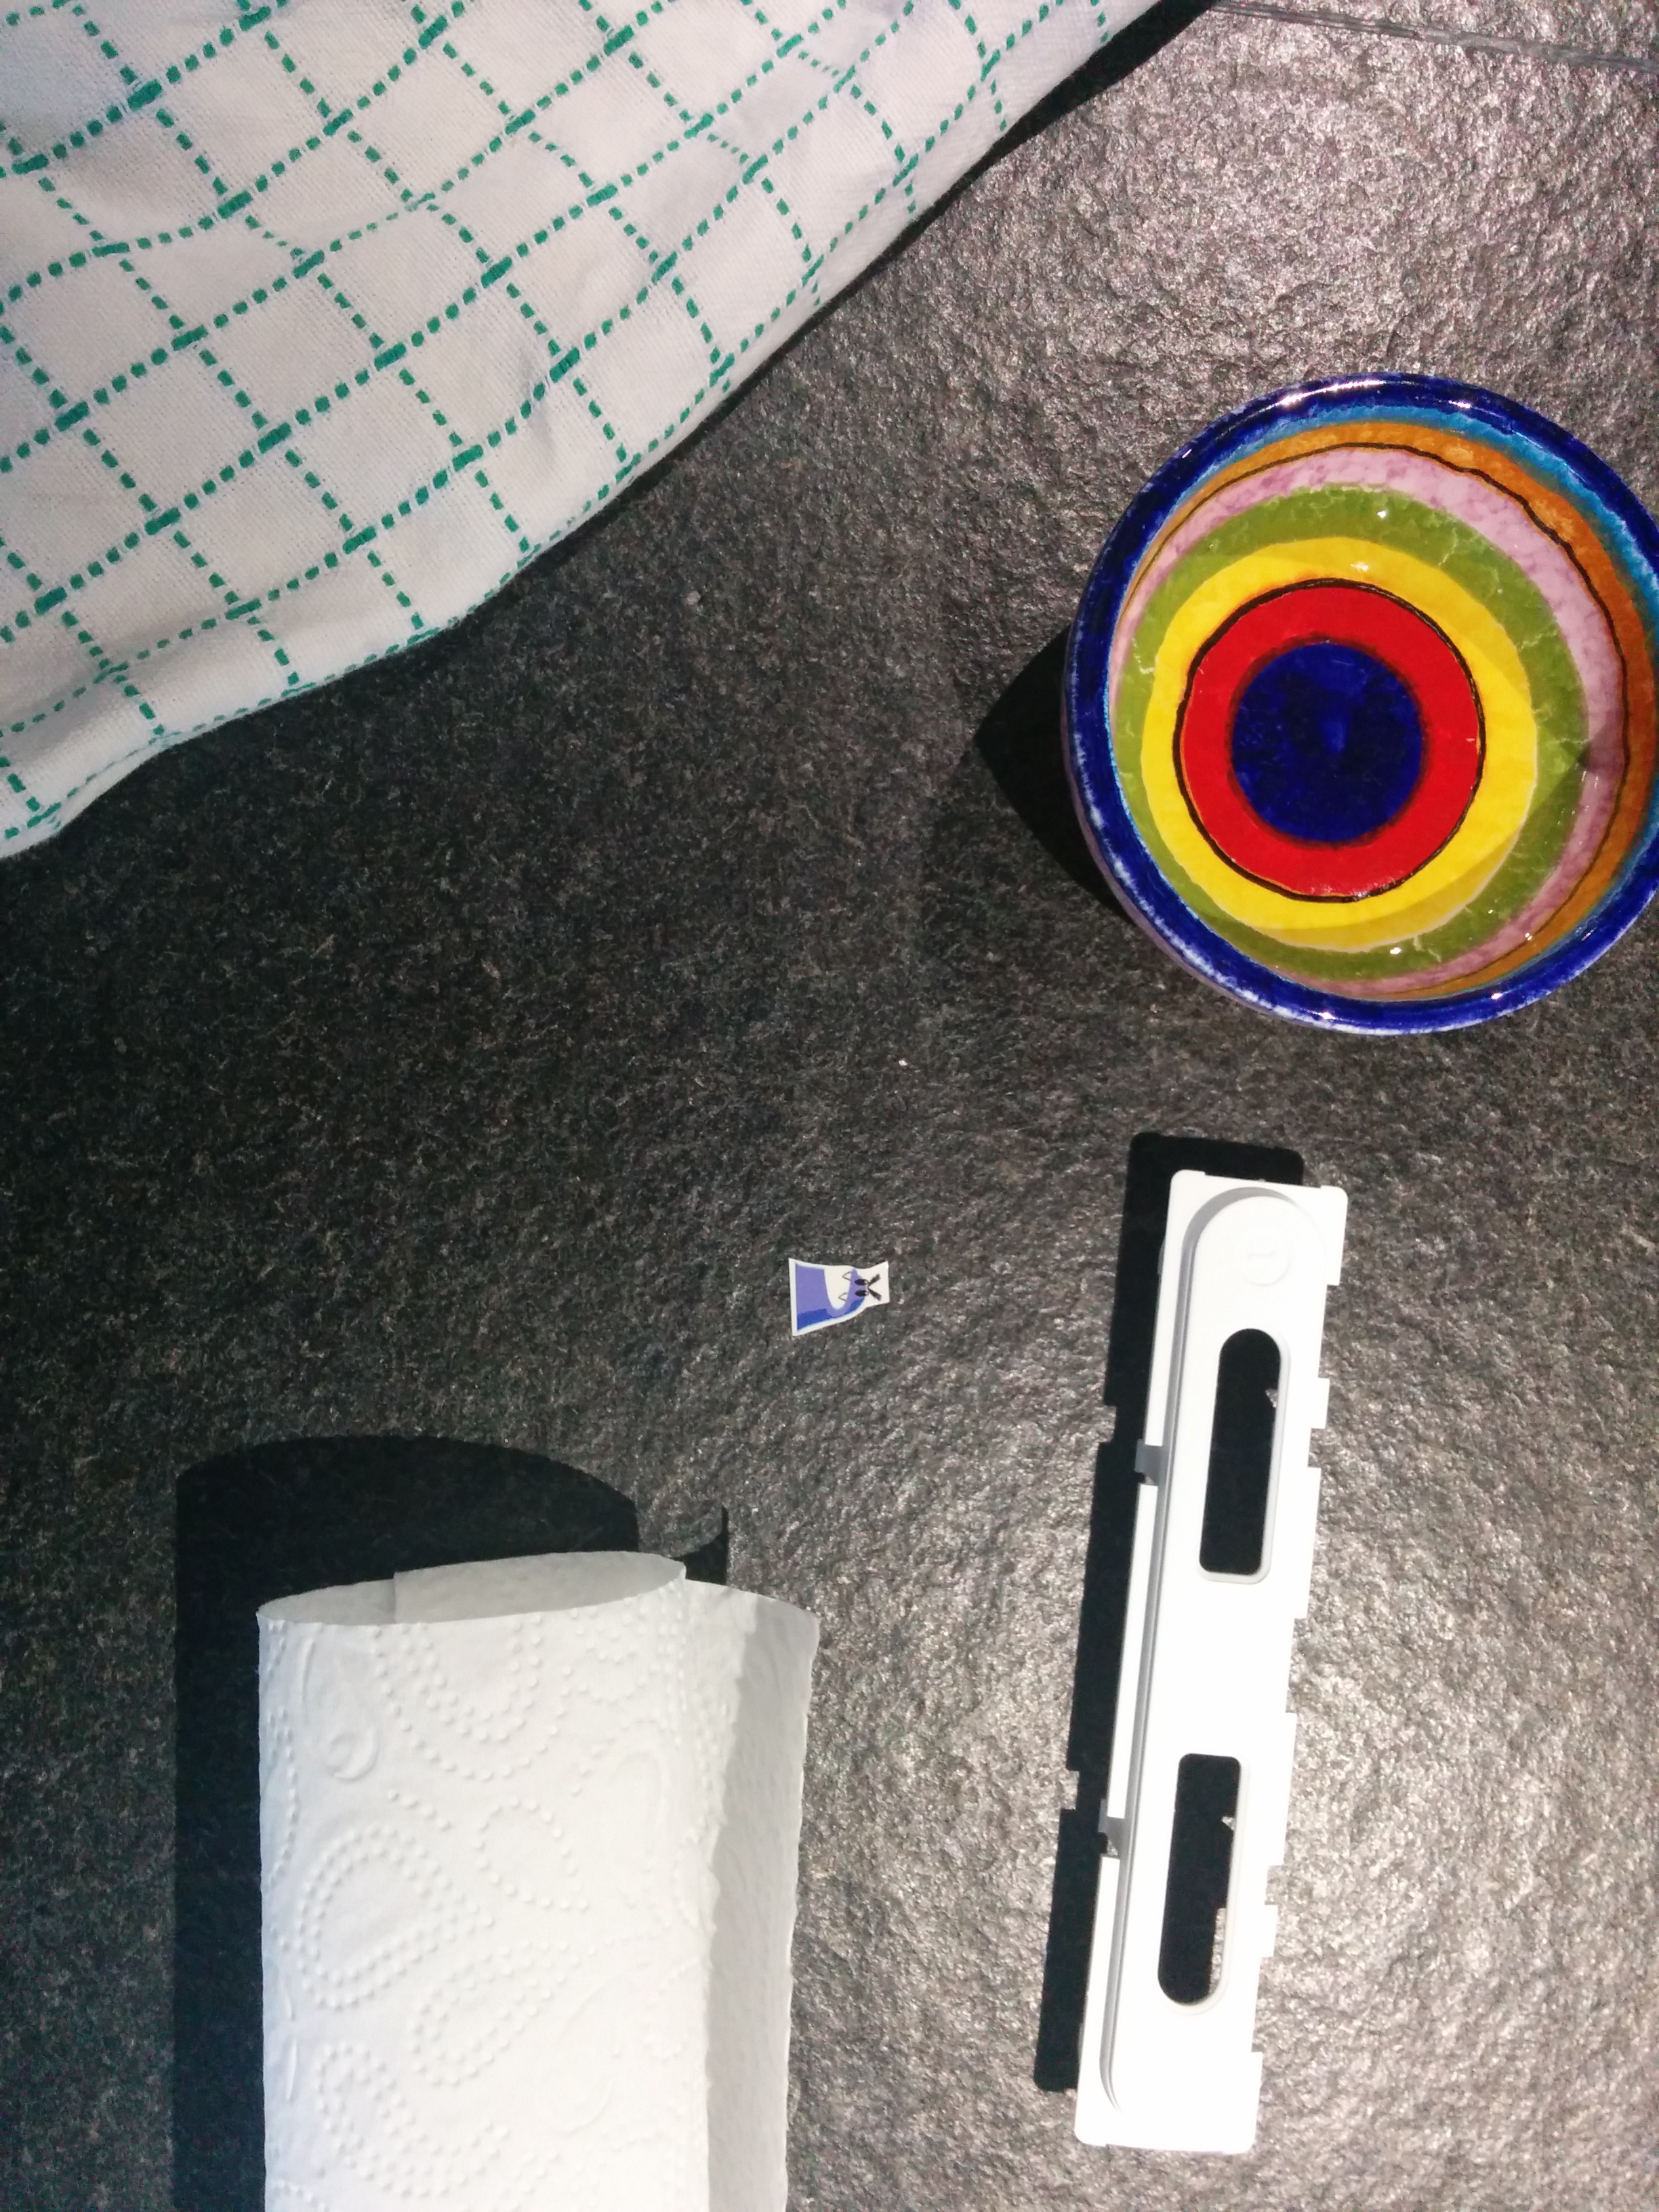
Try it out
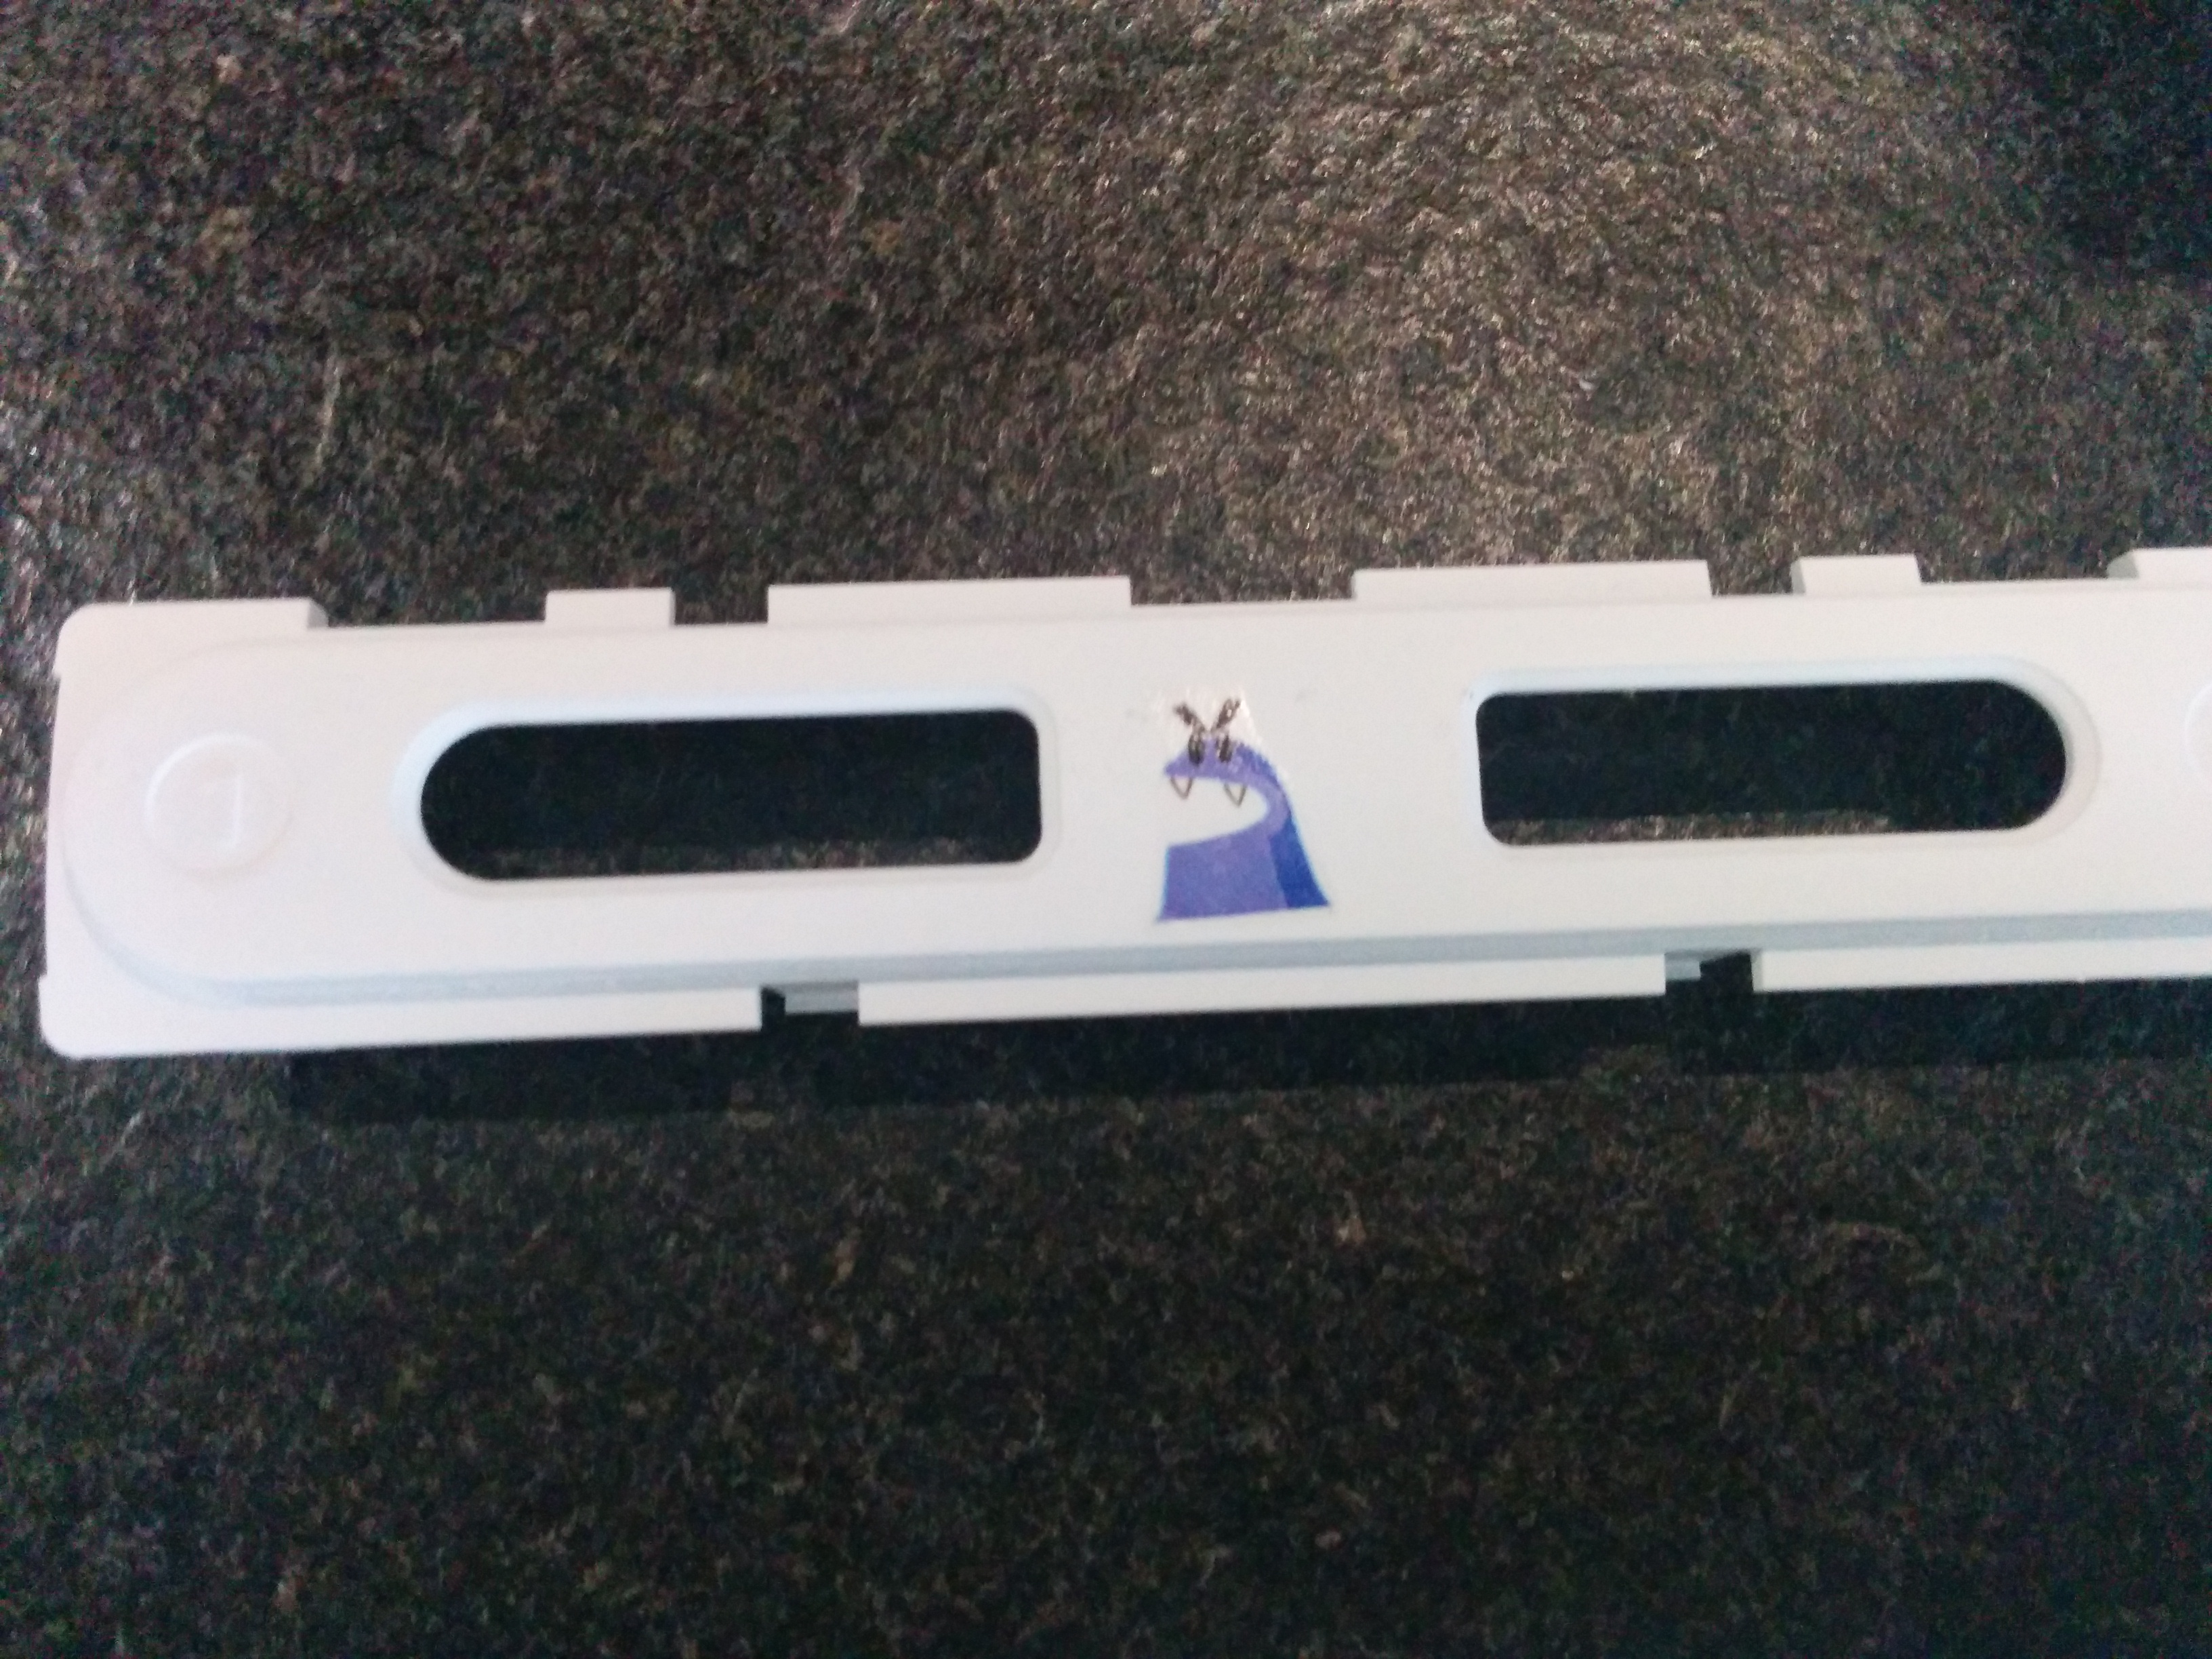
Frontpart decal
The bigger decals are not necessarily more difficult to apply.

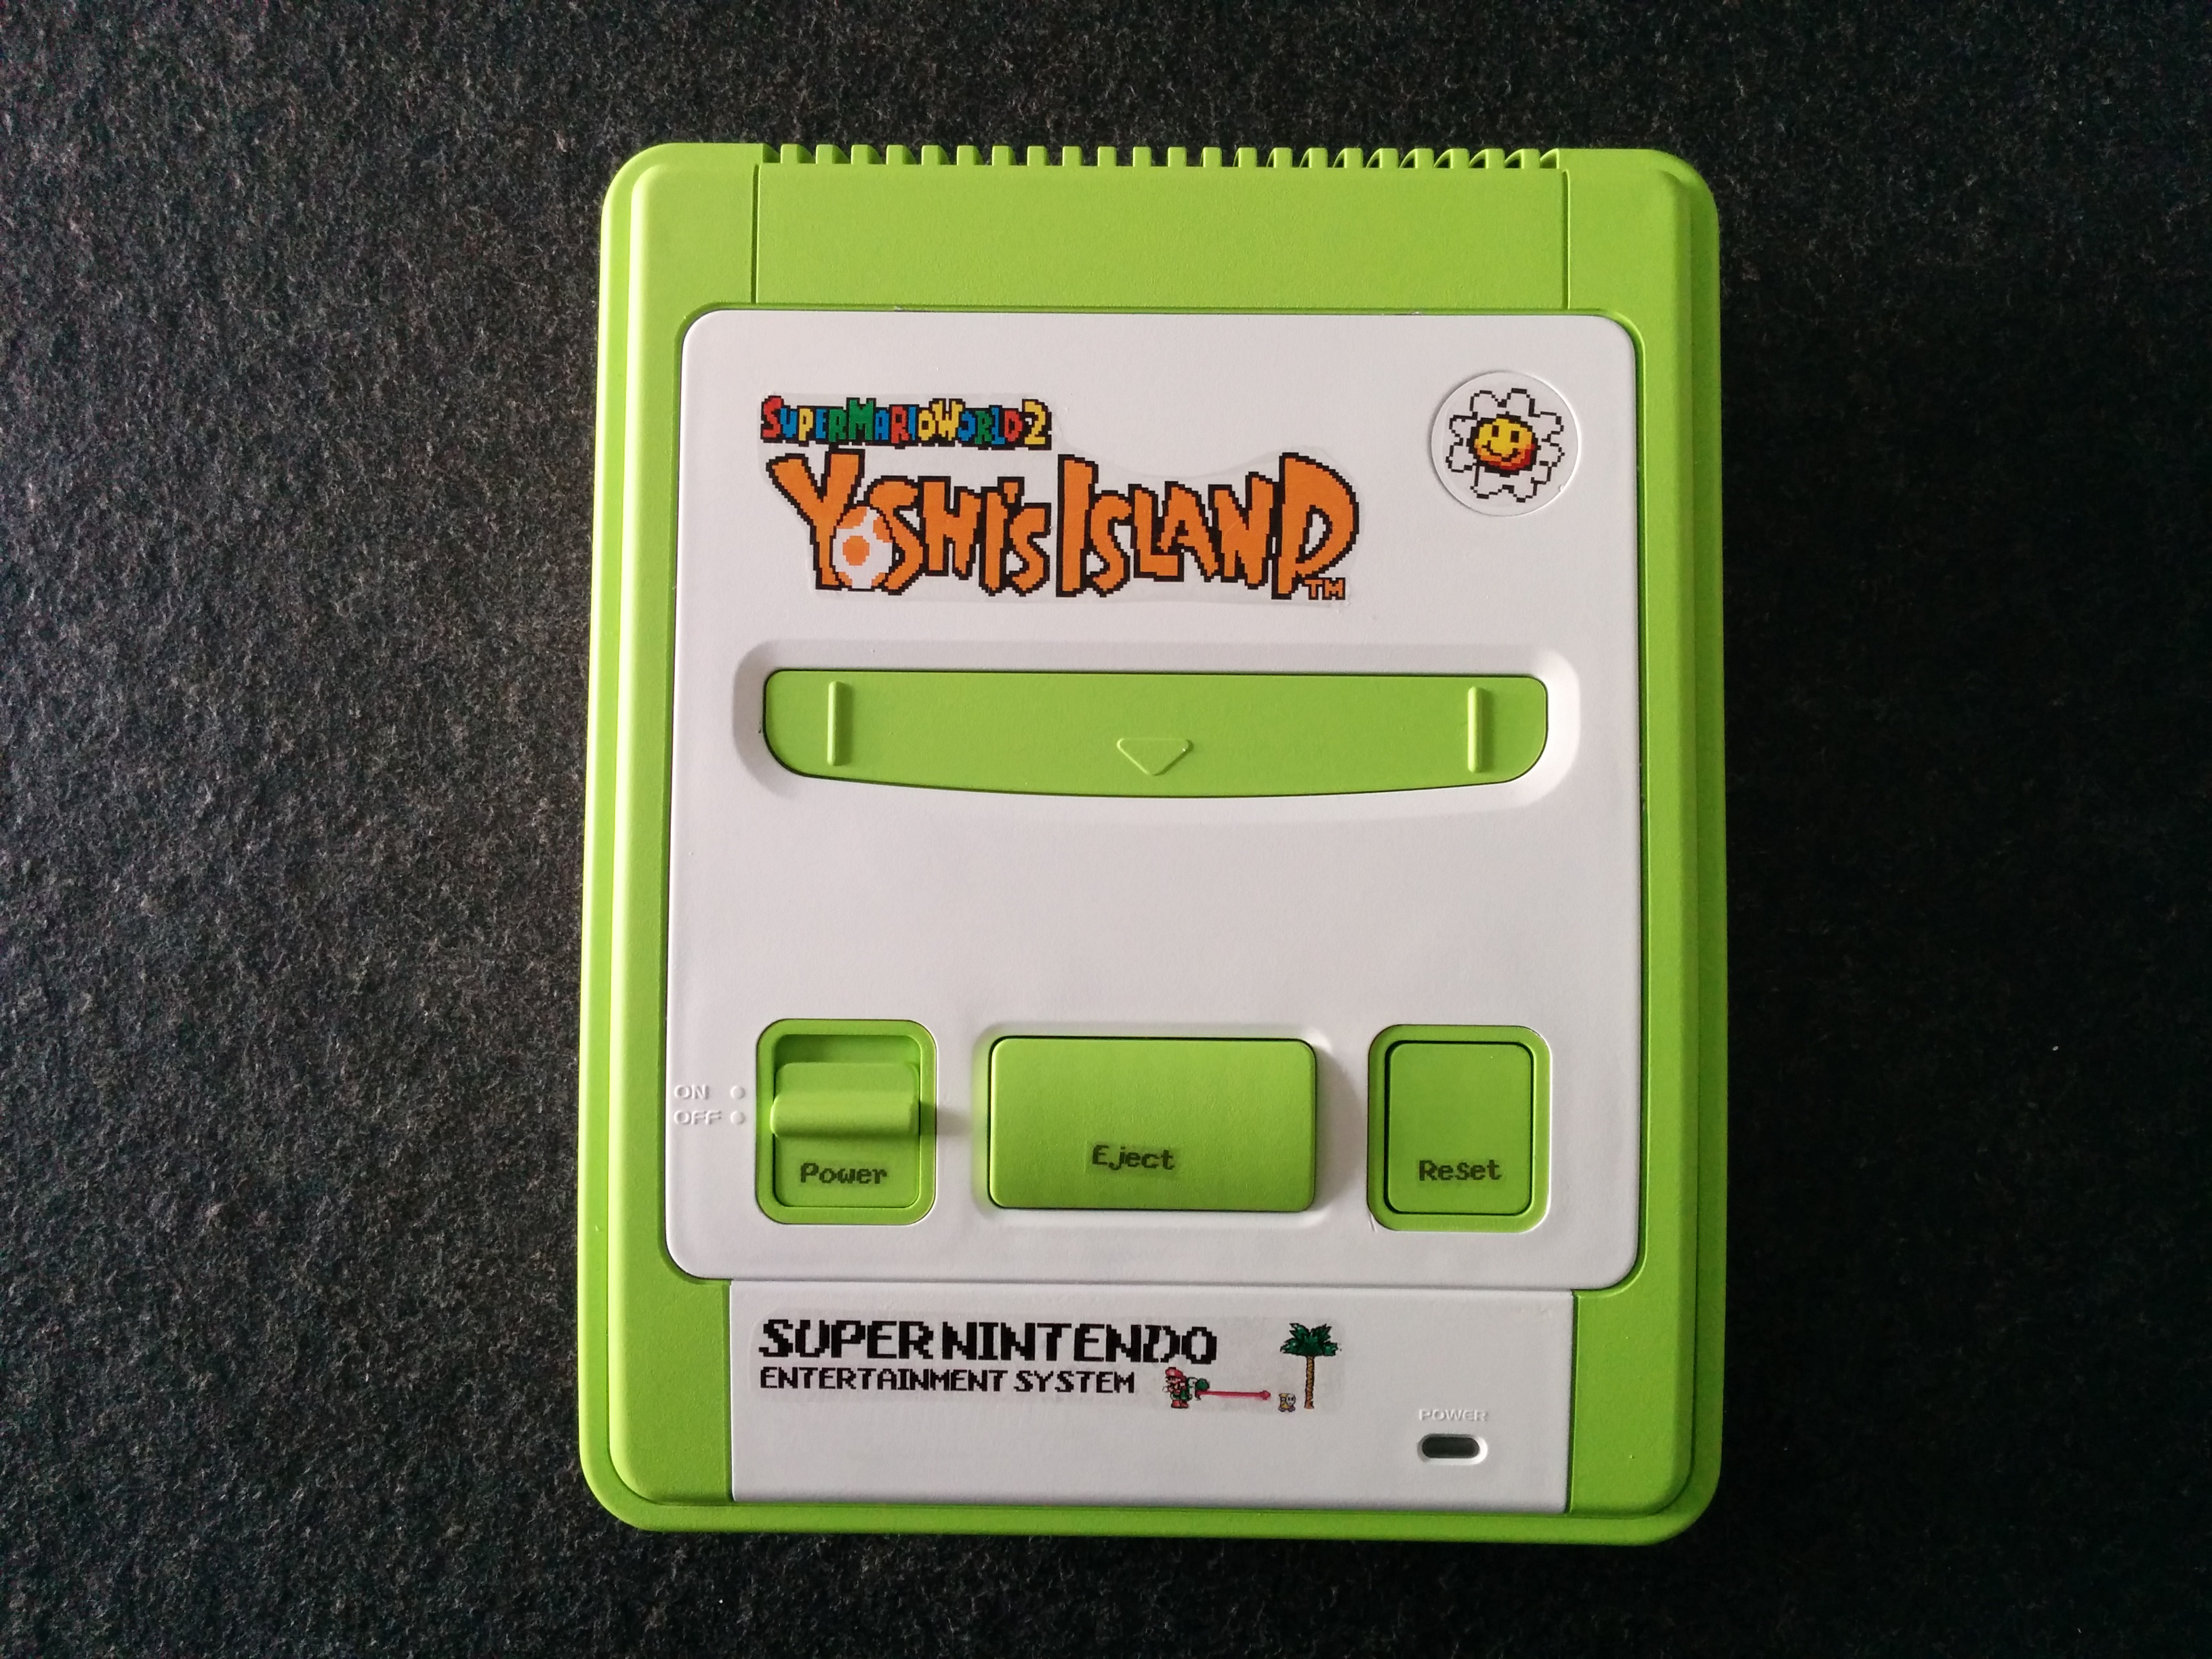
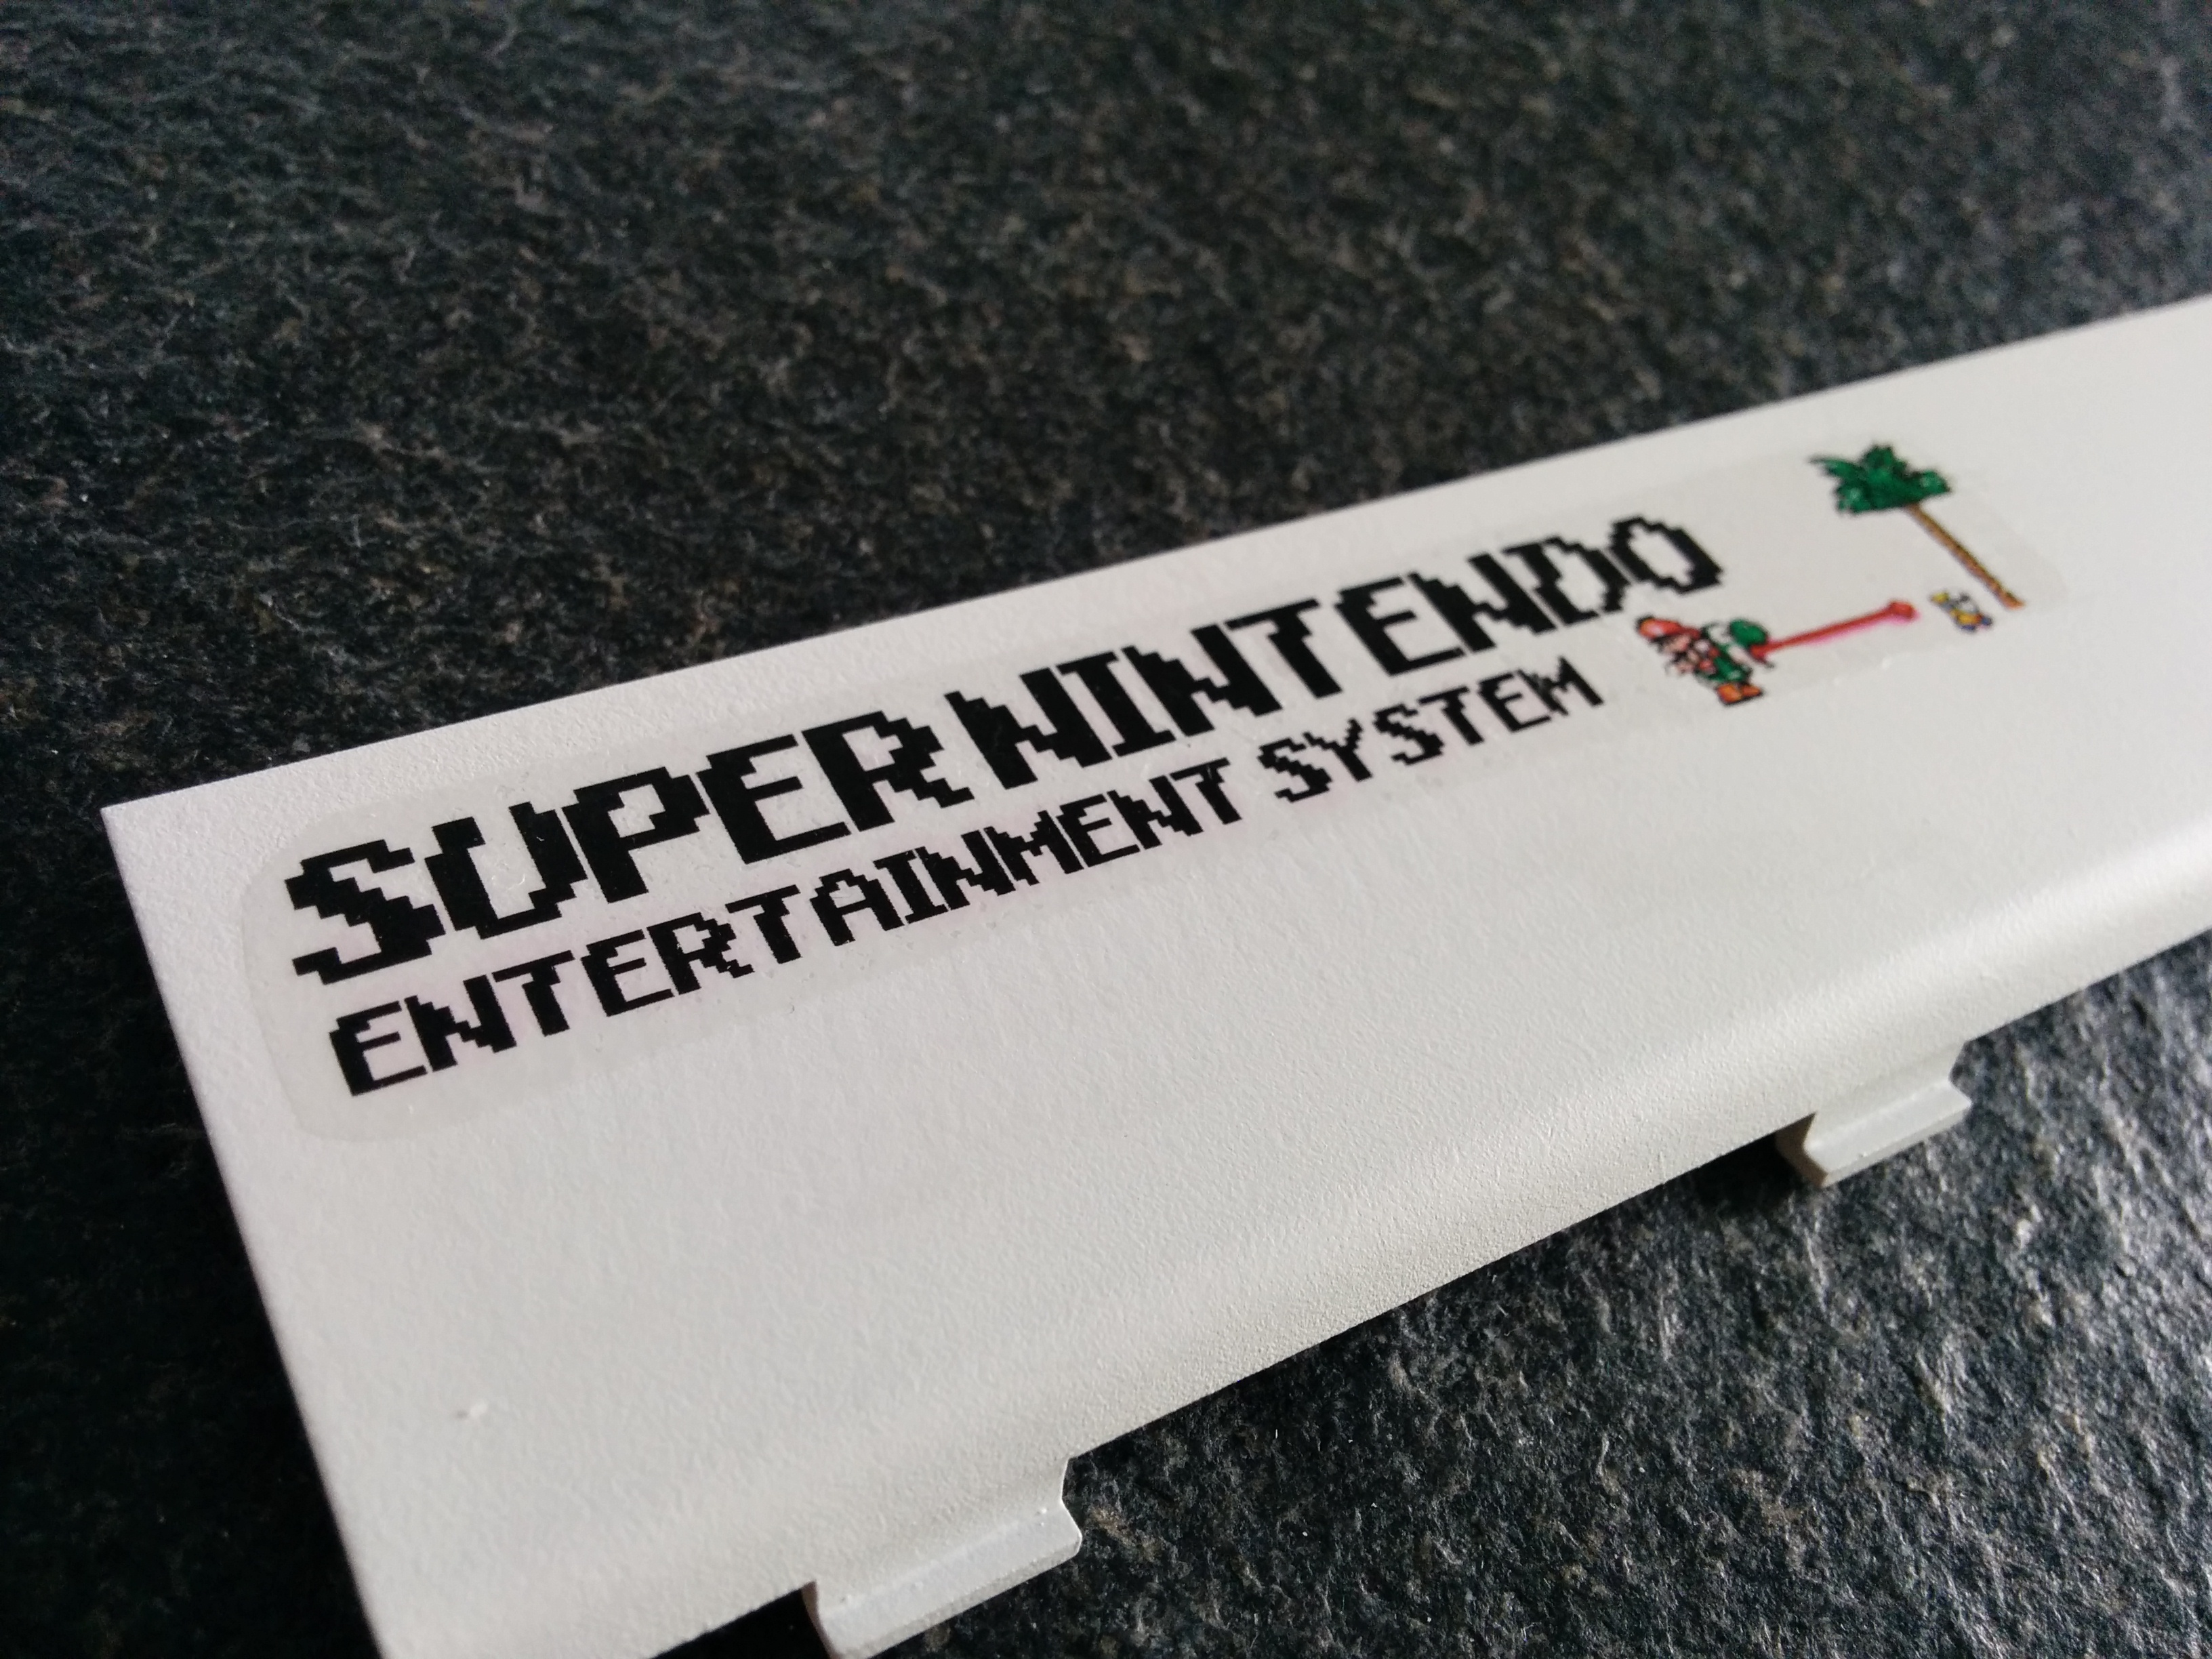
Bigger decal Yoshi’s Island title
The sun fits the round shape 😉

Sun
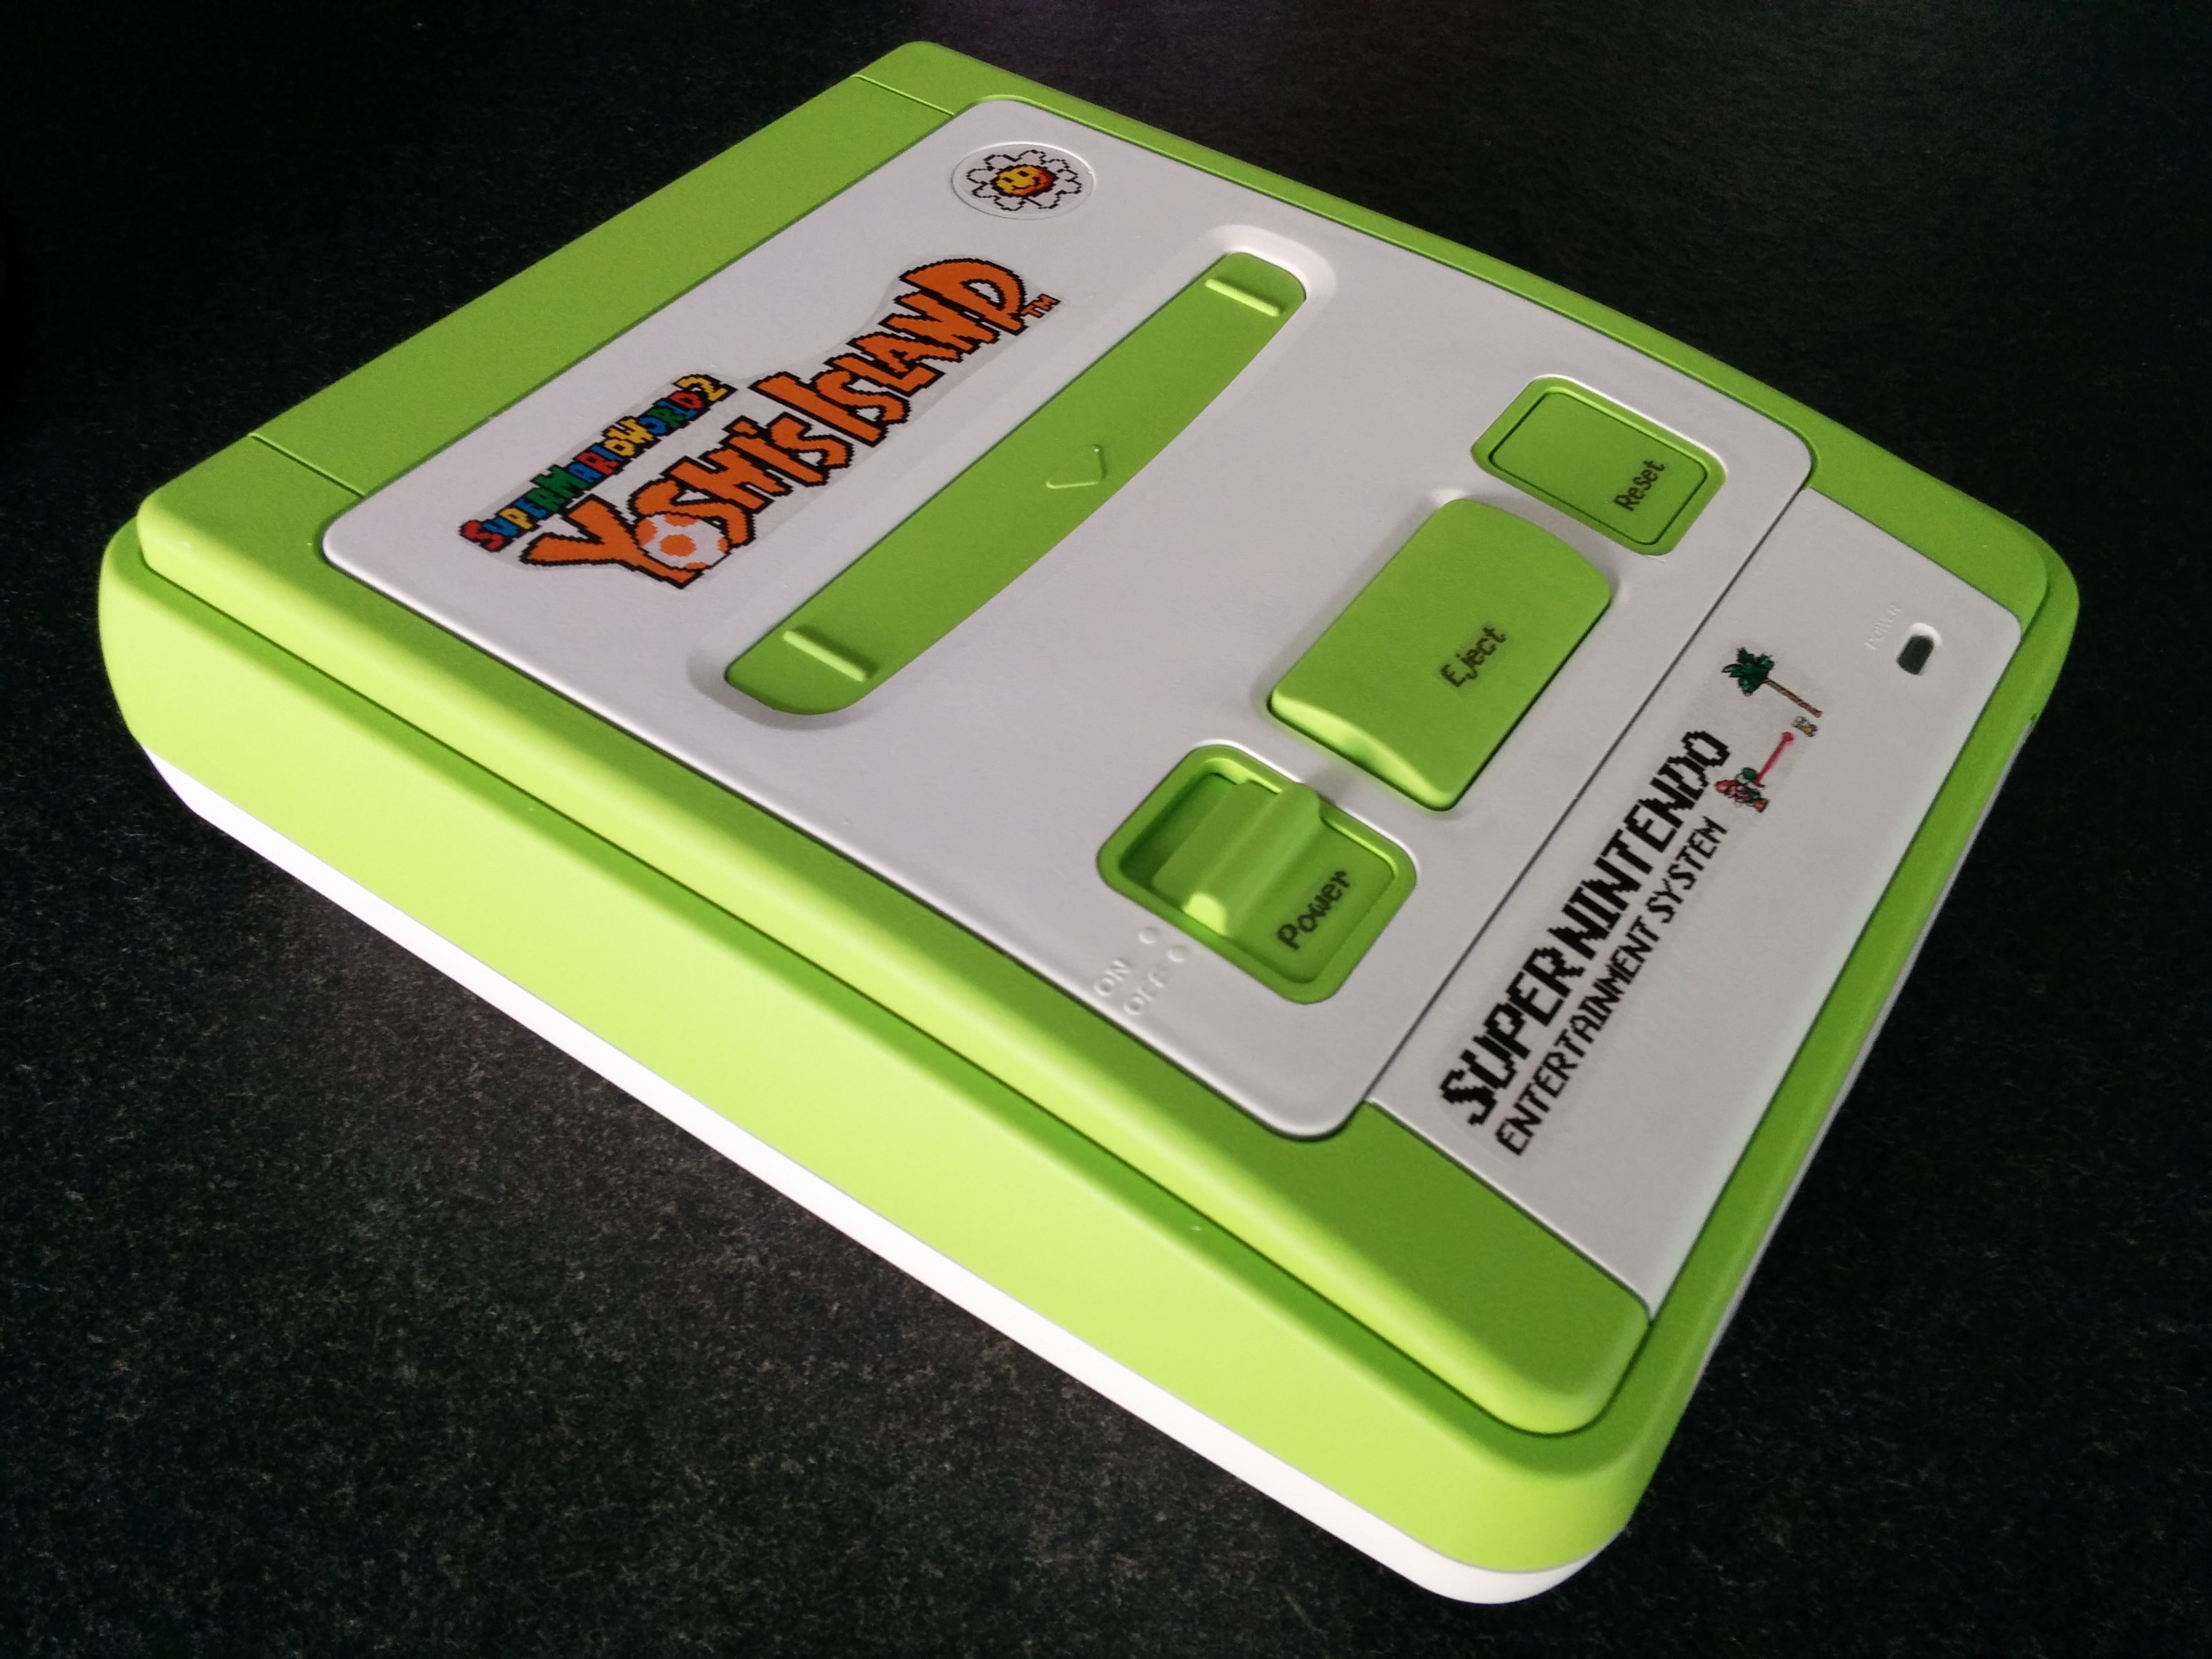
Front decal
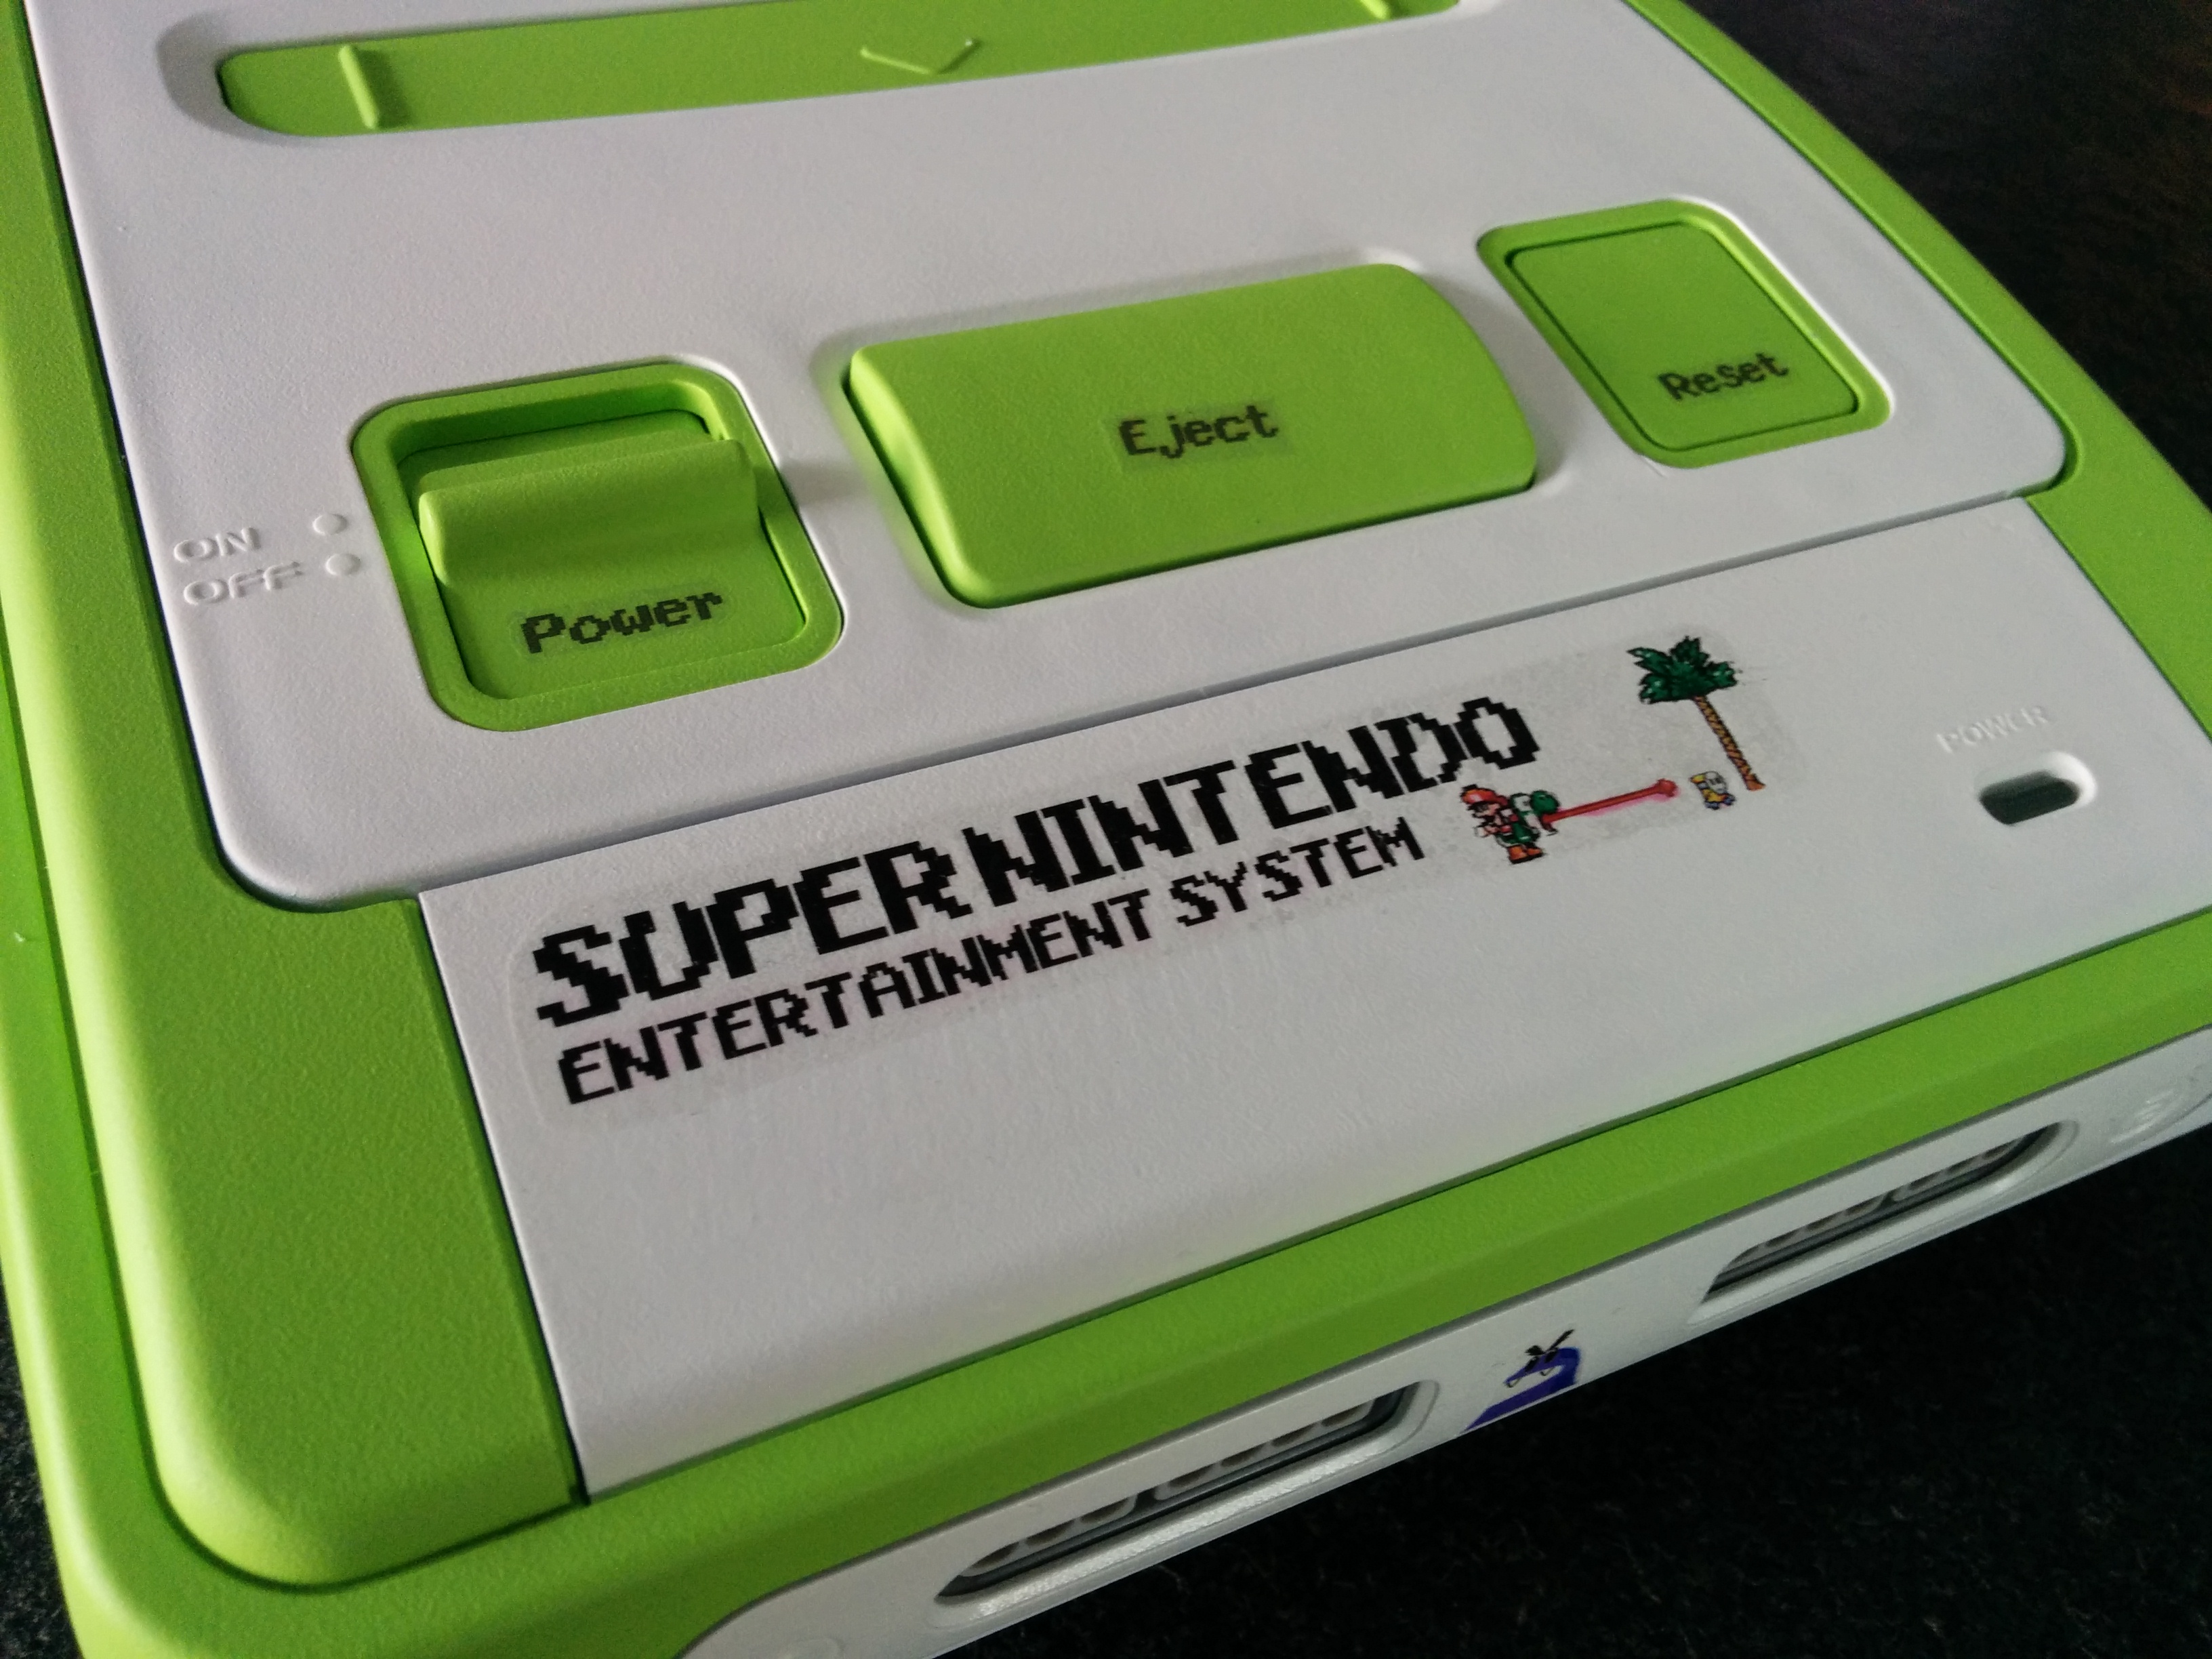
And some last impressions. Depending on the light, the green seems darker, but it’s a lime green. It’s the first console I put some effort into, and the decals were new to me. You can see some minor faults (eject button), but over all, I found it good enough for me 🙂 (P.S: not for sale)