Part 1 – see here How2 – Make your own Super NES / NES cartridge box ! – Part 1
Gluing the box on the canson paper
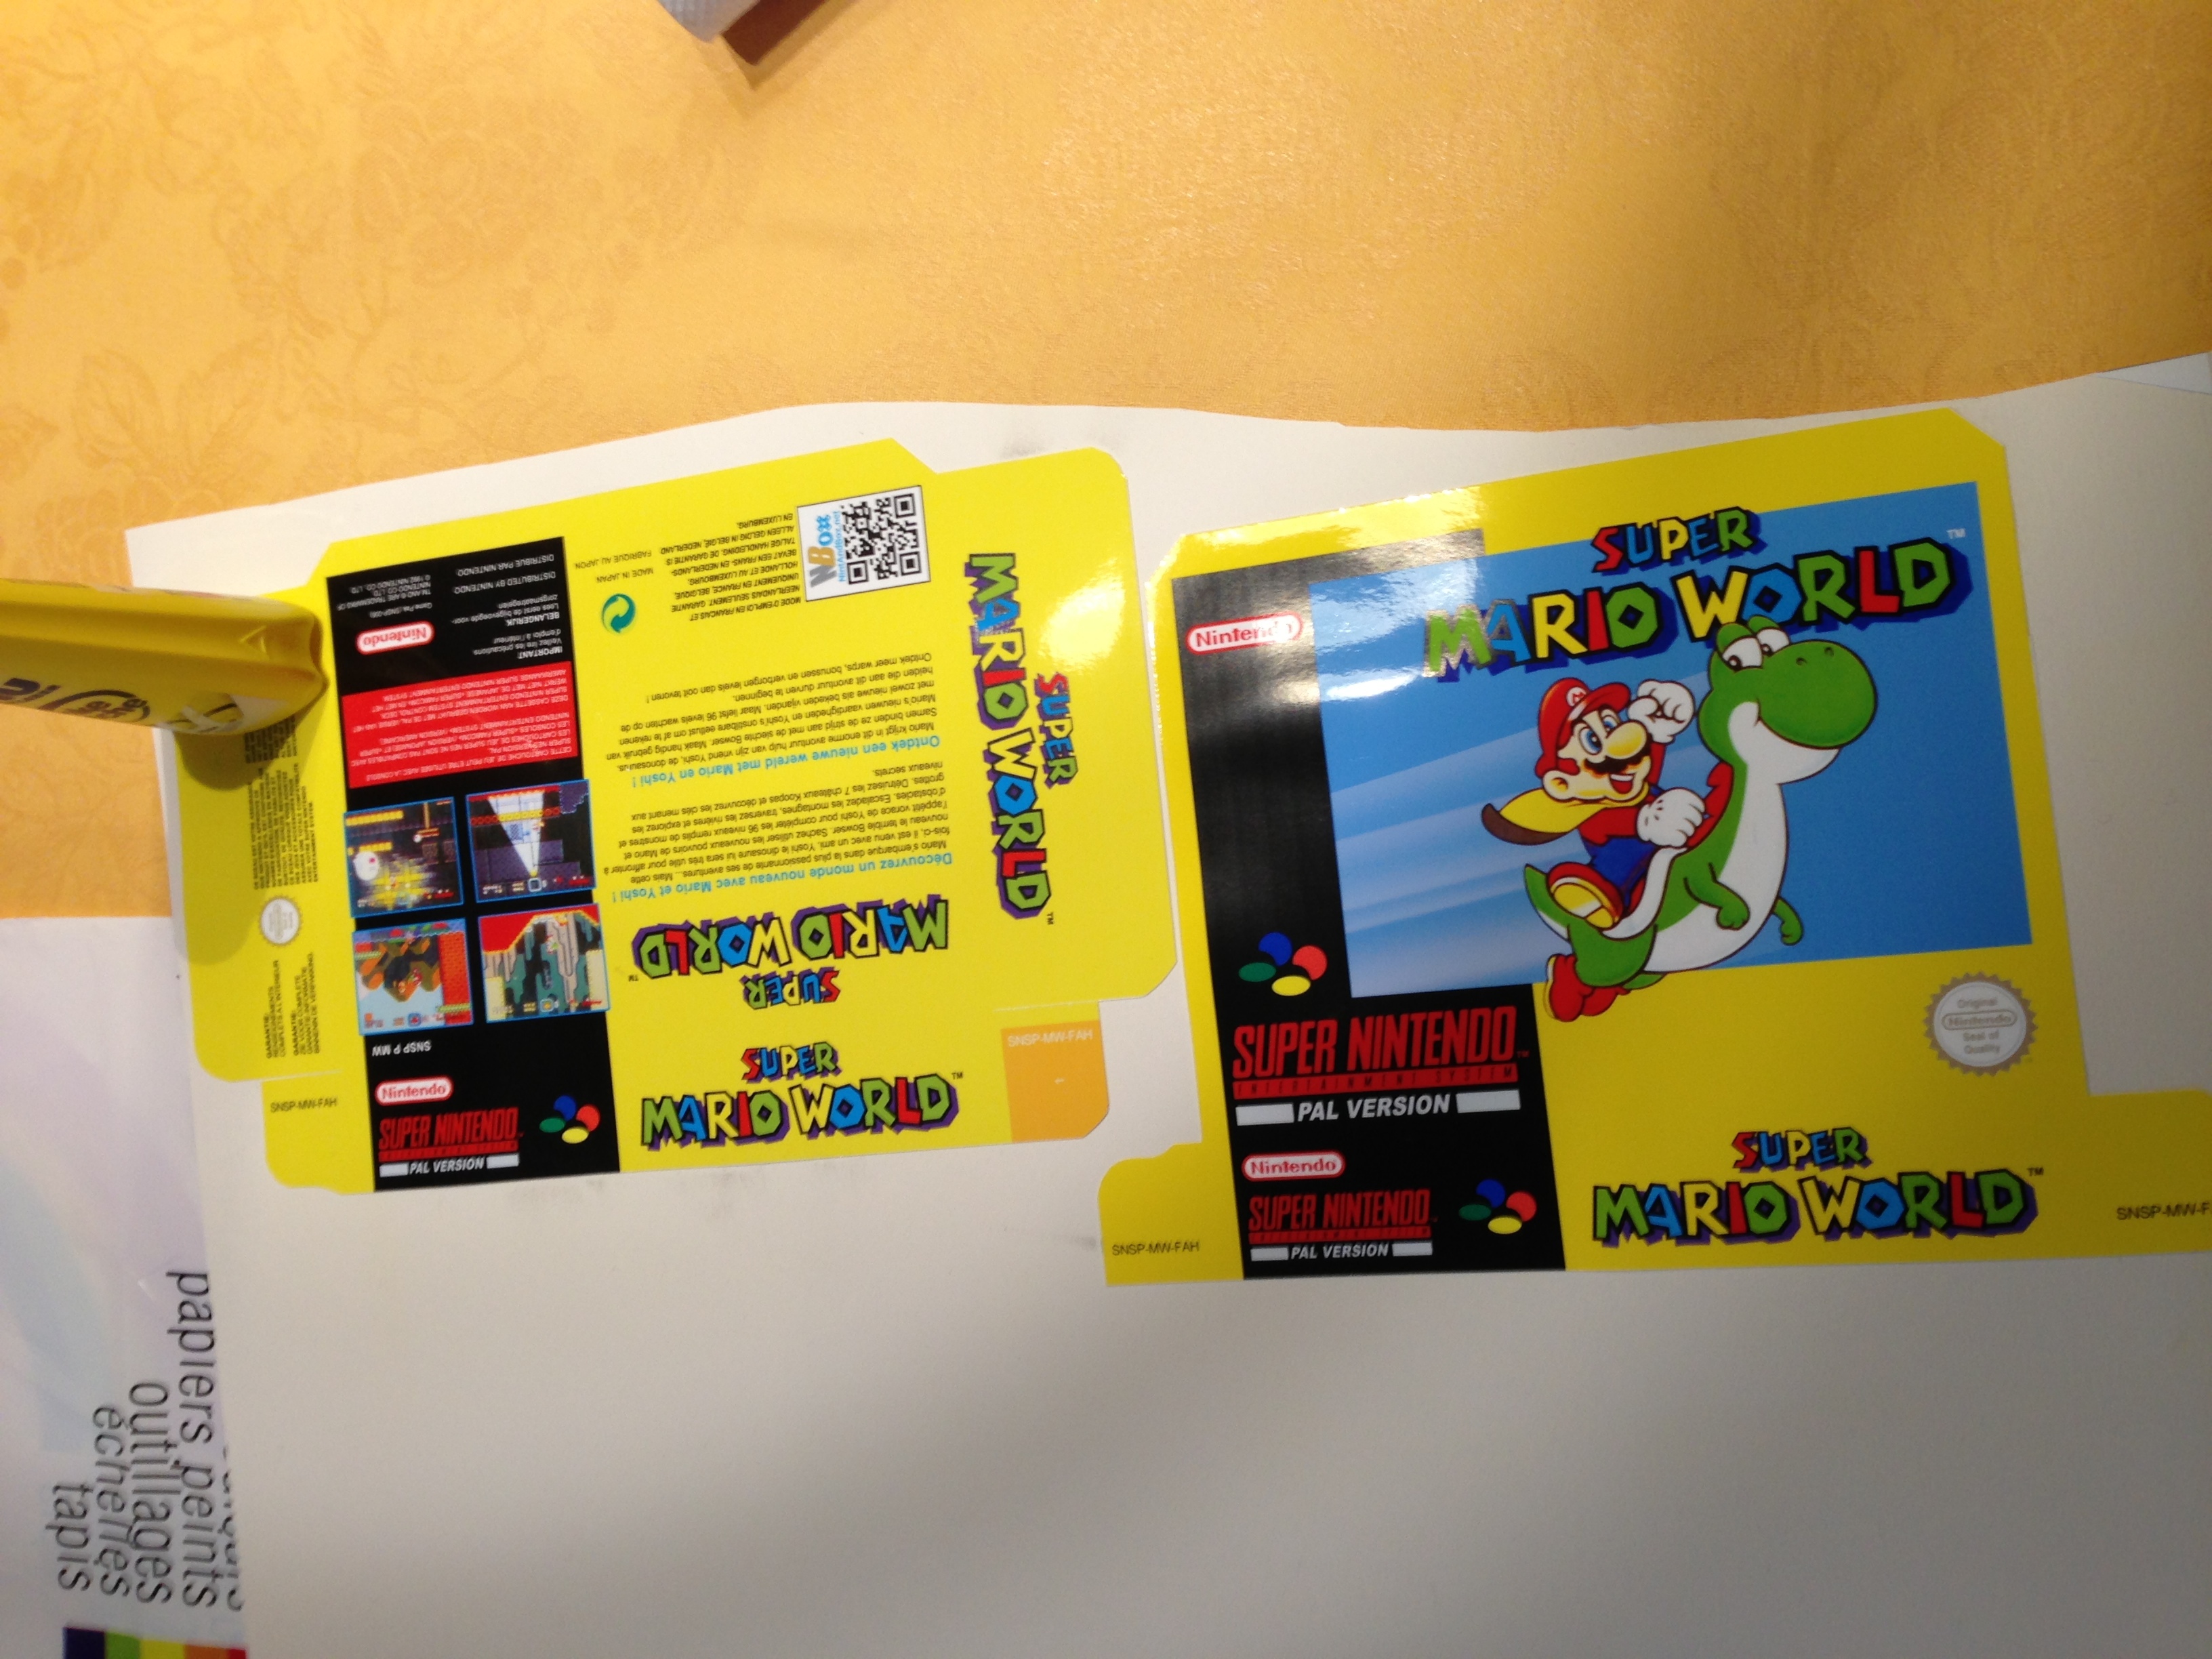
Box glued
There are several methods to proceed now:
– Either cut out the box and glue it onto the Canson paper
– or glue the page onto the Canson paper
I use the 3M spray mount for this.
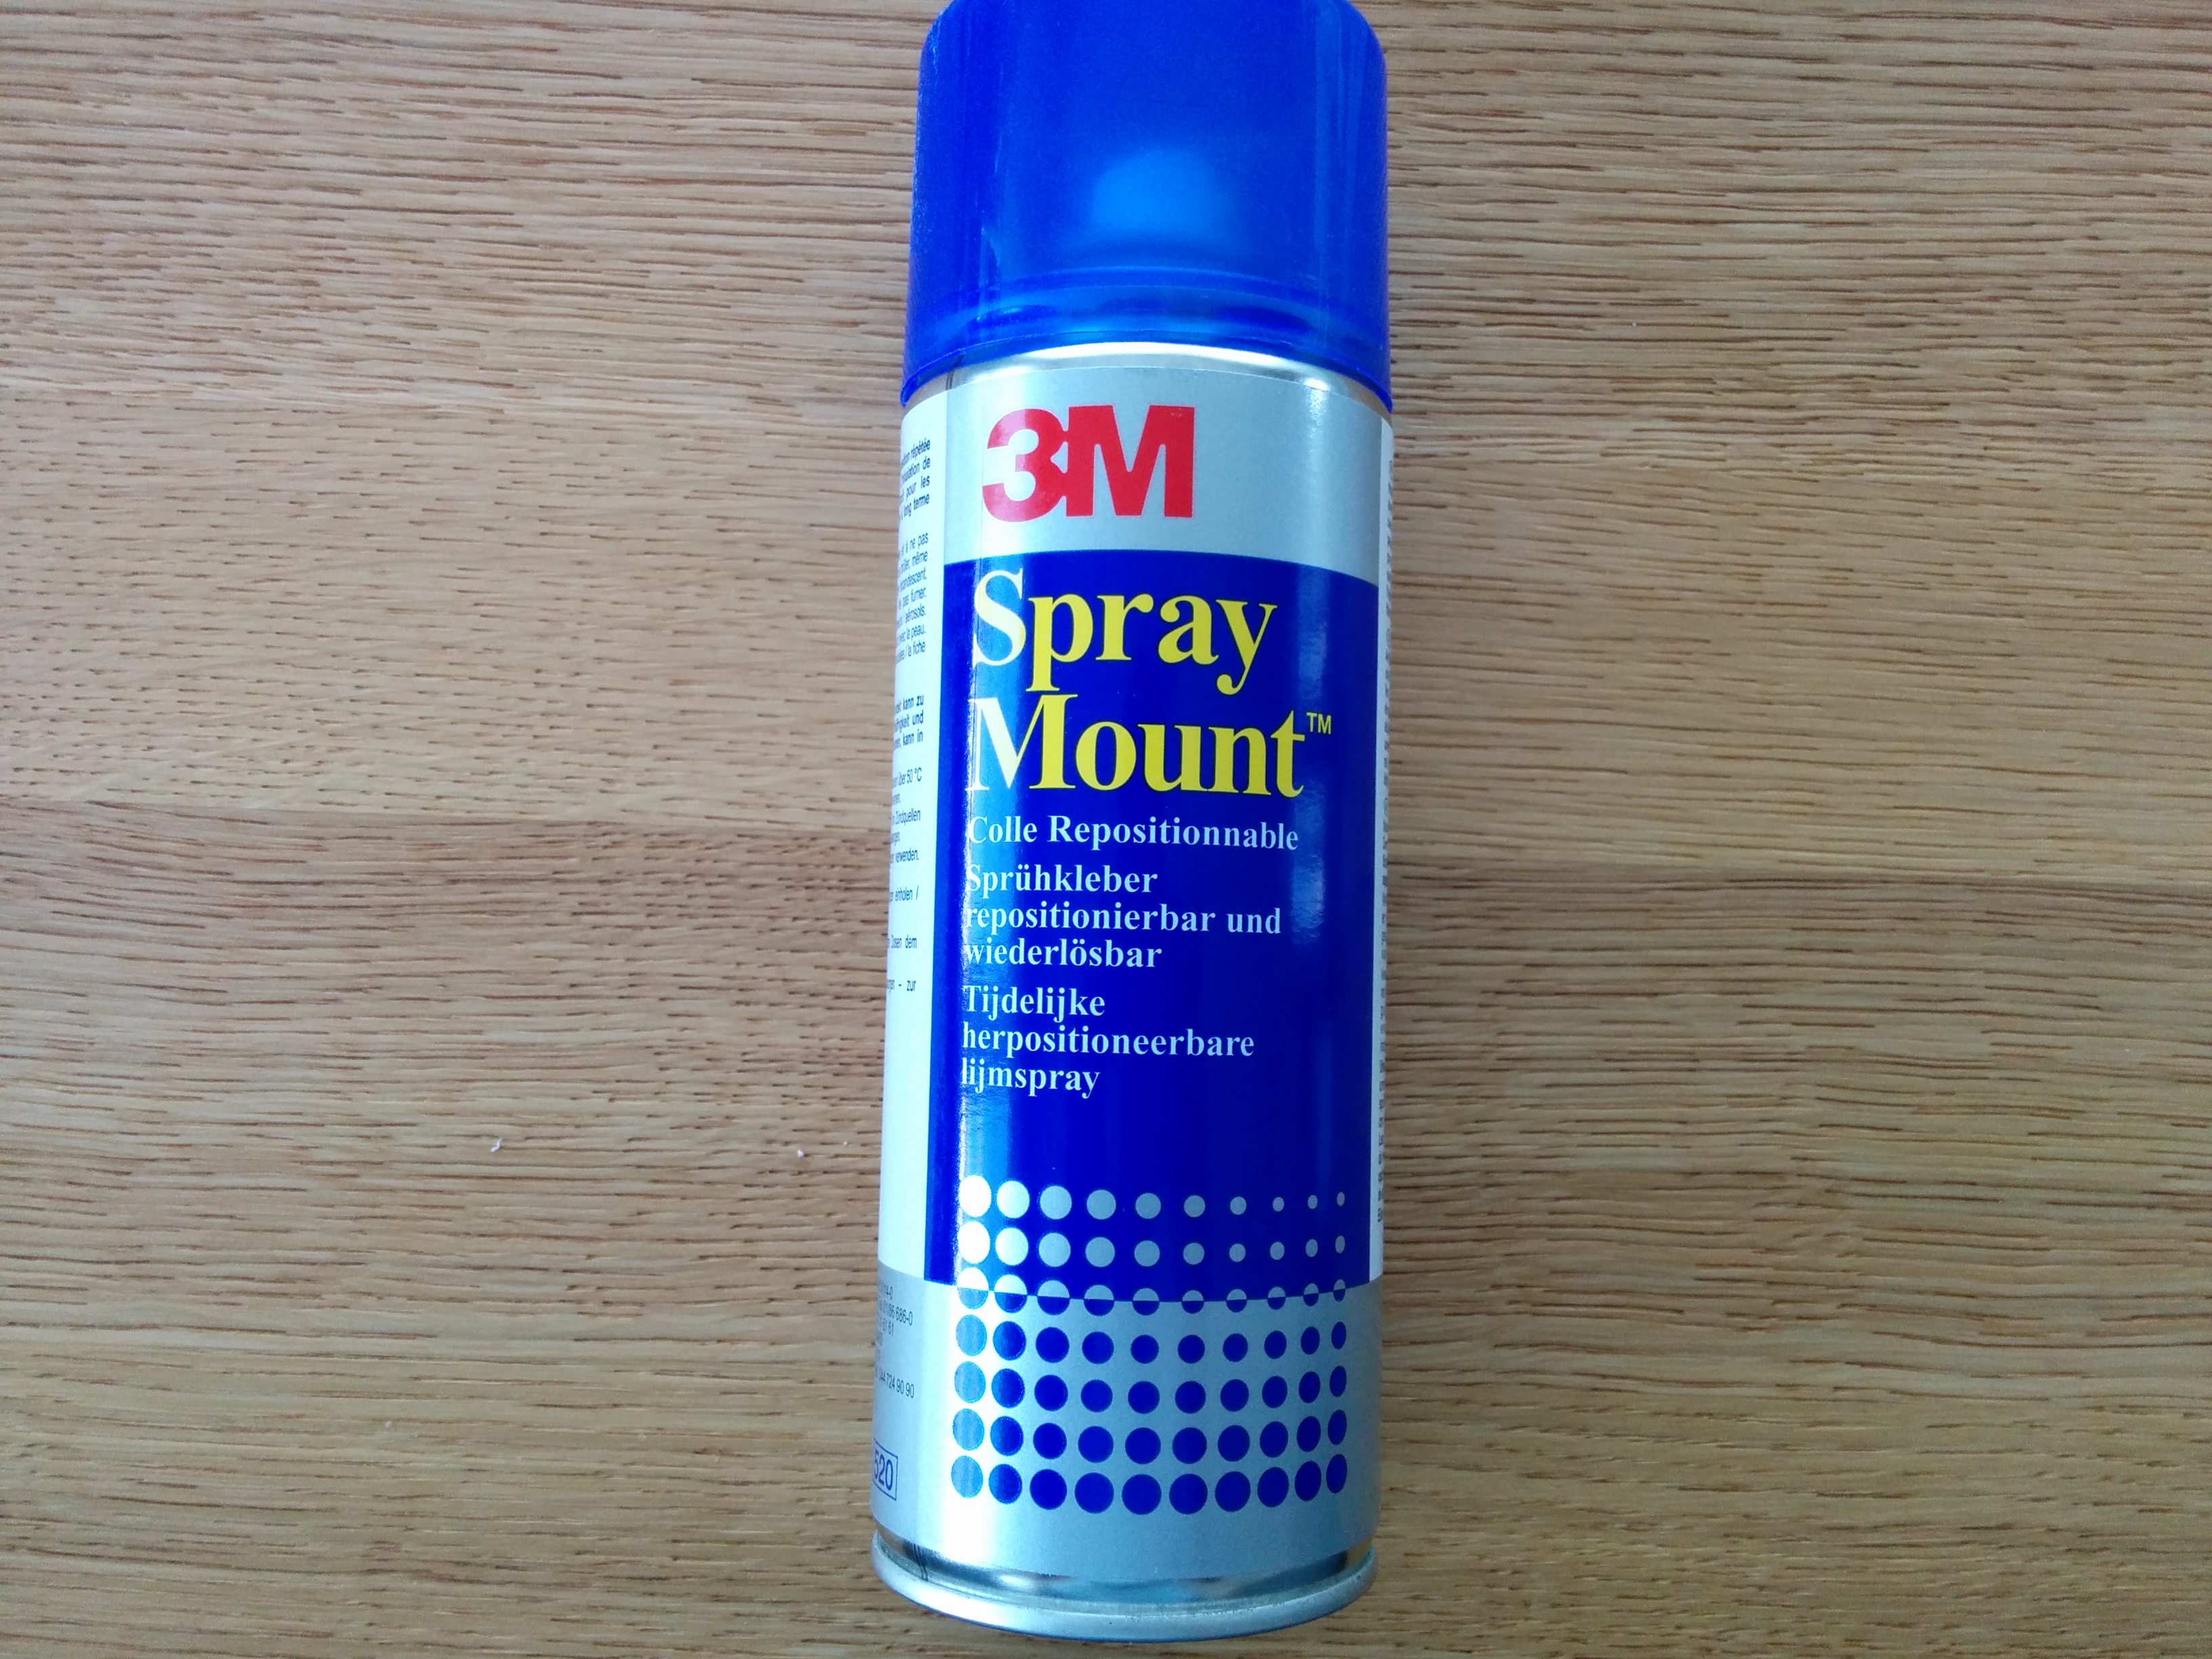
3M Spray Mount
Spray equally and enough, but don’t create “glue lakes” cause they wet the paper and can provoke deformations. After spraying the Canson Paper, you have some time, let’s say 15-30s to put the printed paper on it.
Then apply a single paper on it, and put enough weight on it. I used some heavy books for that.
Let it dry for hours…to be sure, I let it dry 2-5h. I often continue much later or the other day, to be sure.
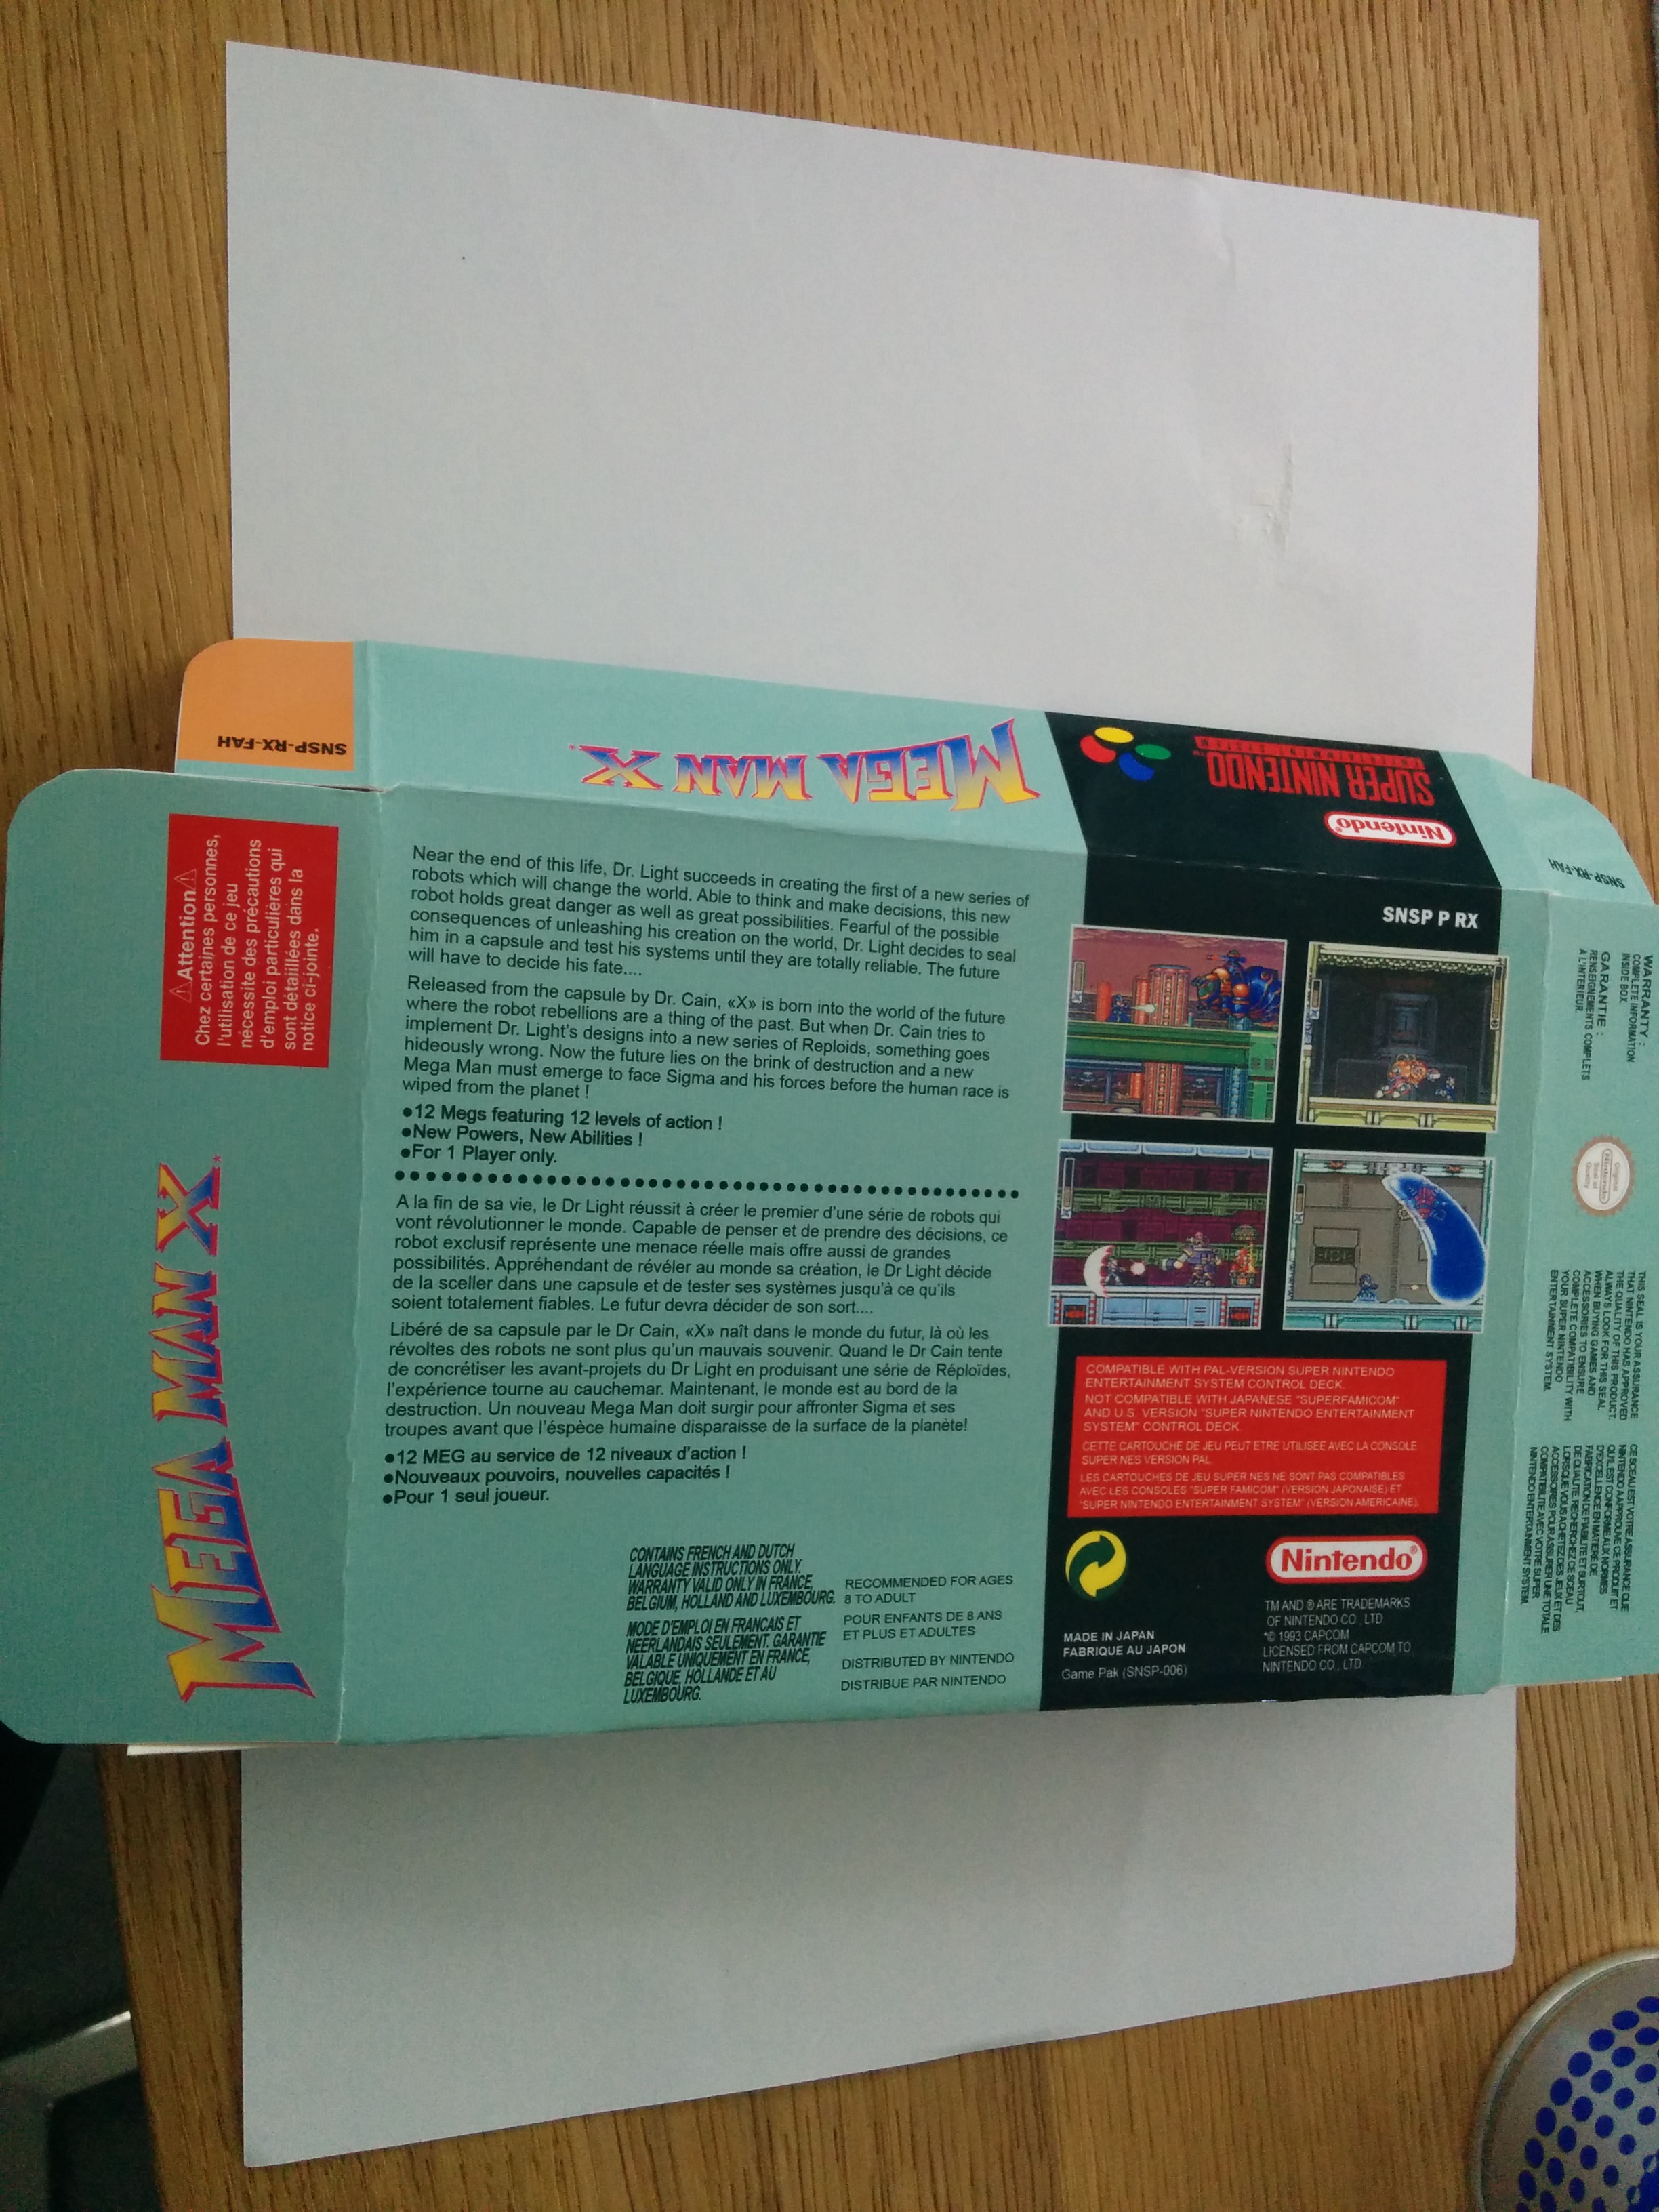
Cutting
I used some normal paper scissors to cut out the detailed parts of the box. For the rest, I used a precision cutter to guarantee a straight cut-out.
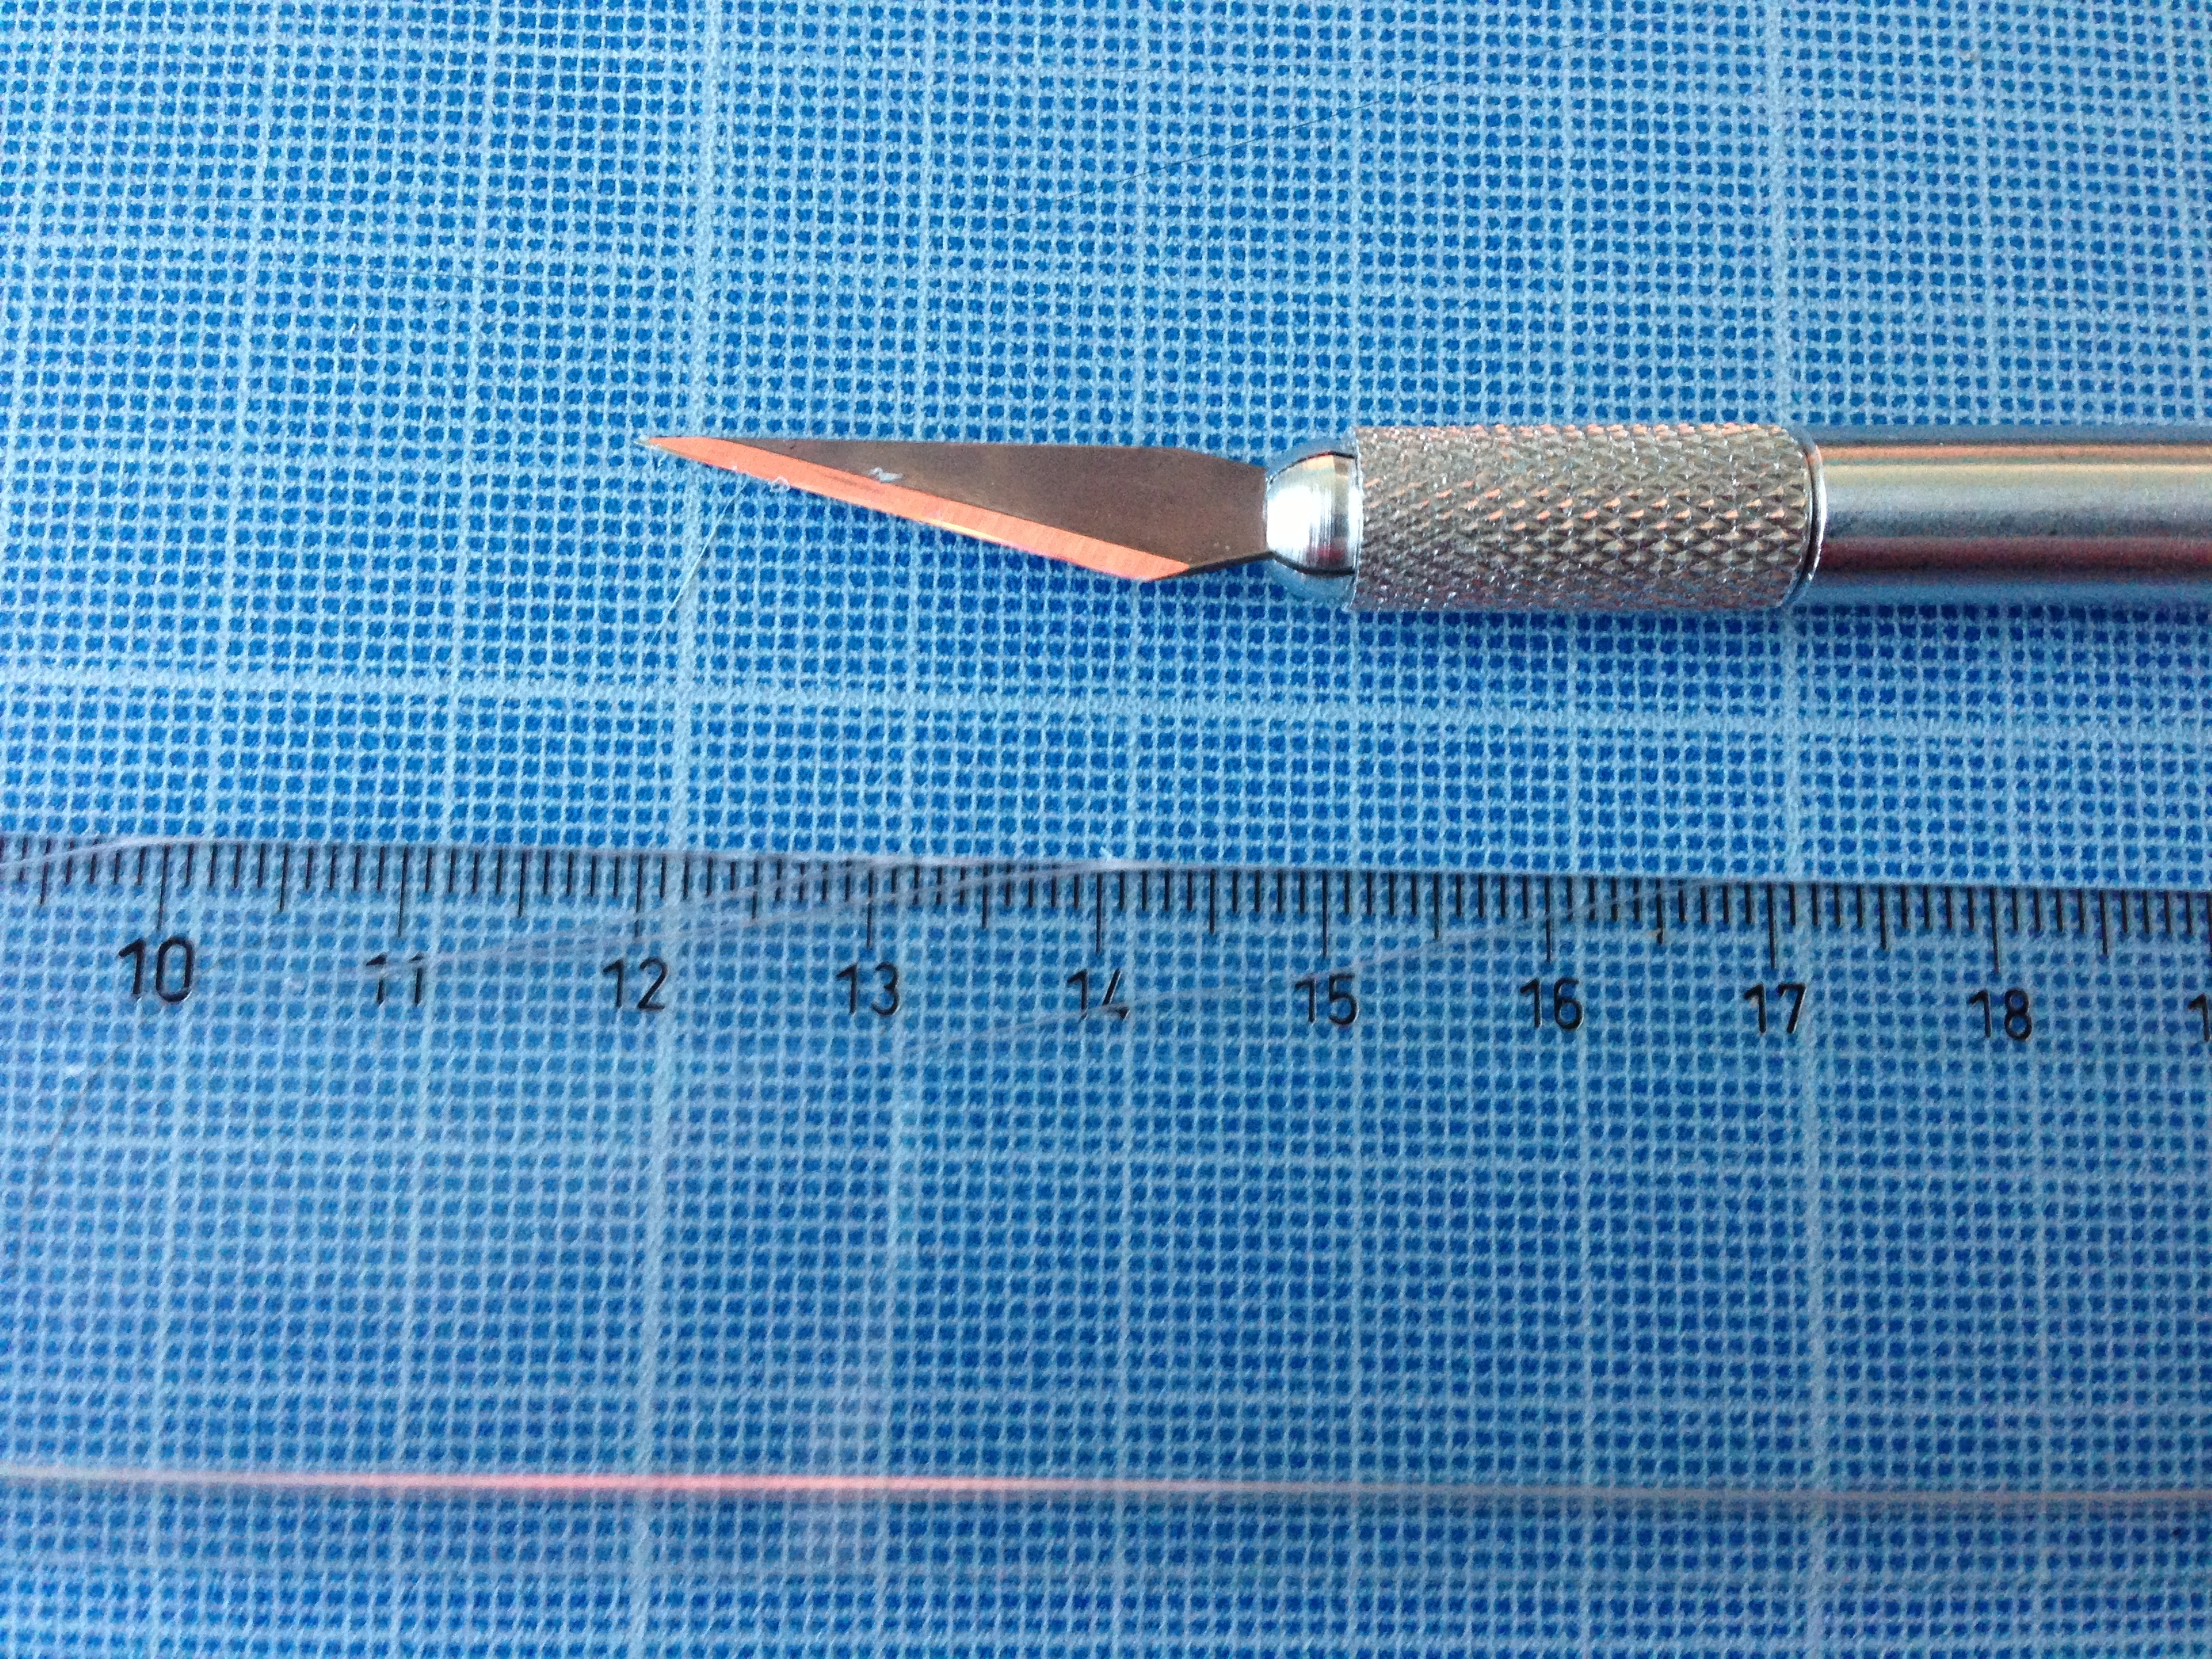
Cutter
After cutting out the box, you might need to add some glue to bad glued surfaces. This might also happen after folding the edges. I did add some Uhu glue.
MissingGlue
Add weight or use clips:
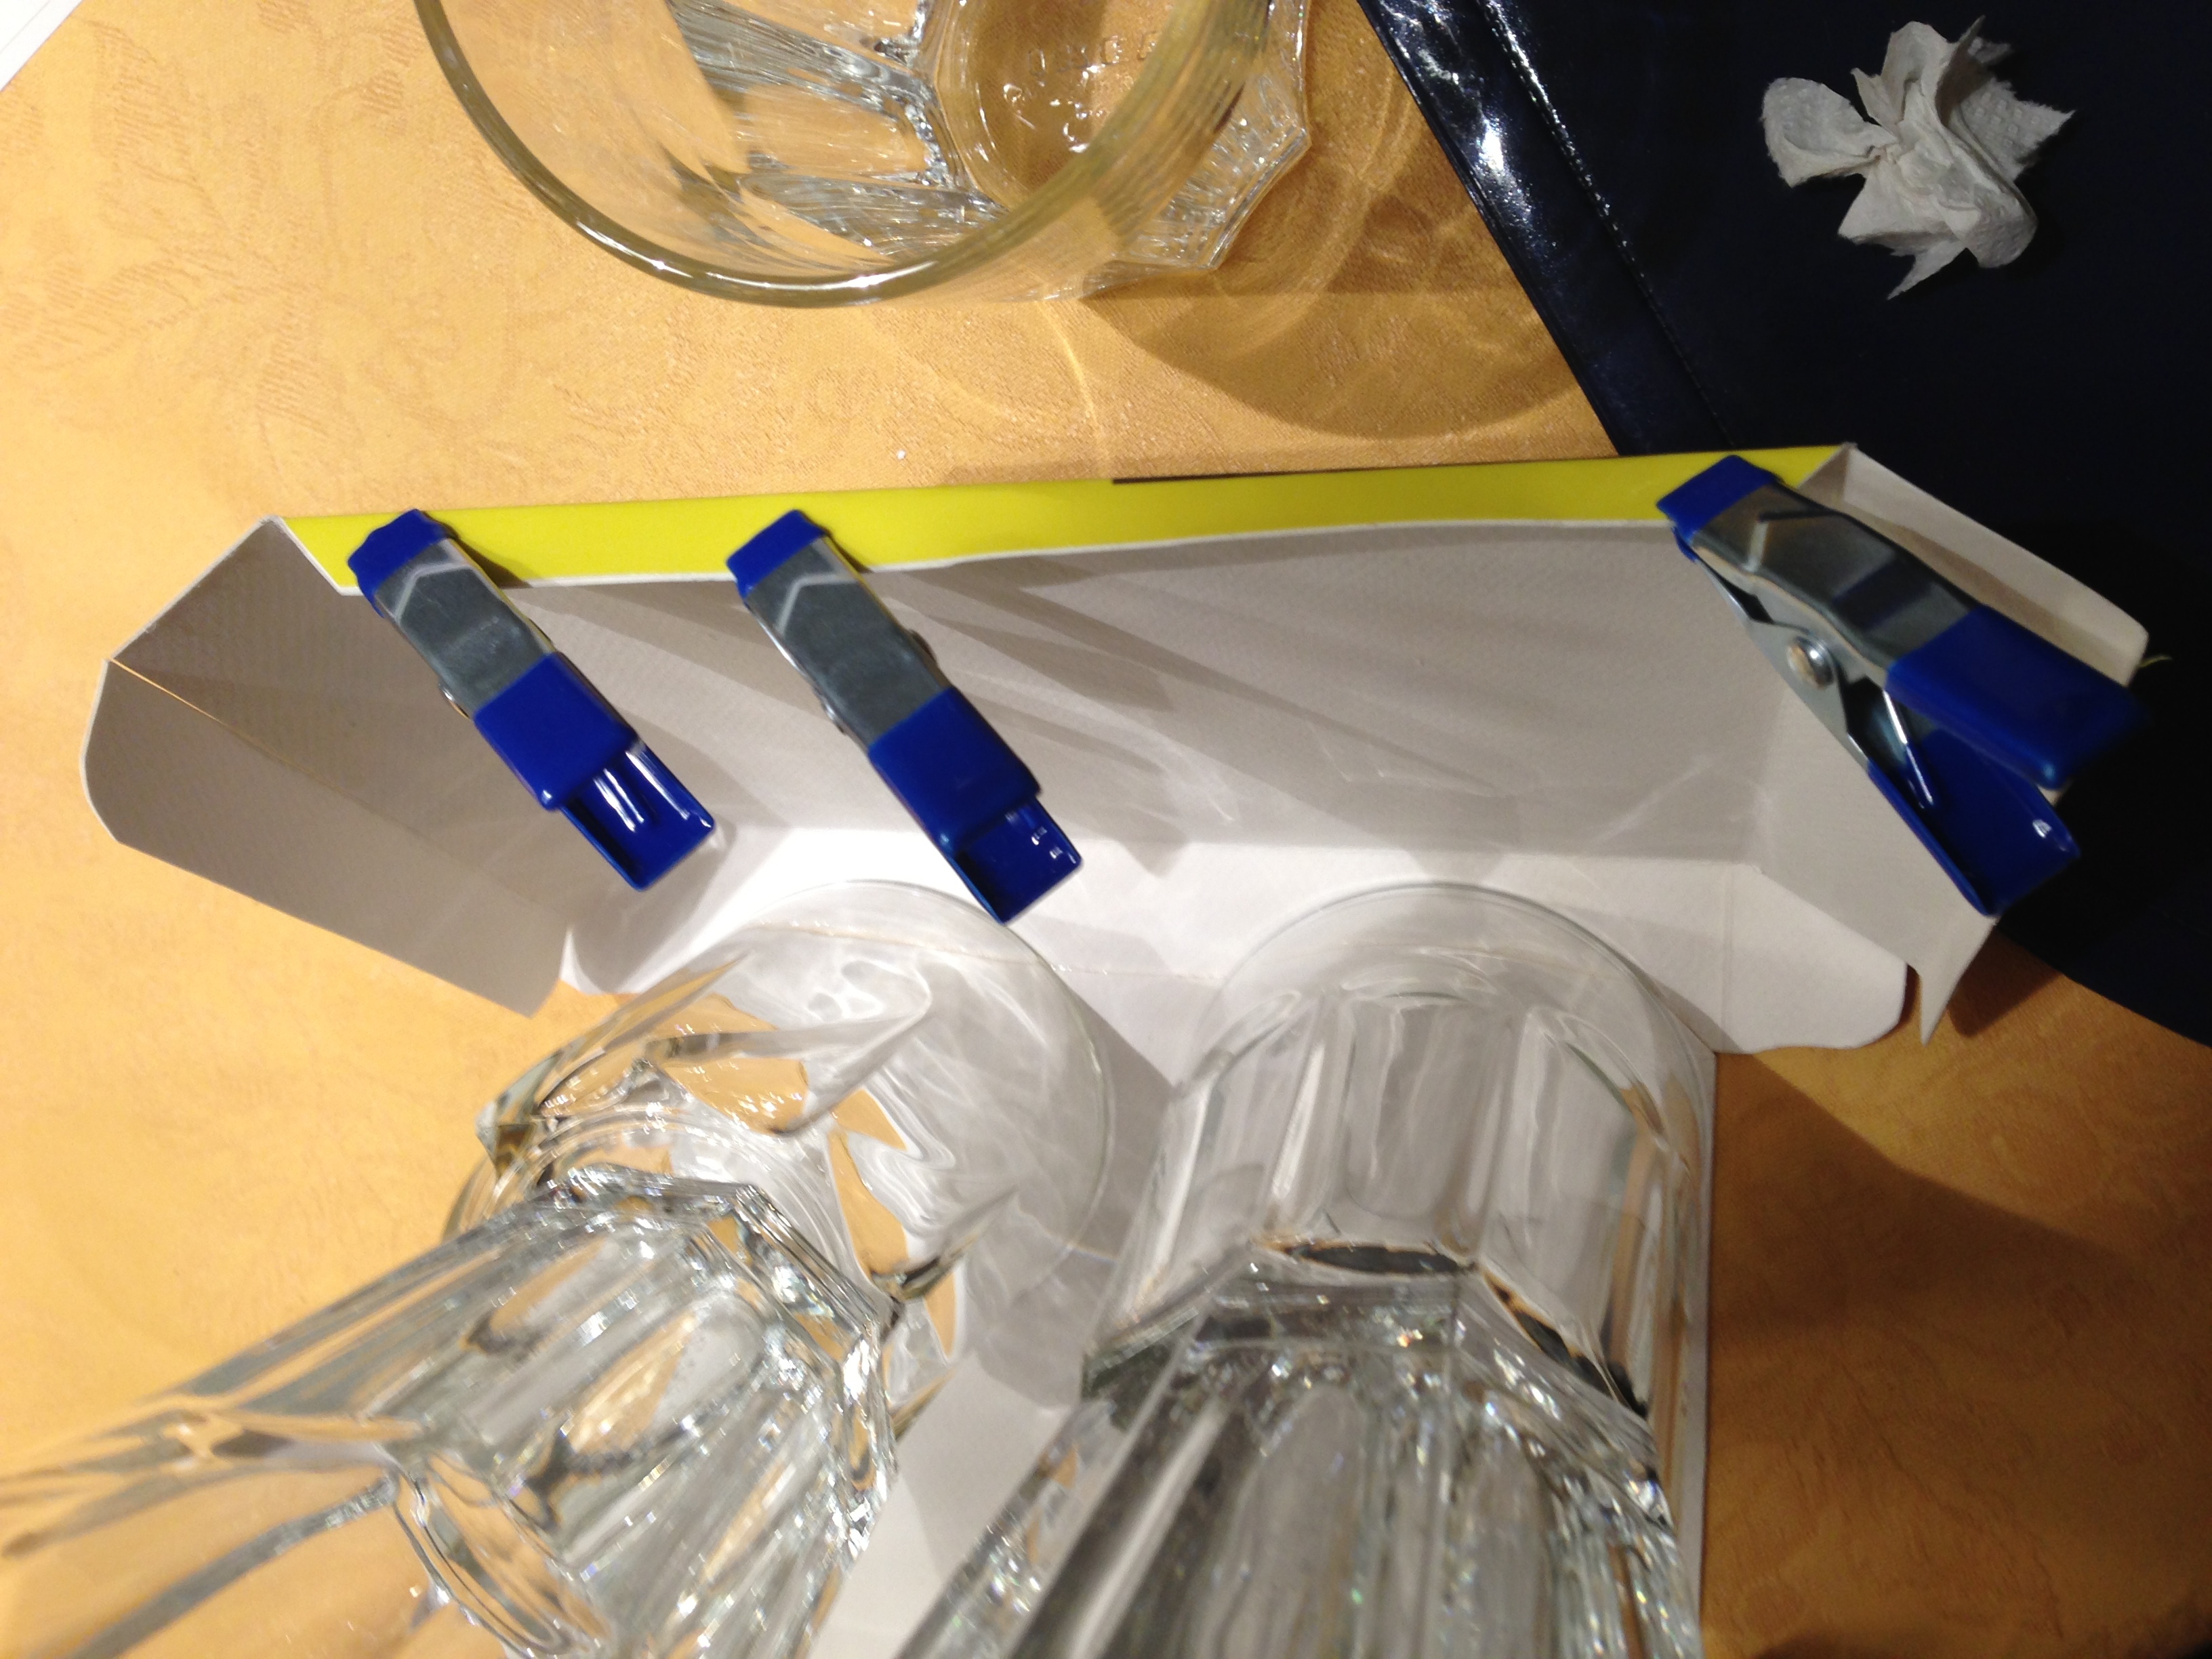
Clips
Finishing
The last part: glue the last length of the box, and add some weight (books…). I left it over night.
The next day, assemble the box, and insert an inlay to maintain stability and hold it in the right position. You can add some weight to prevent curbing.
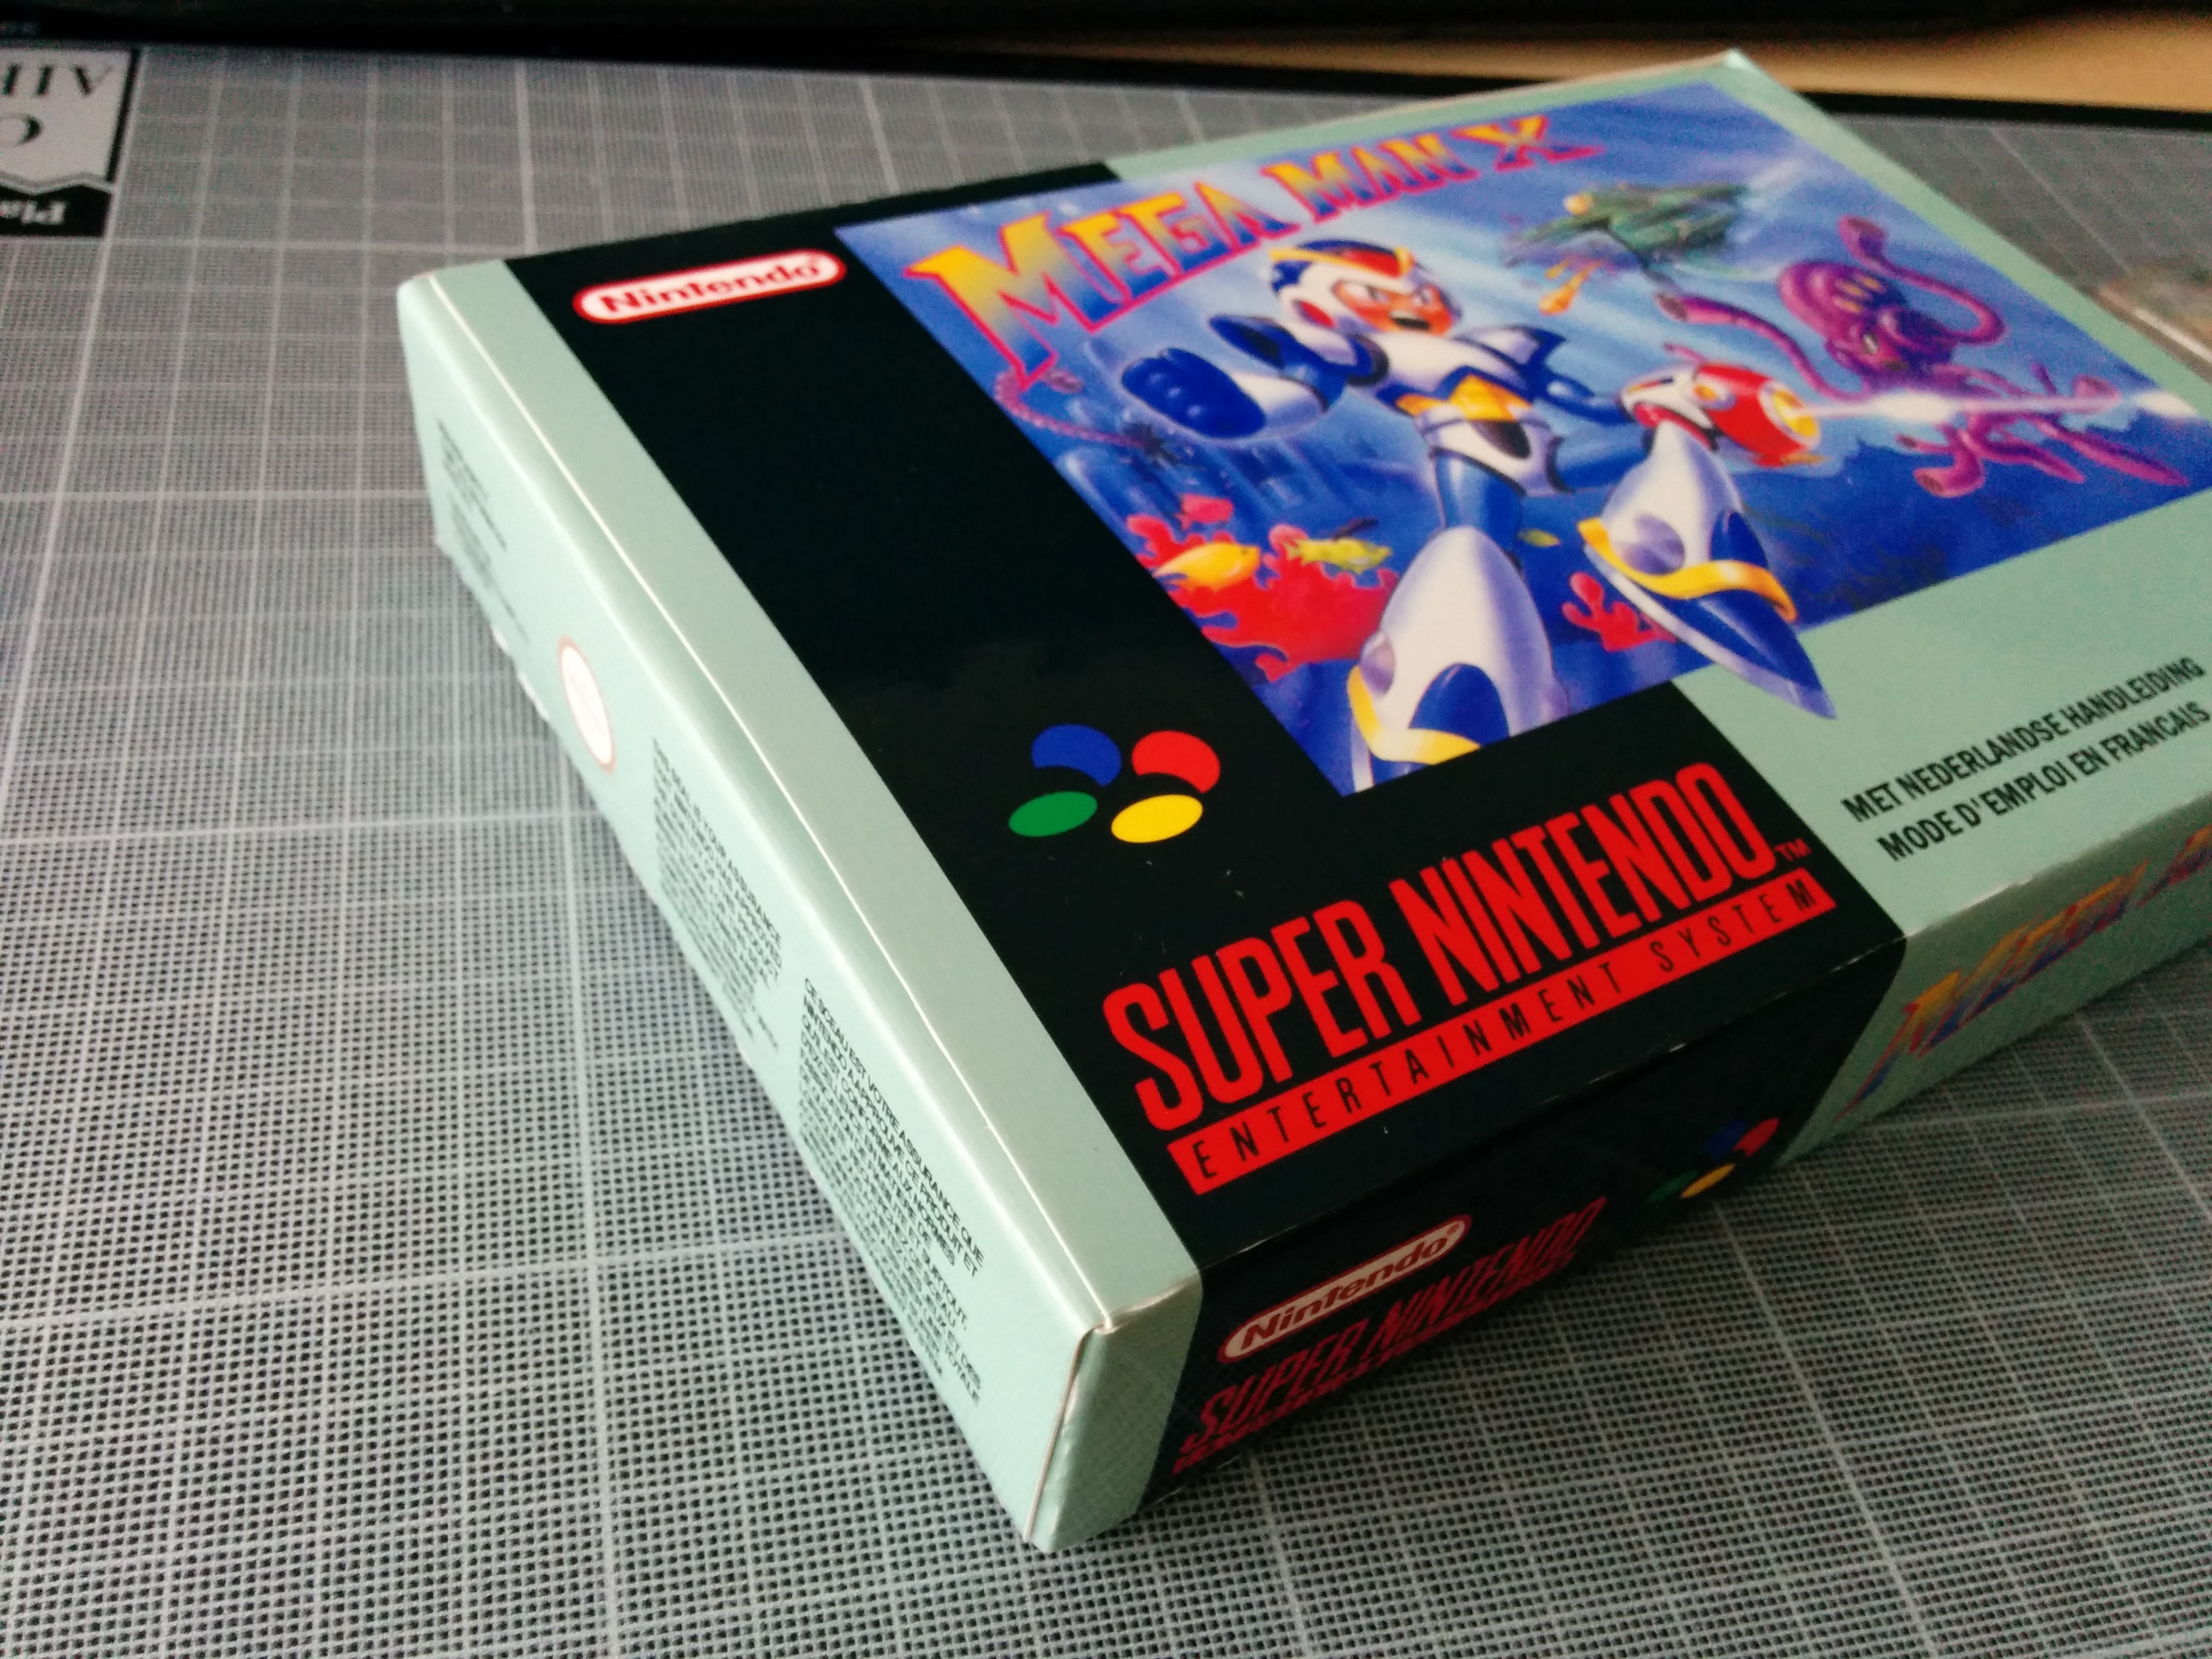
Finished box
Creating a perfect box is a very hard mission. in my case, some curbing occurred cause i glued the 2nd length a bit too tight/short. As the final paper is thick, you can probably see the white Canson paper used. Grey one is better in that case:
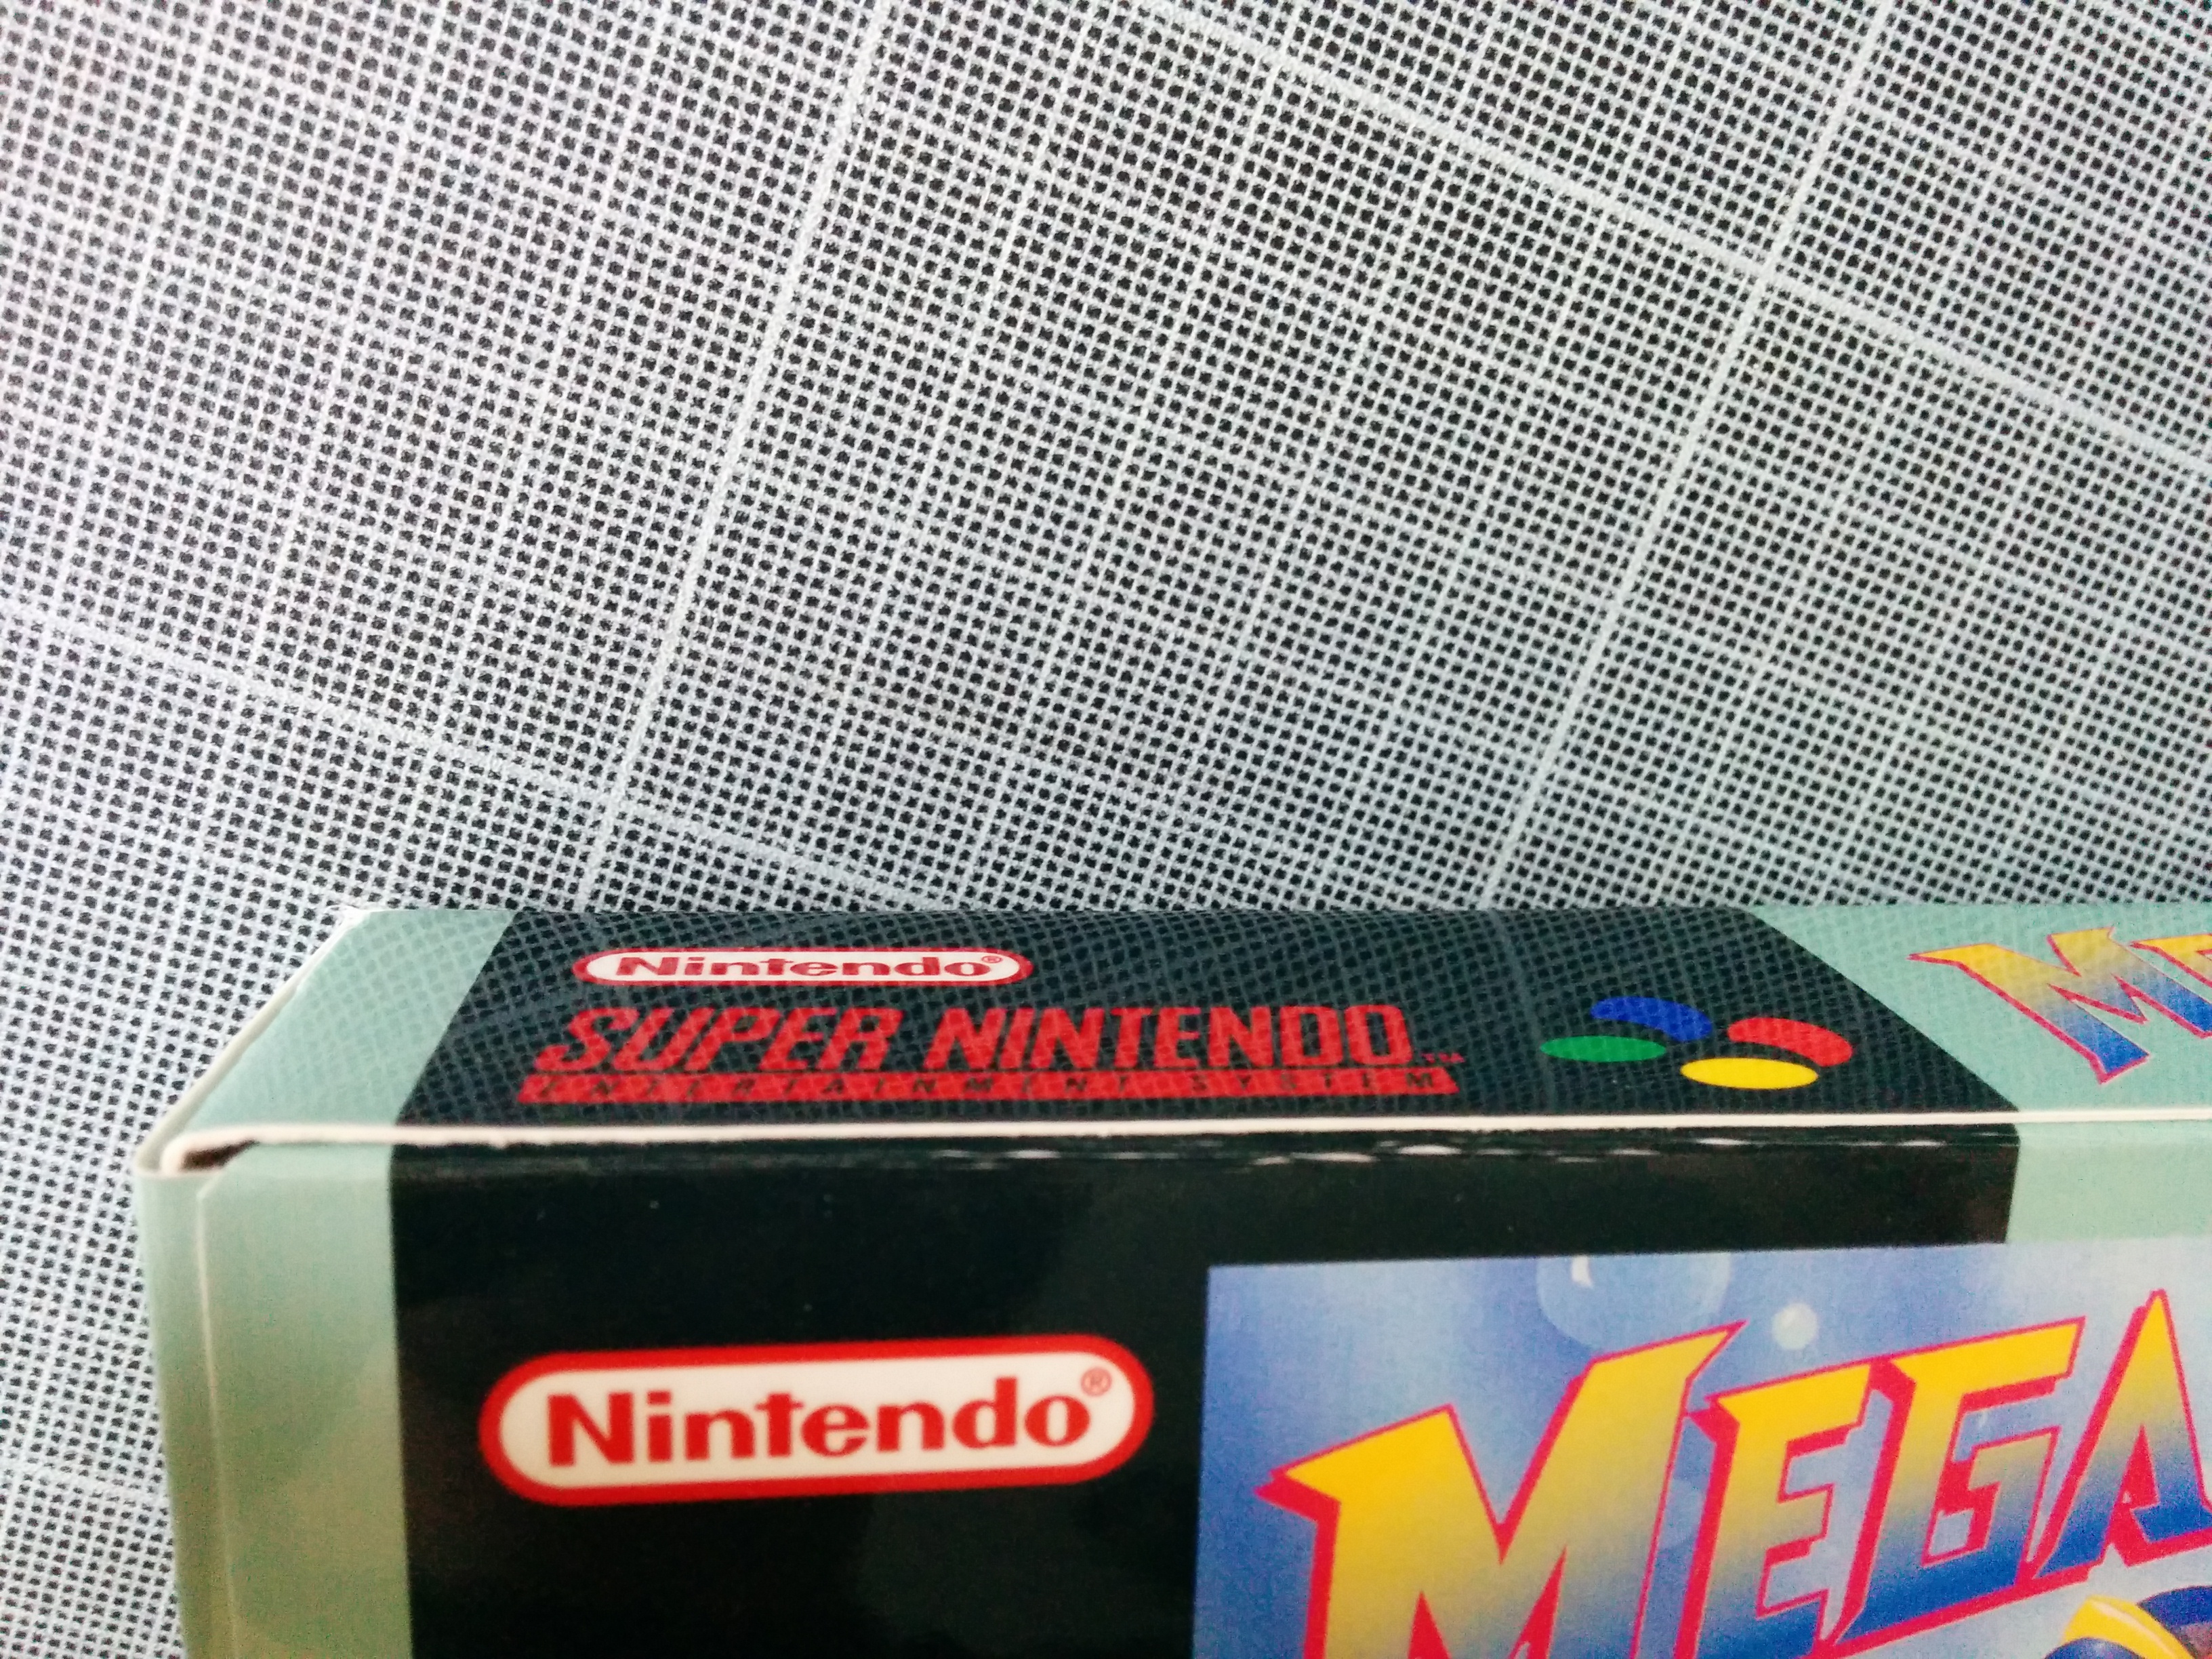
Thick white paper
Other tries
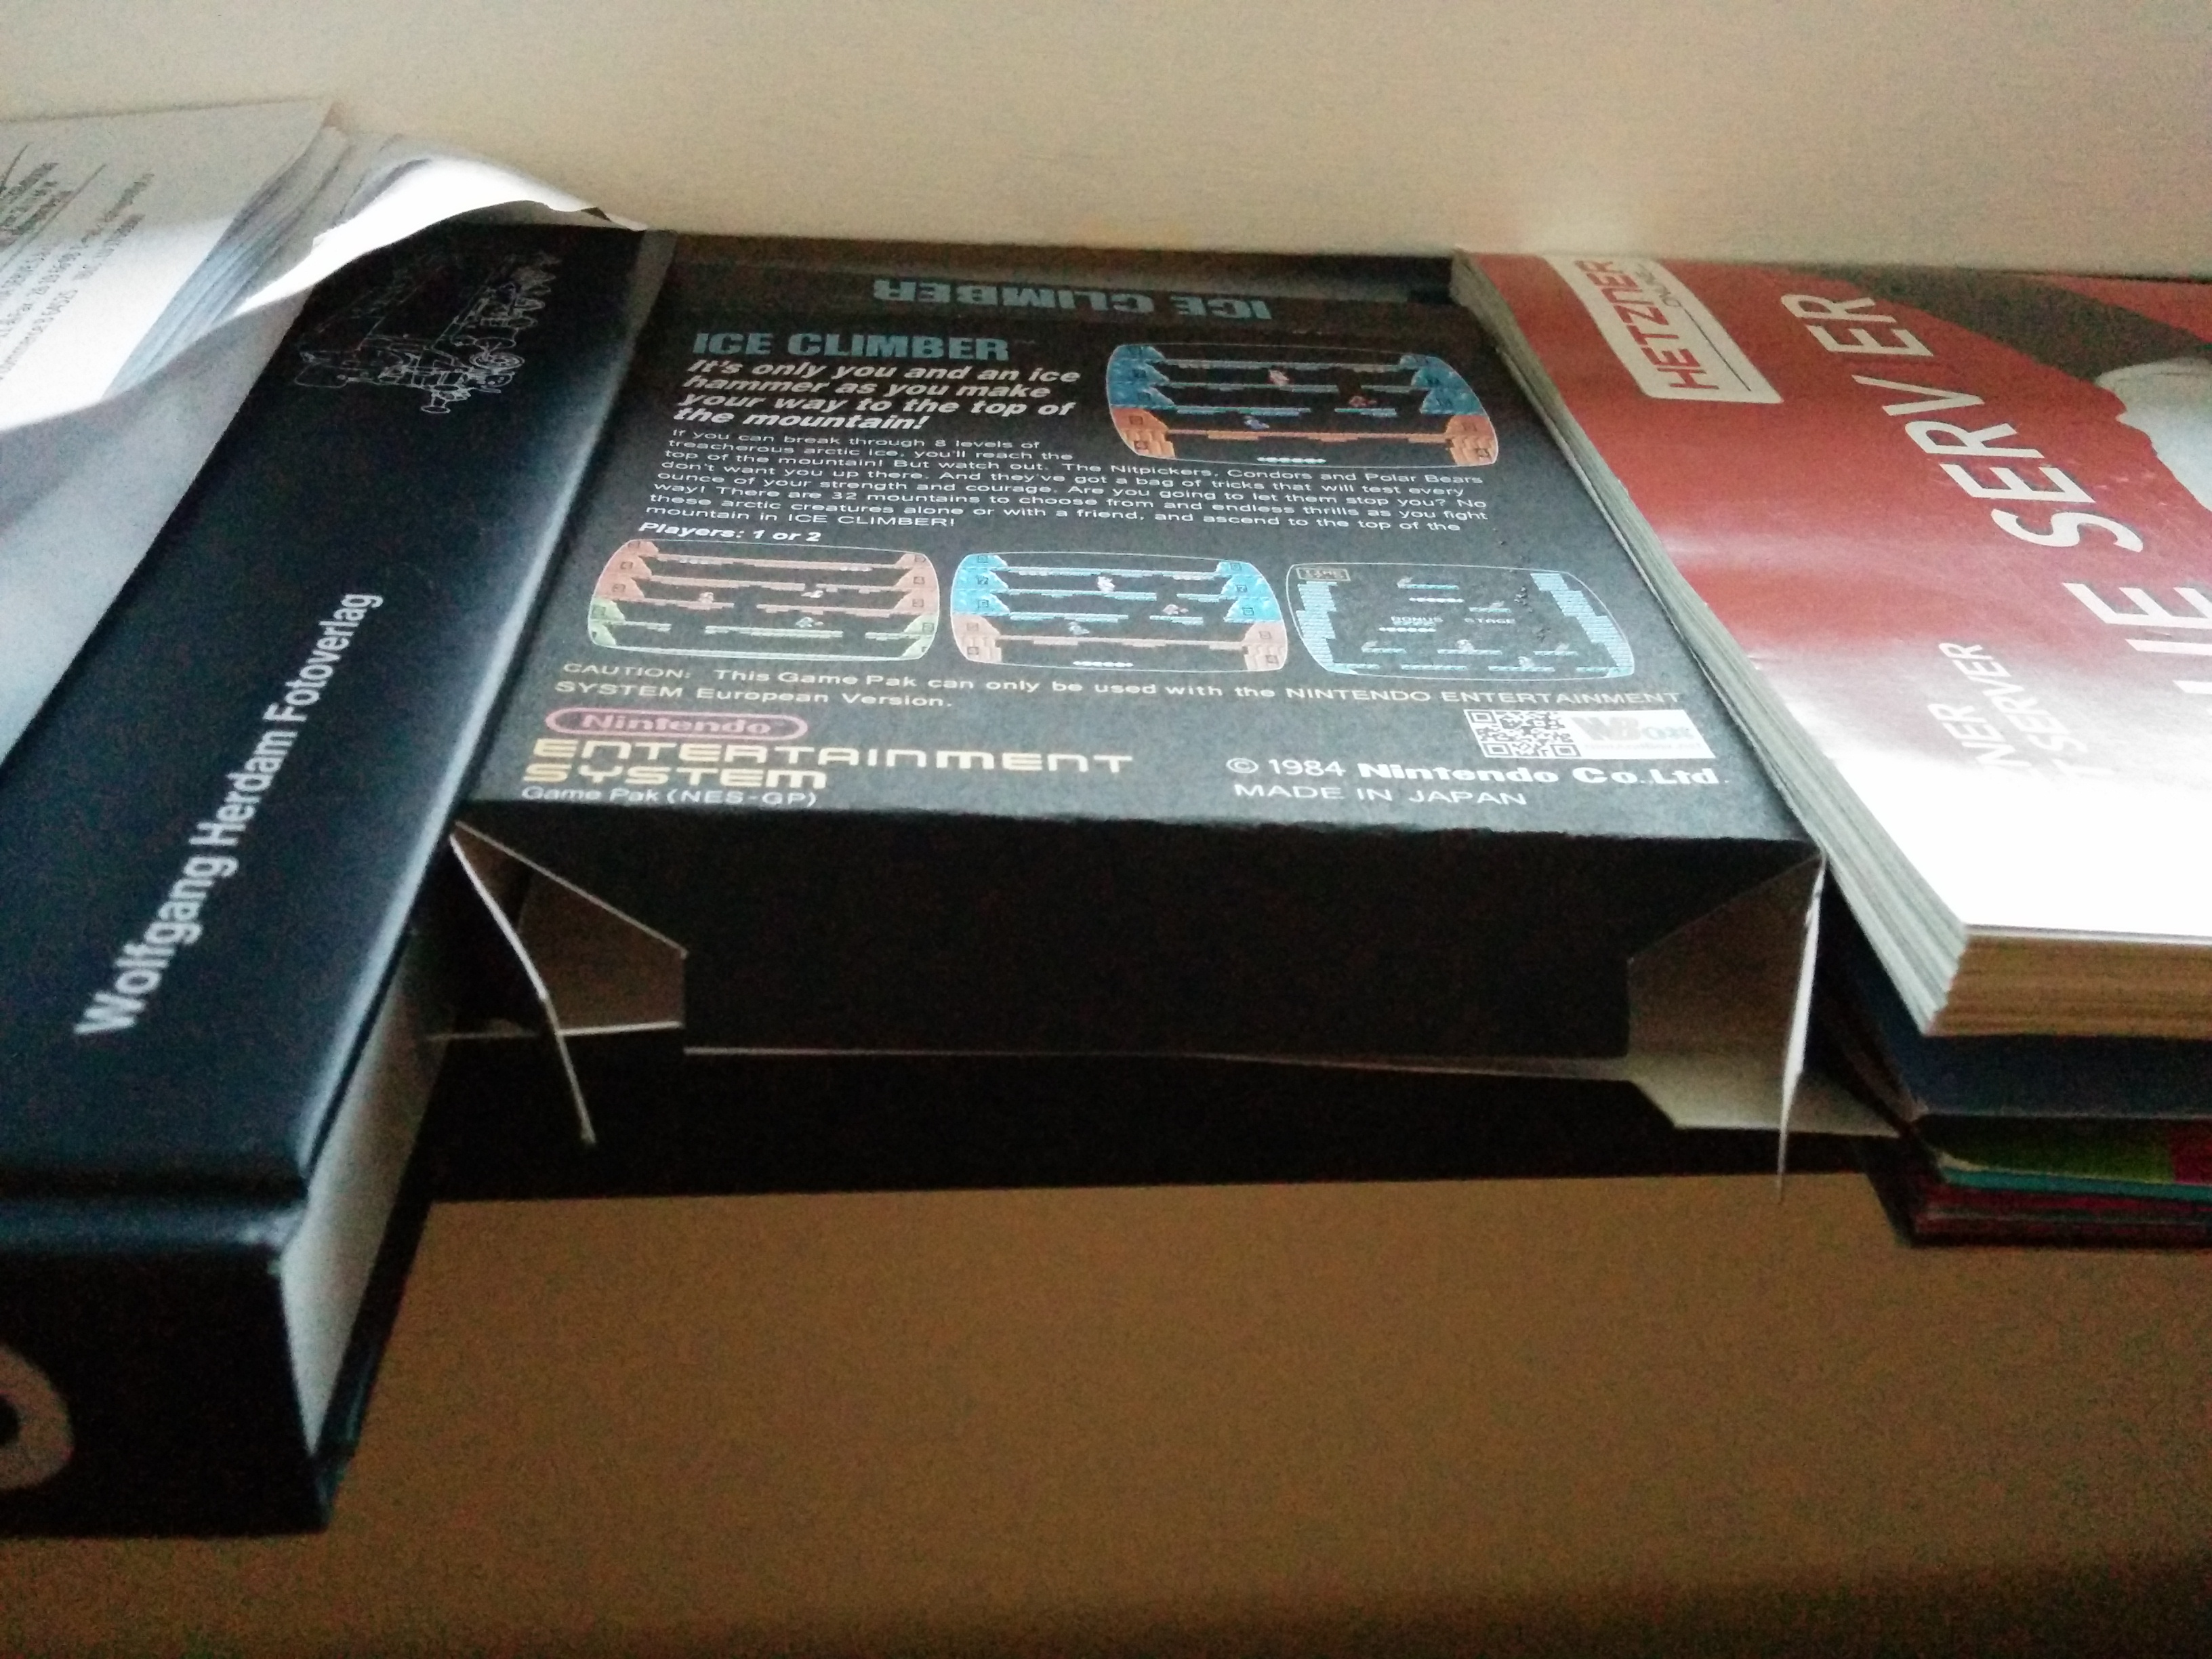
I also printed a NES Iceclimber box on 90g paper. That’s copy paper, but with some more weight. It’s not glossy at all, but was worth a try. Cutting and folding was a pain, the box didn’t look that great in the end…
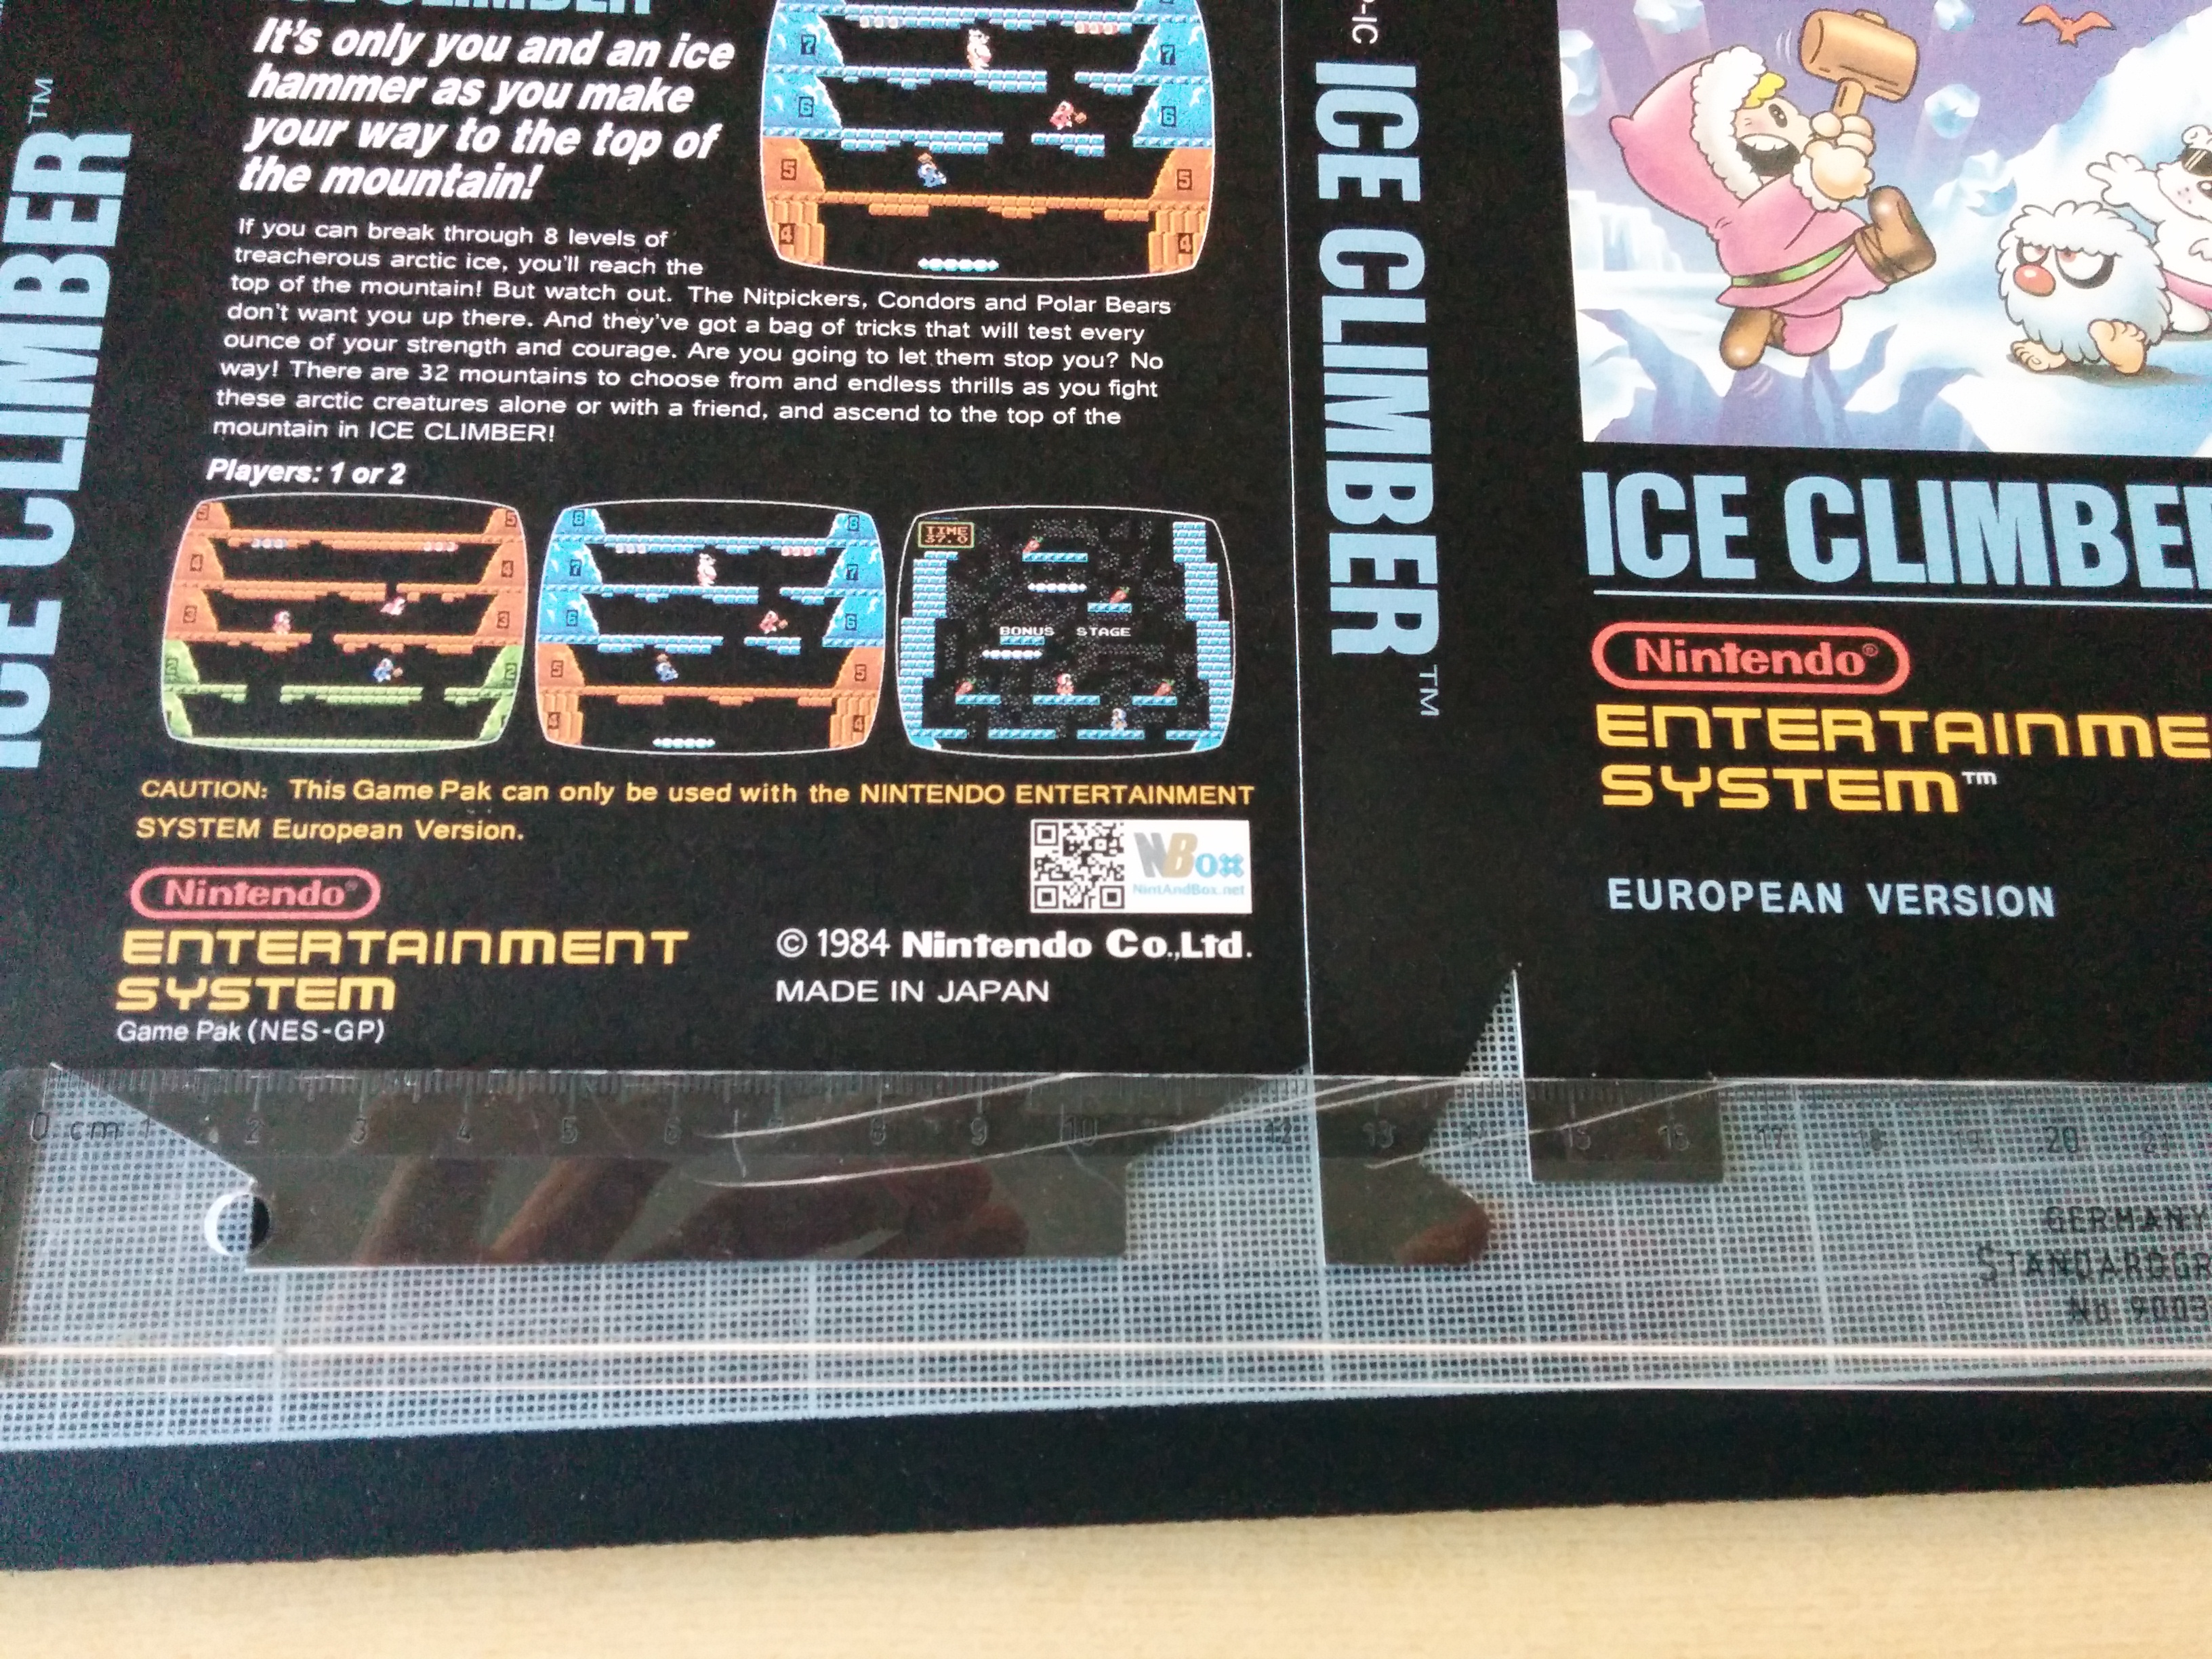
Iceclimber Box 1
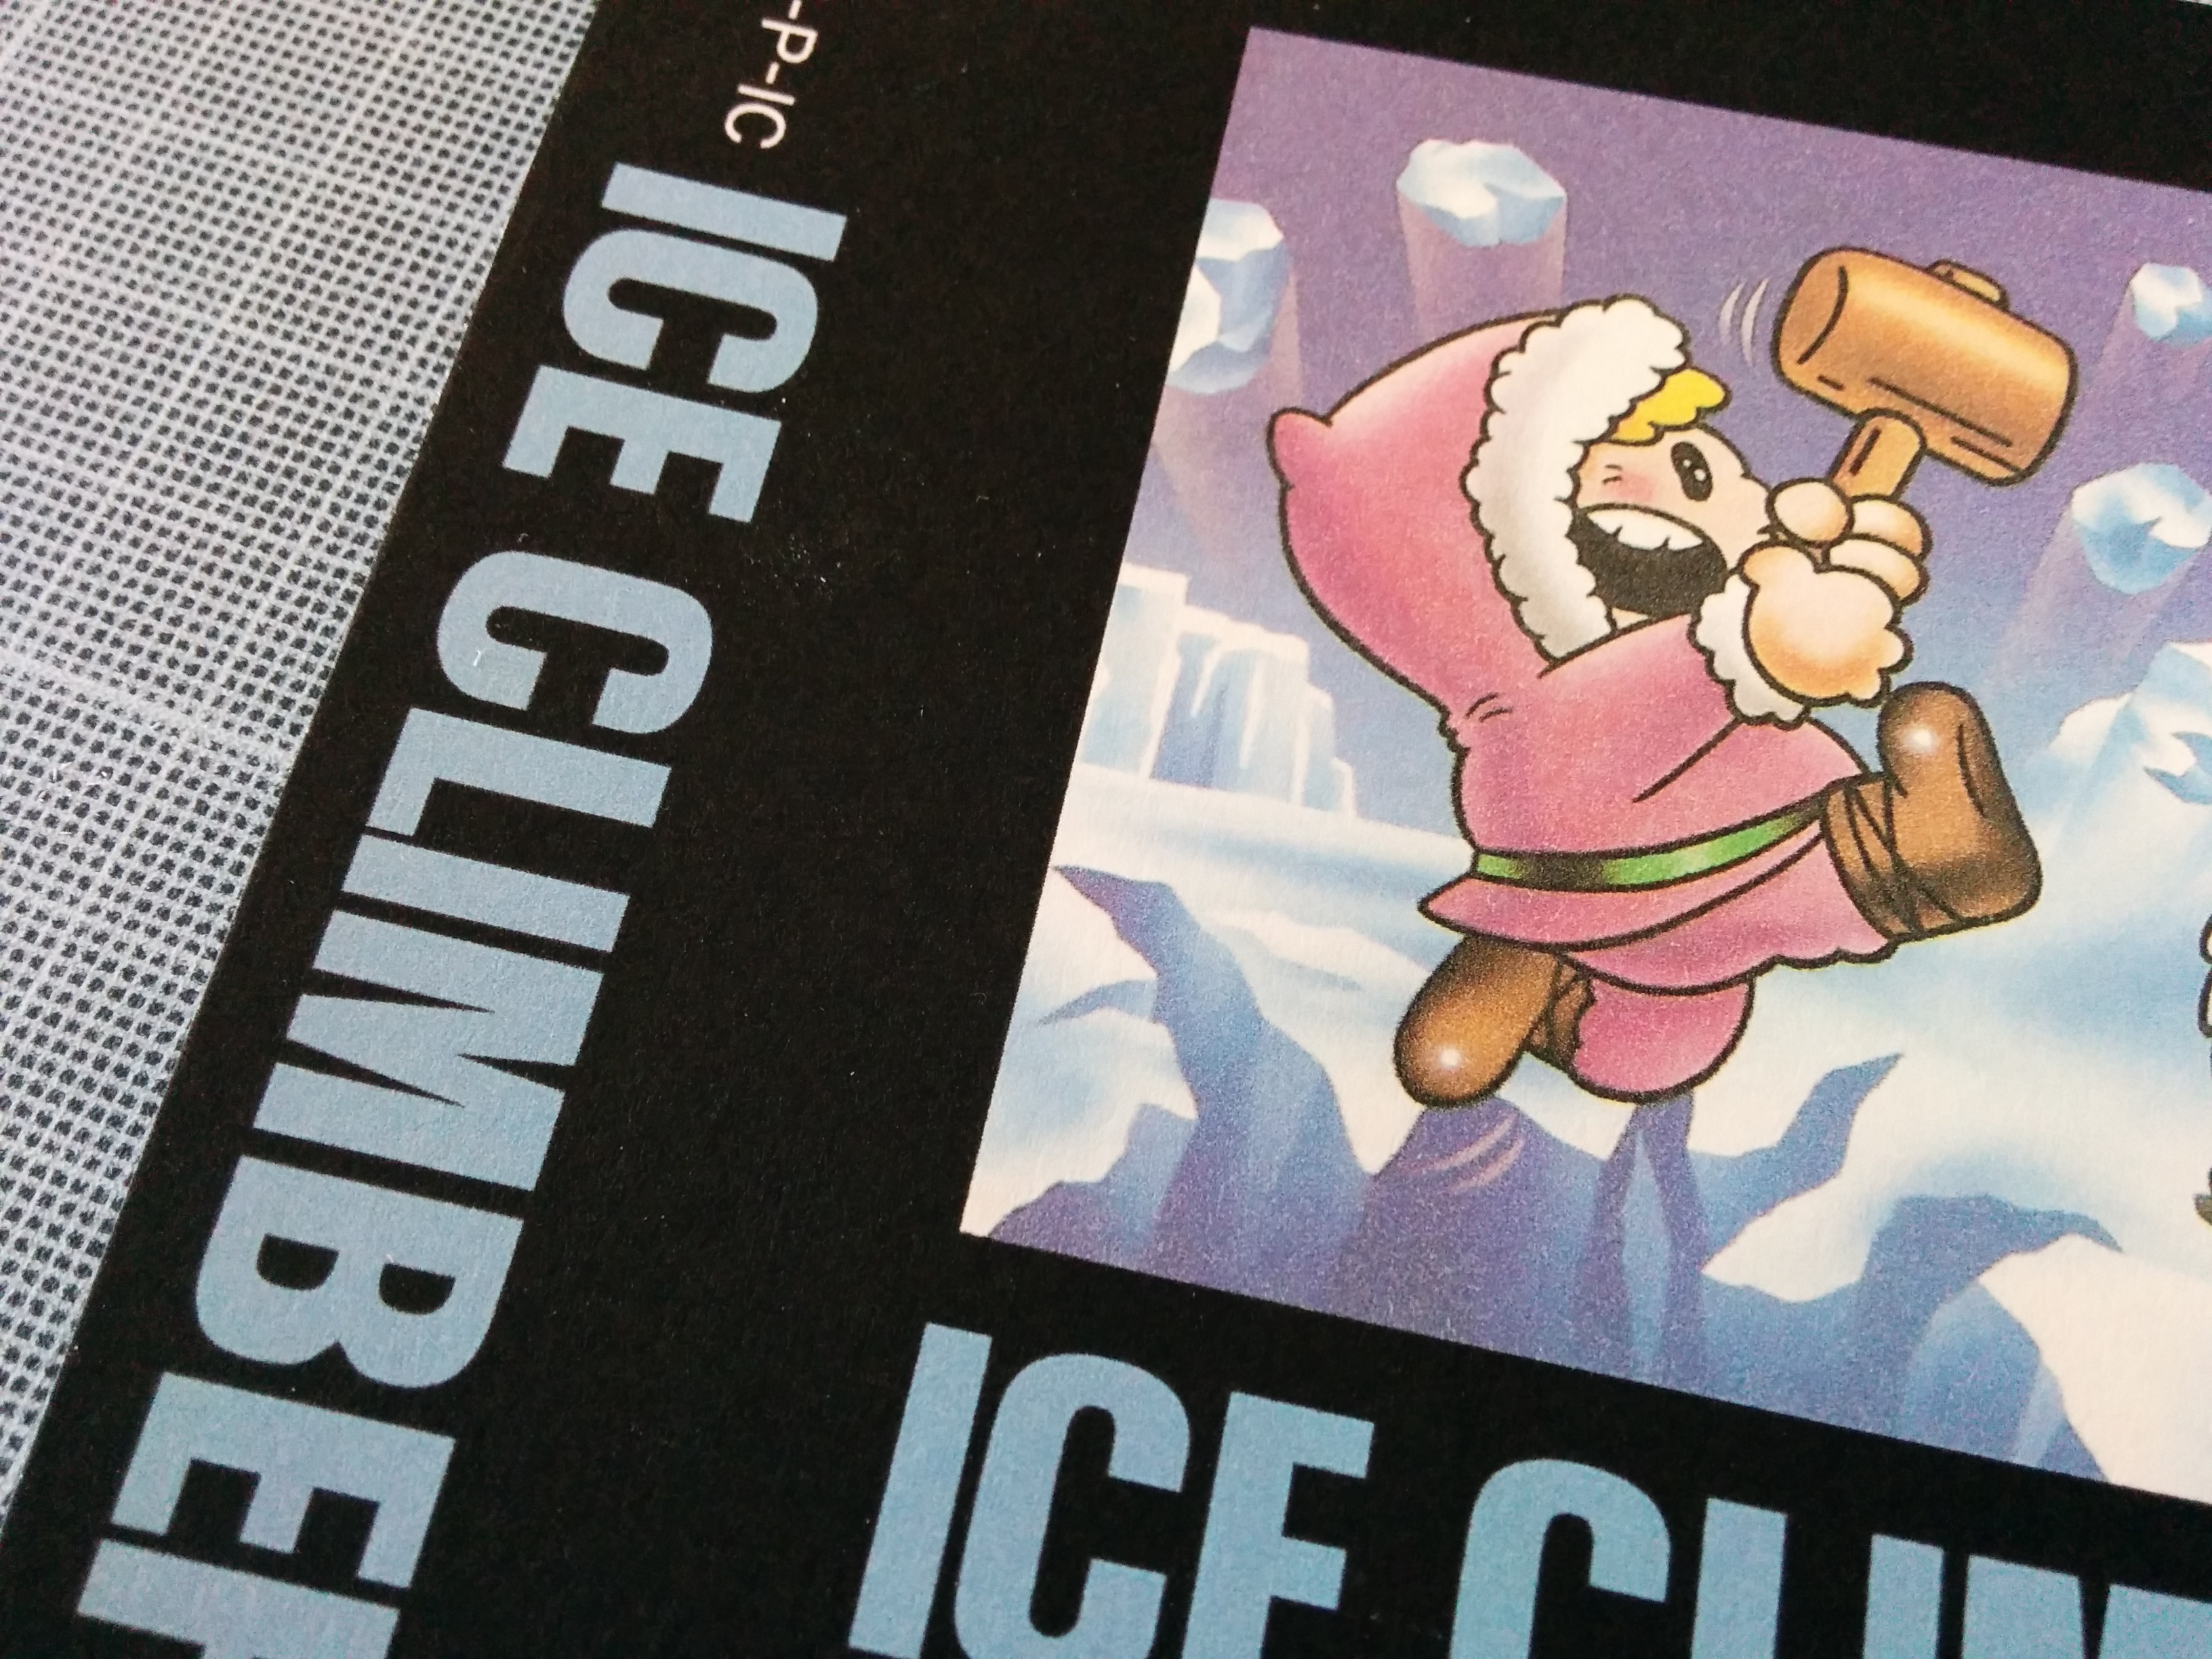
Iceclimber Closeup
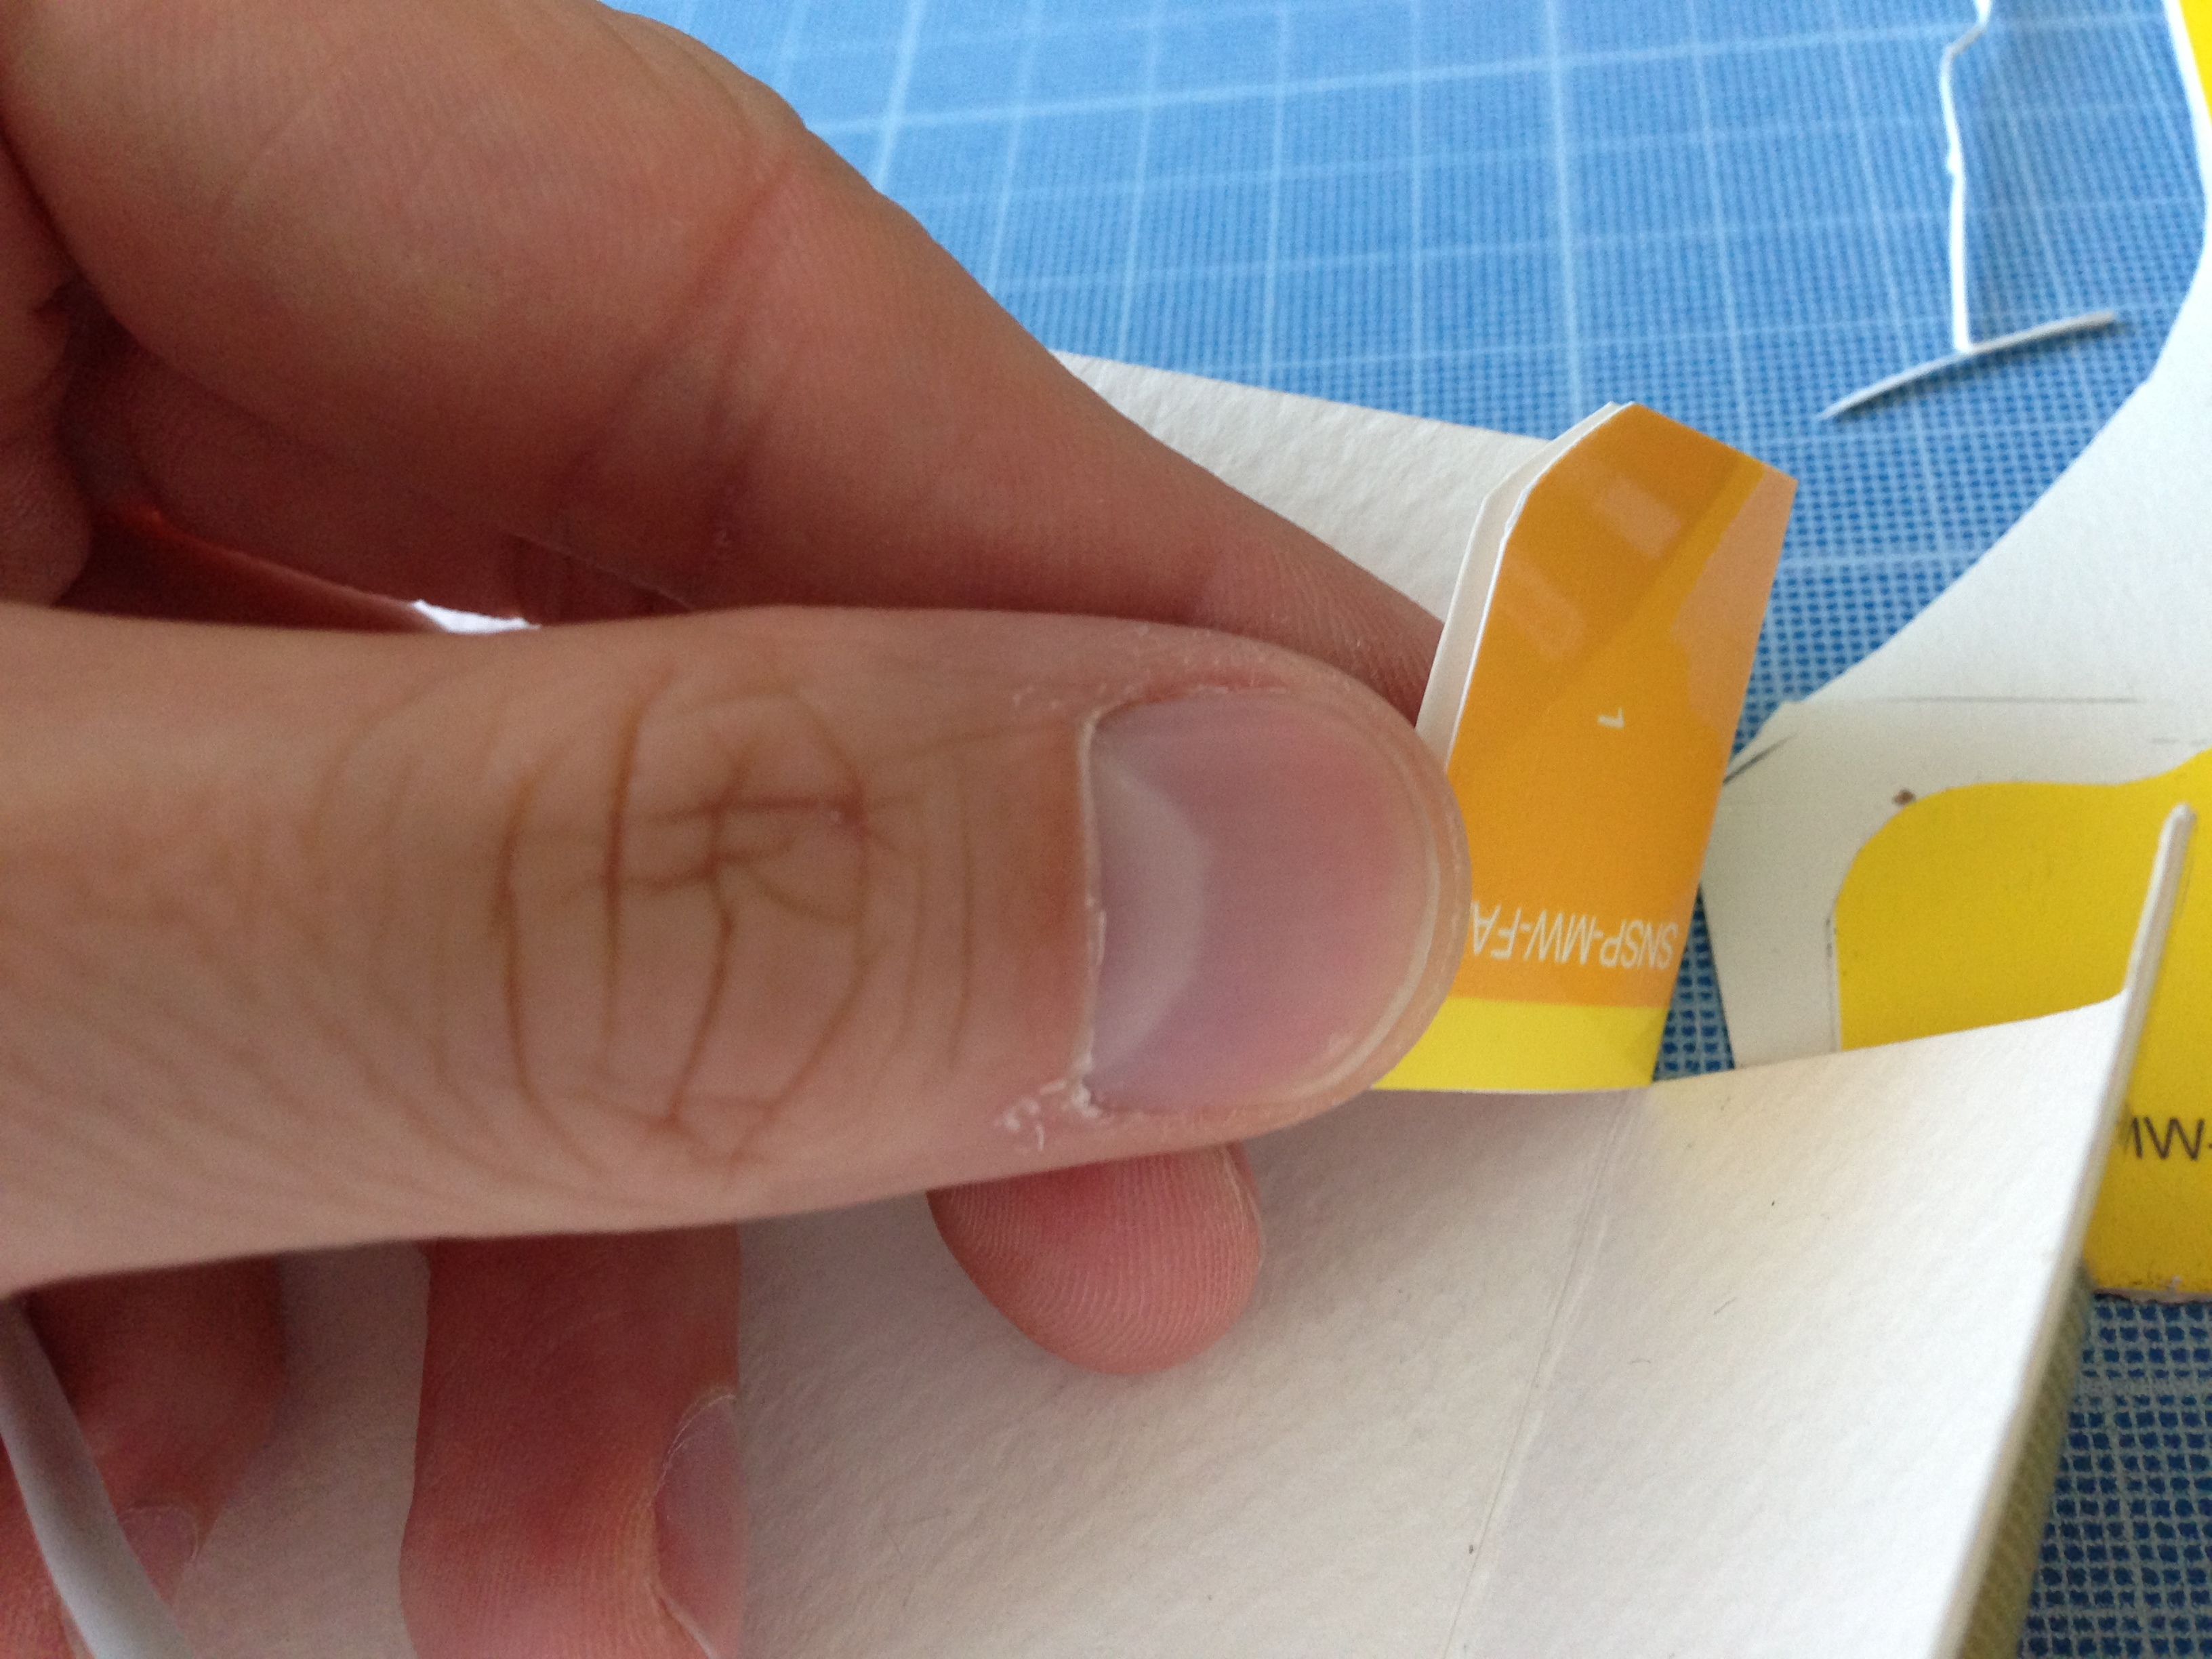
I first glued it wrong and had to tear it off again….

Tearoff1
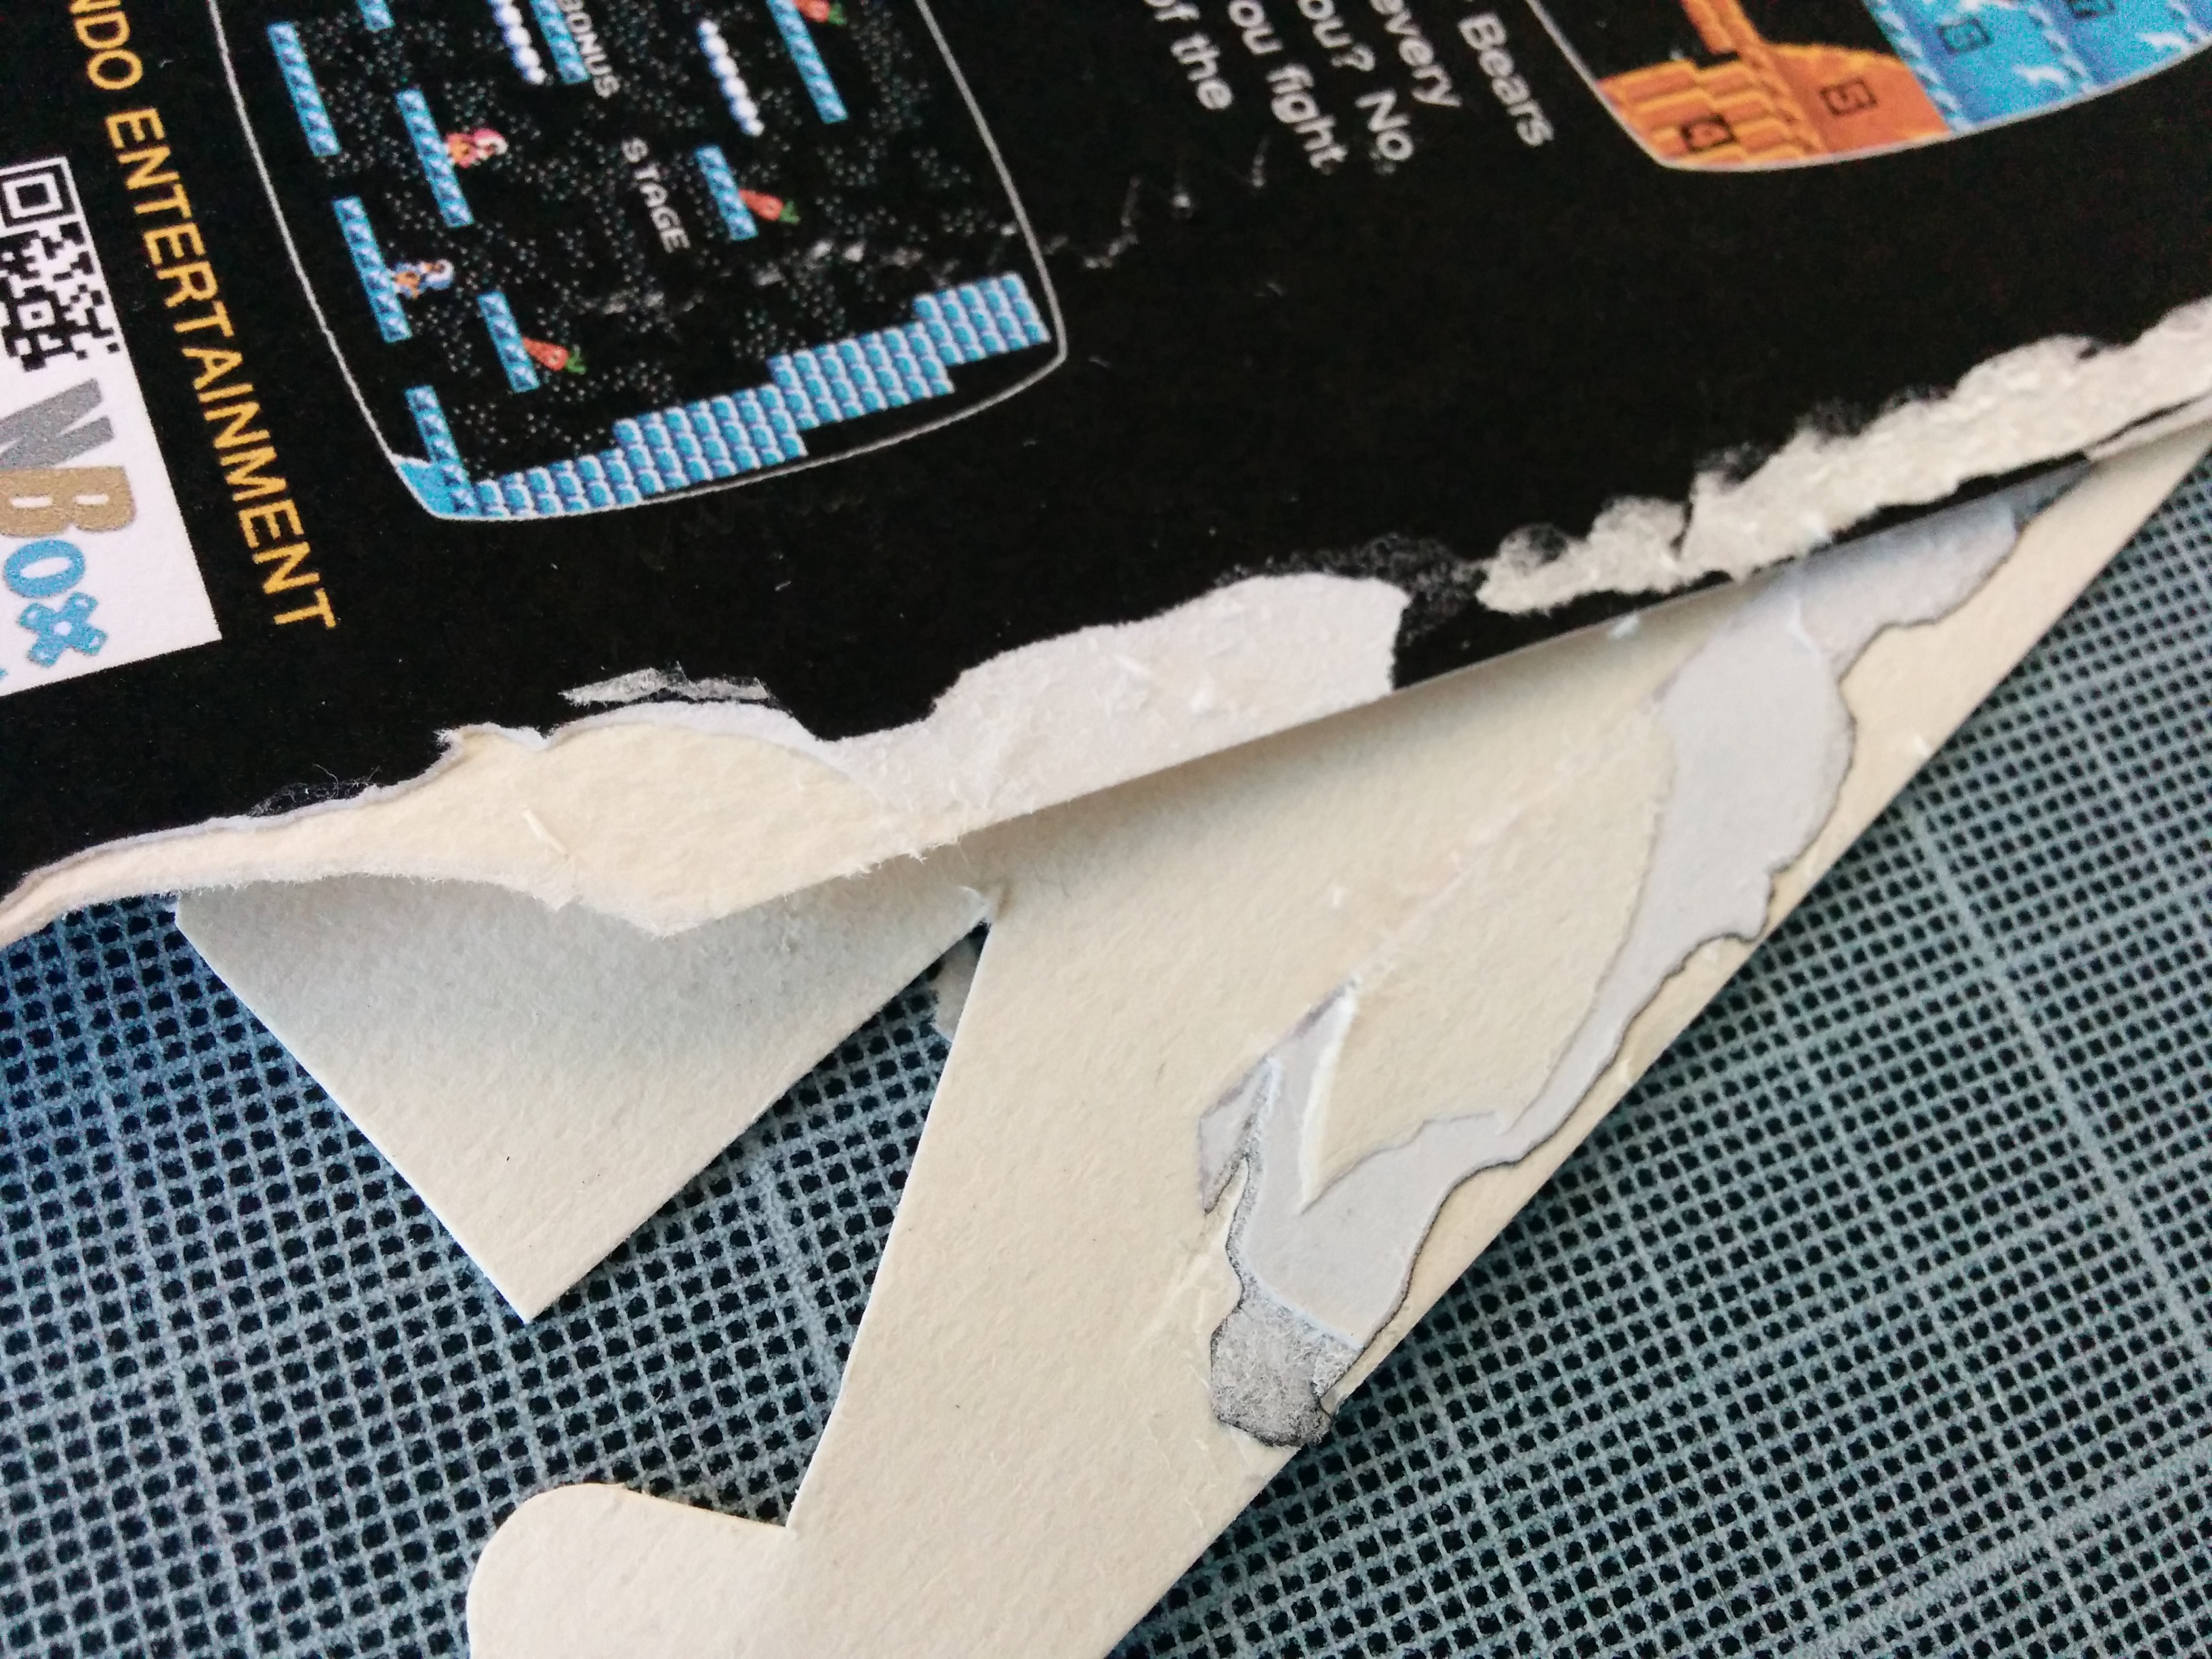
Tearoff2

Assembling
Stabilizing
The final box wasn’t worth a big shot, as it was only to test what’s possible to do with normal paper…don’t waste your ink….
Click –HERE– for Part 1 !
Pingback: Jigo's Blog - Nintendo Mods - Raspberry Pi - IT