Some Gameboy games came out with a save-game function, but at the time the save-games were often not written into a RAM chip, which saved the file forever, but into a chip that needs a battery to keep the data alive. If the battery is empty, the saves are gone.
Many games will still work when the battery is dead, even allow you to save the game, but the next time you turn it on, the save-game is gone.
In this tutorial, I’ll show you how to quickly change the battery.
You need some stuff:
– a soldering iron. Anyone will do it, this is the easiest soldering operation ever
– a 3.8mm gamebit to open the games. Get those from ebay for some bucks only
– a replacement battery CR2032 3volt or a CR 2025. The the 32 is a tiny bit thicker, but fits very well and lasts longer than the 25
– 15mins of time
First of all: there are batteries with soldering tails, and without. If you can get those with tails, get them, else you need some isolating tape too, to fix the battery.
Step 1
First open the game using the gamebit. Take the game apart. The standard classic gameboy games slide open for about 2mm, then you can remove the cover. The gameboy color games open a bit easier.
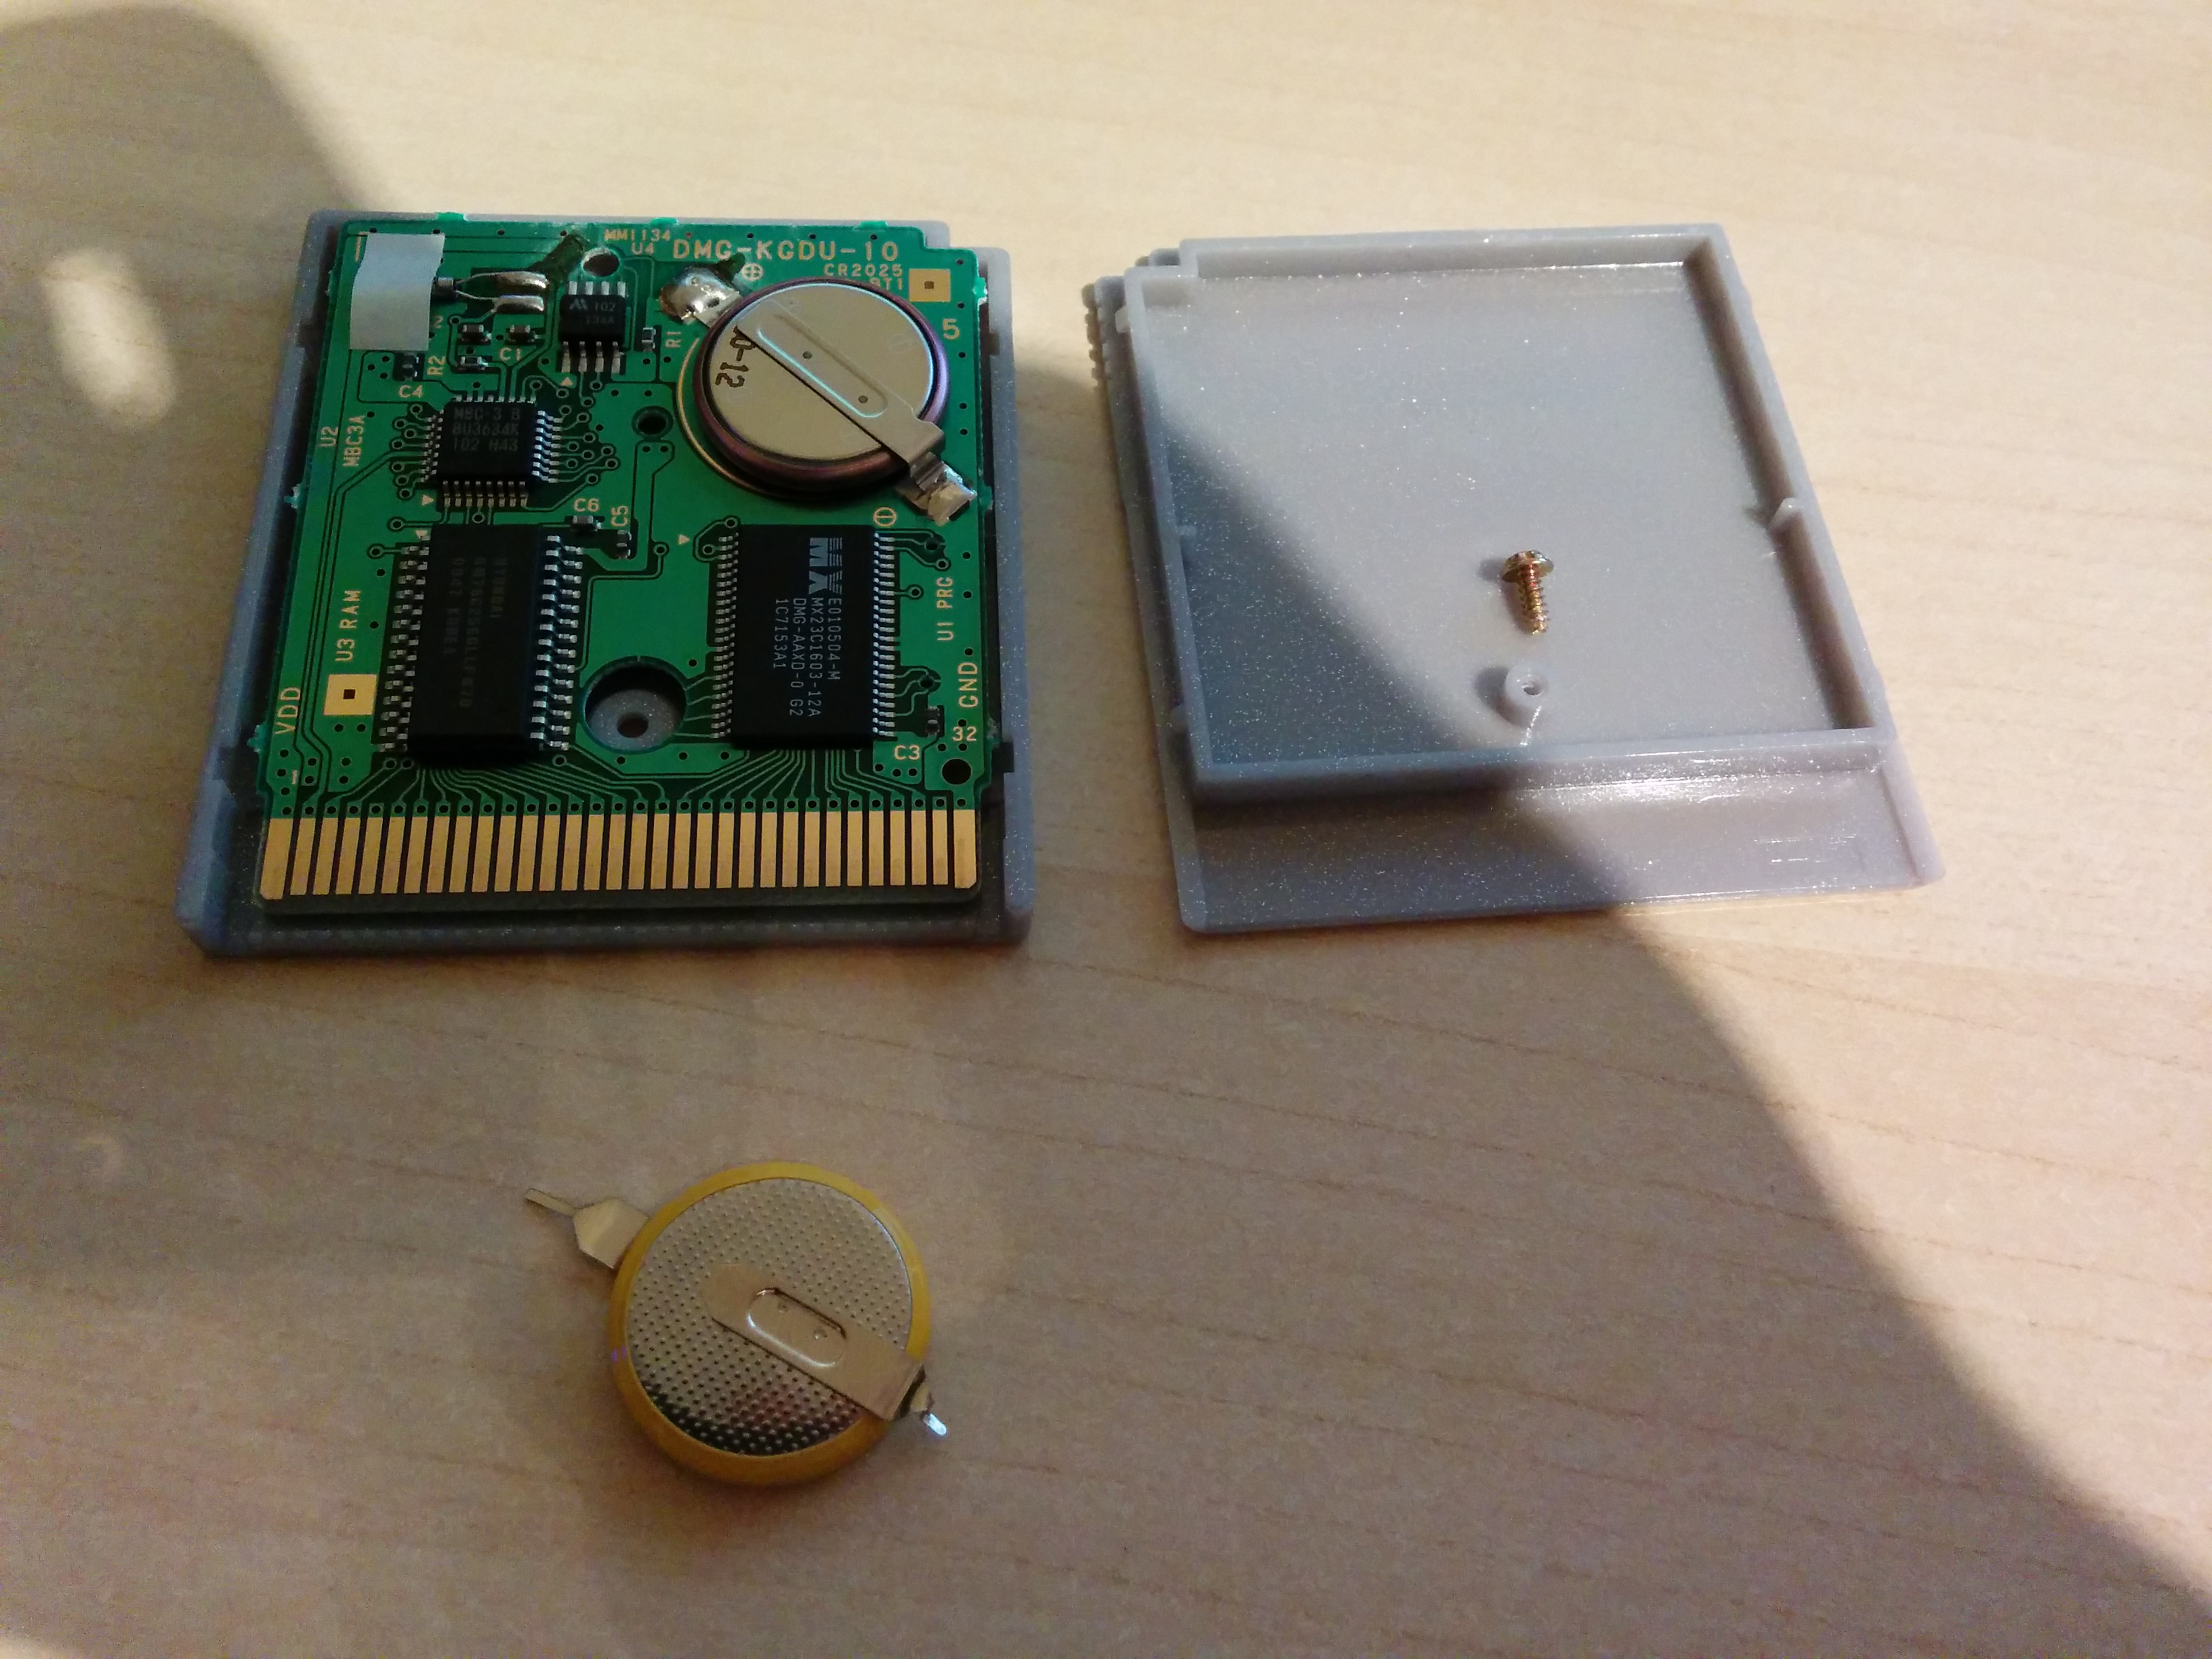
Remove the board, just to make sure you don’t accidentally touch the plastic parts with the soldering iron…you never know..
Step 2
Desolder the old battery. Just heat up the soldering iron and heat up one of the two soldering spots. On all the games I have took apart, the minus and plus inputs were marked on the board.
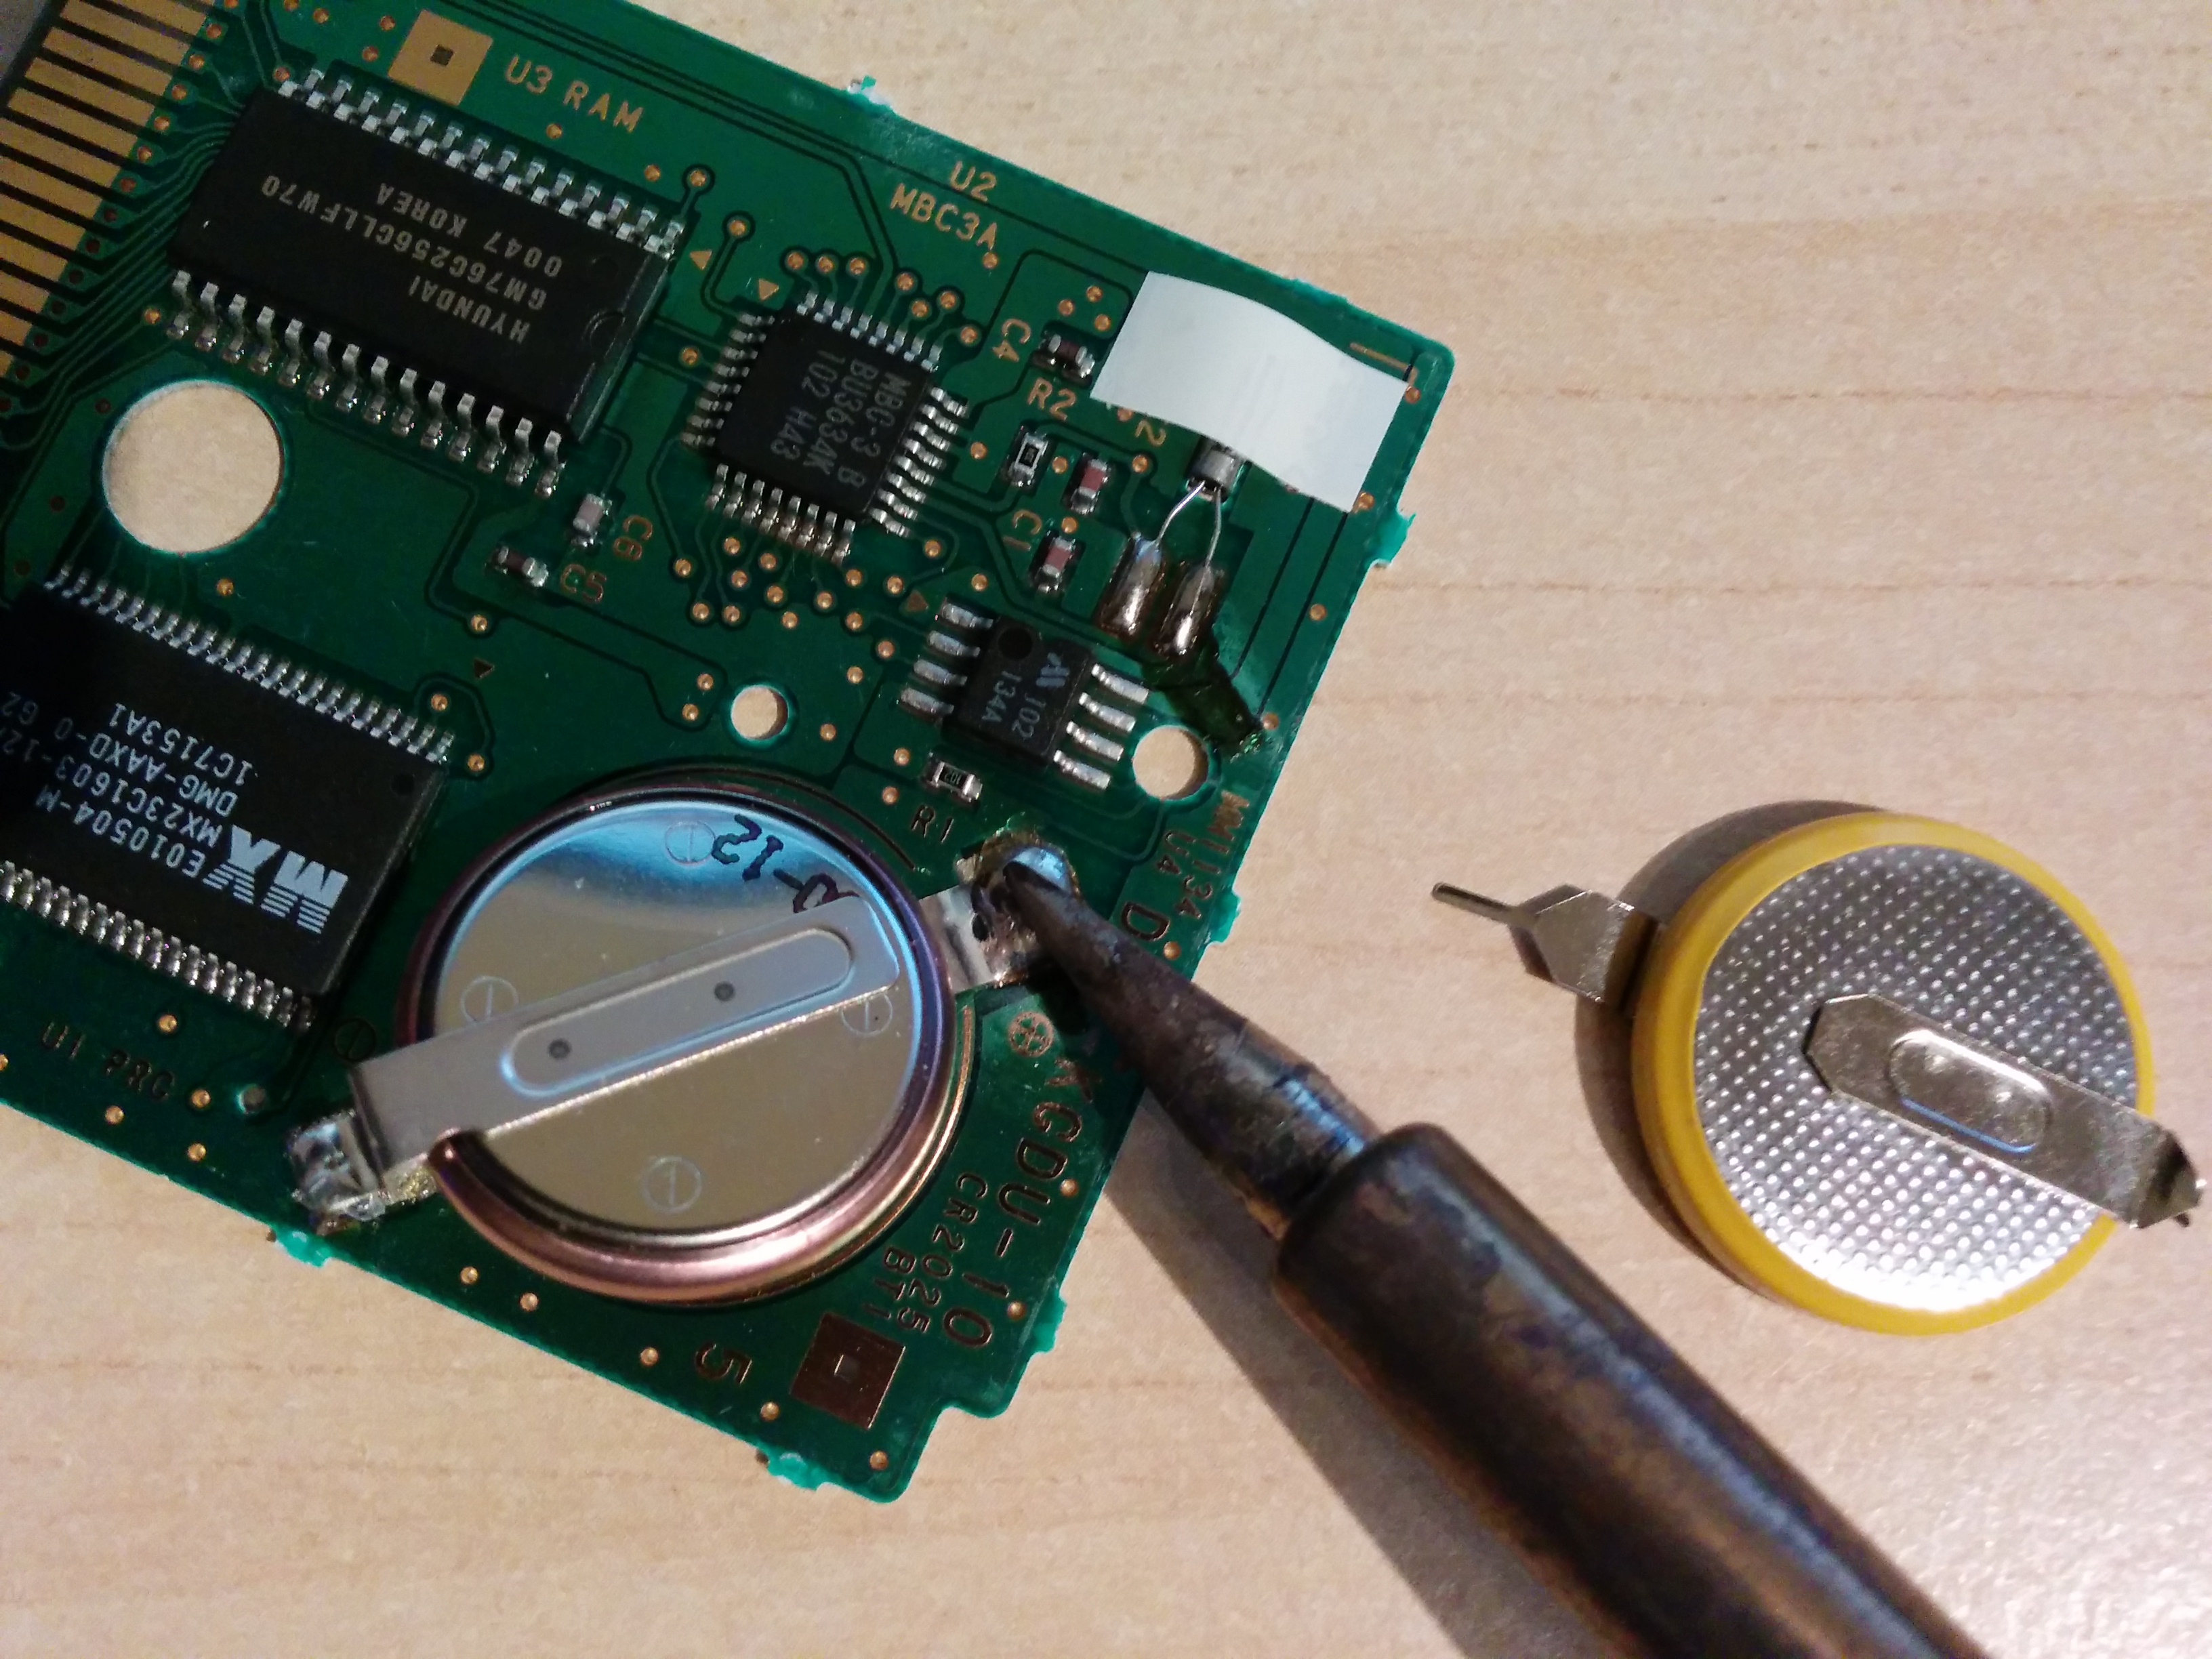
Desolder the inputs
Step 3
Place the new battery on the board and solder one terminal first. Really make sure that you solder “-” to “-” and “+” to “+”. Make double sure you put it right 😉 If you have got batteries without soldering tails, you can remove the soldering tails from the old battery an solder the tail first, place a strip of tape below it to wrap the new battery into tape to hold it in place. Less professional, but works.
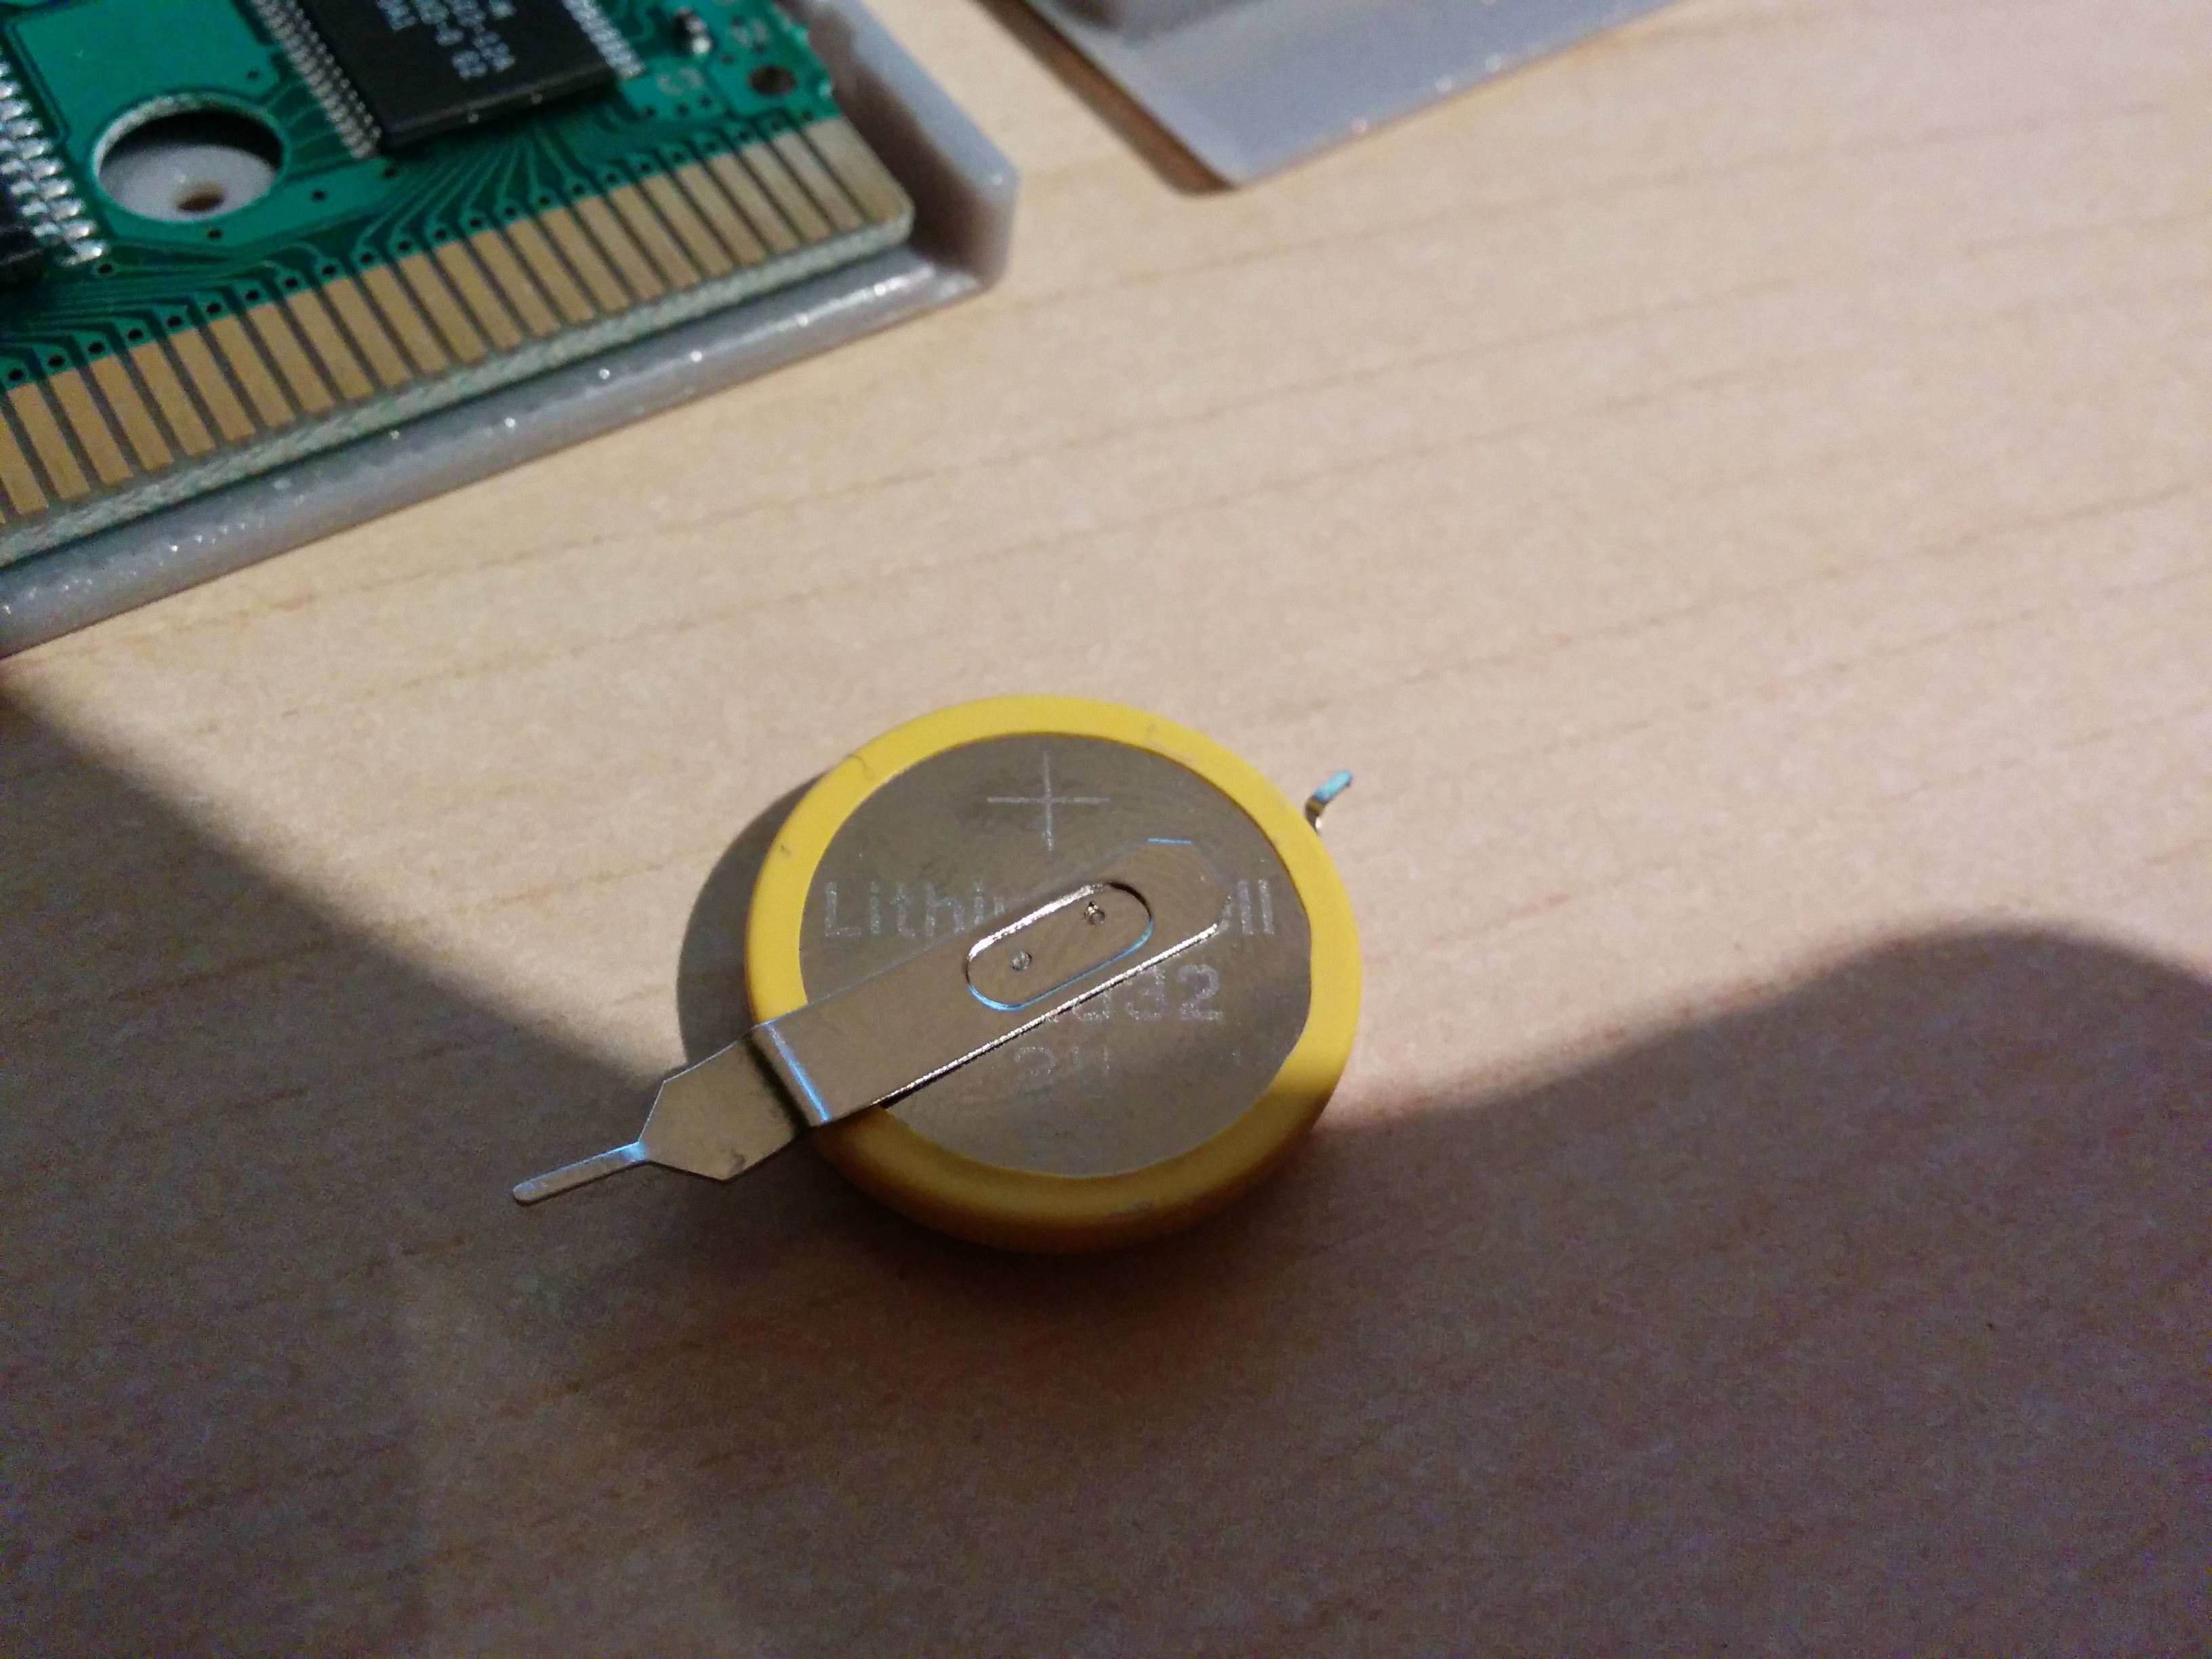
Battery with soldering tails
Step 4
Put everything back together and test it out 🙂 Have fun