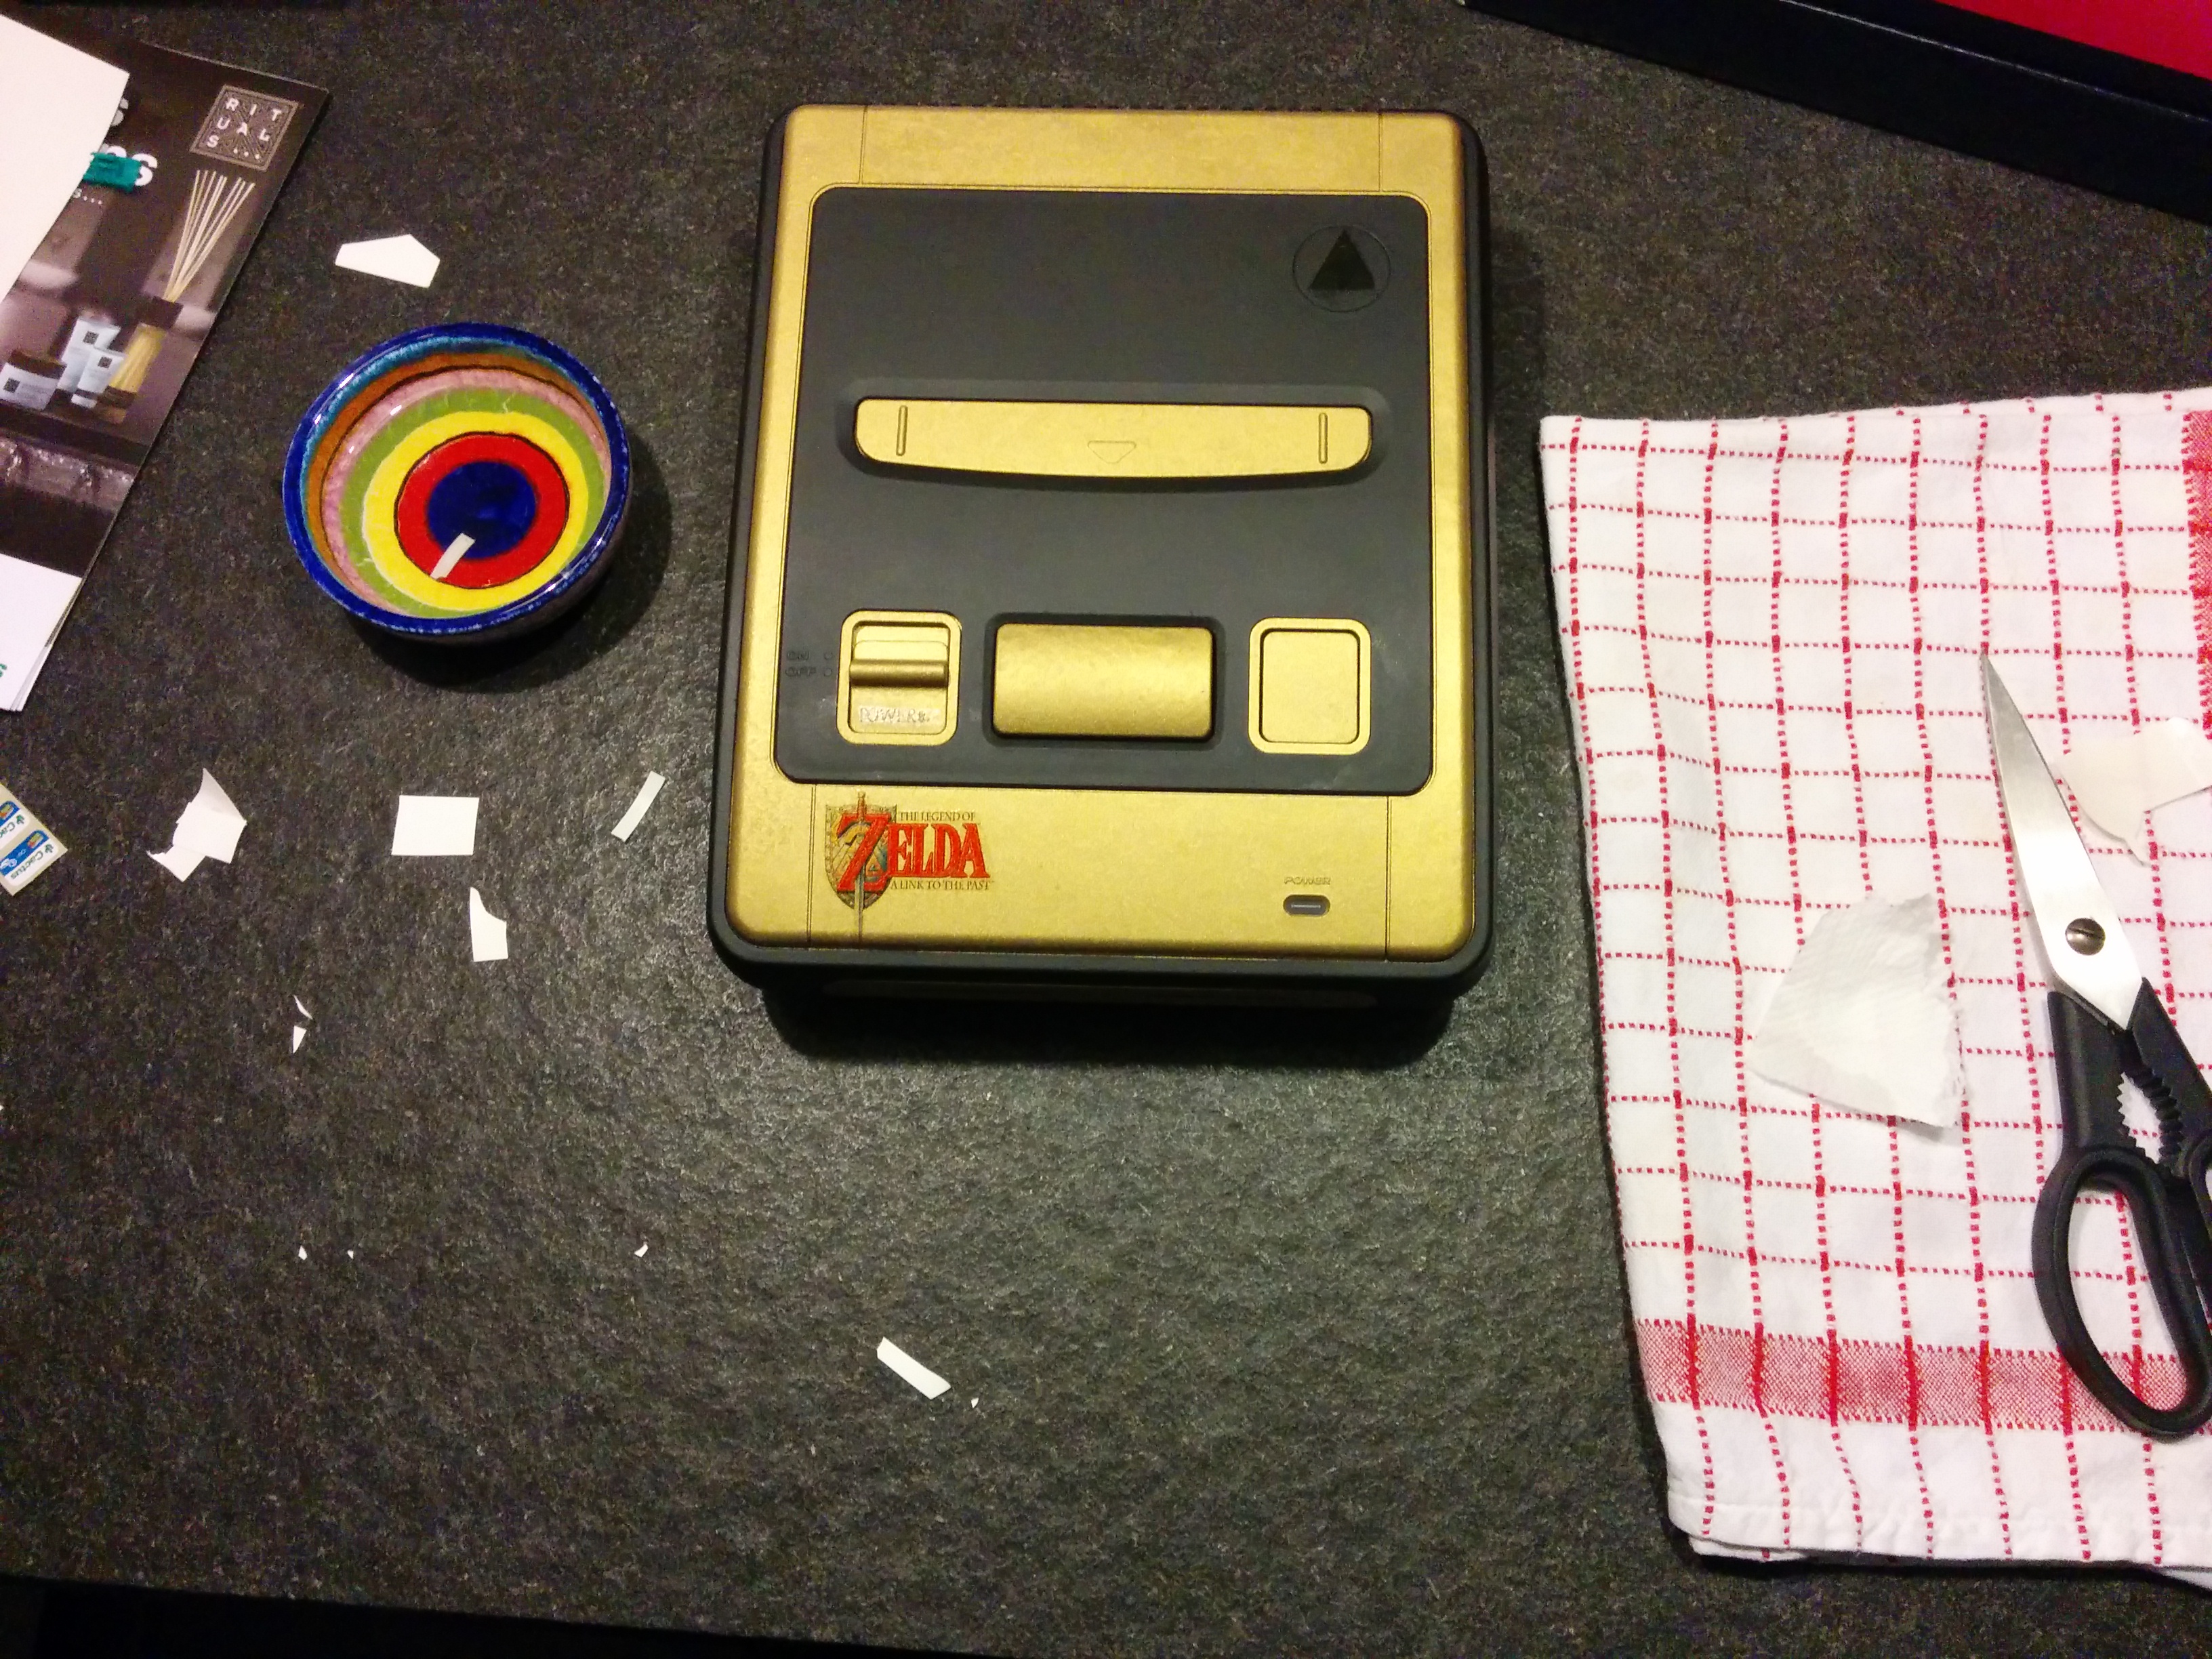
I had a spare SNES left, yellowish, uncool. I always wanted to do a neat and nice Zelda mod. This mod was a xmas gift for my brother 😉
Let’s start:
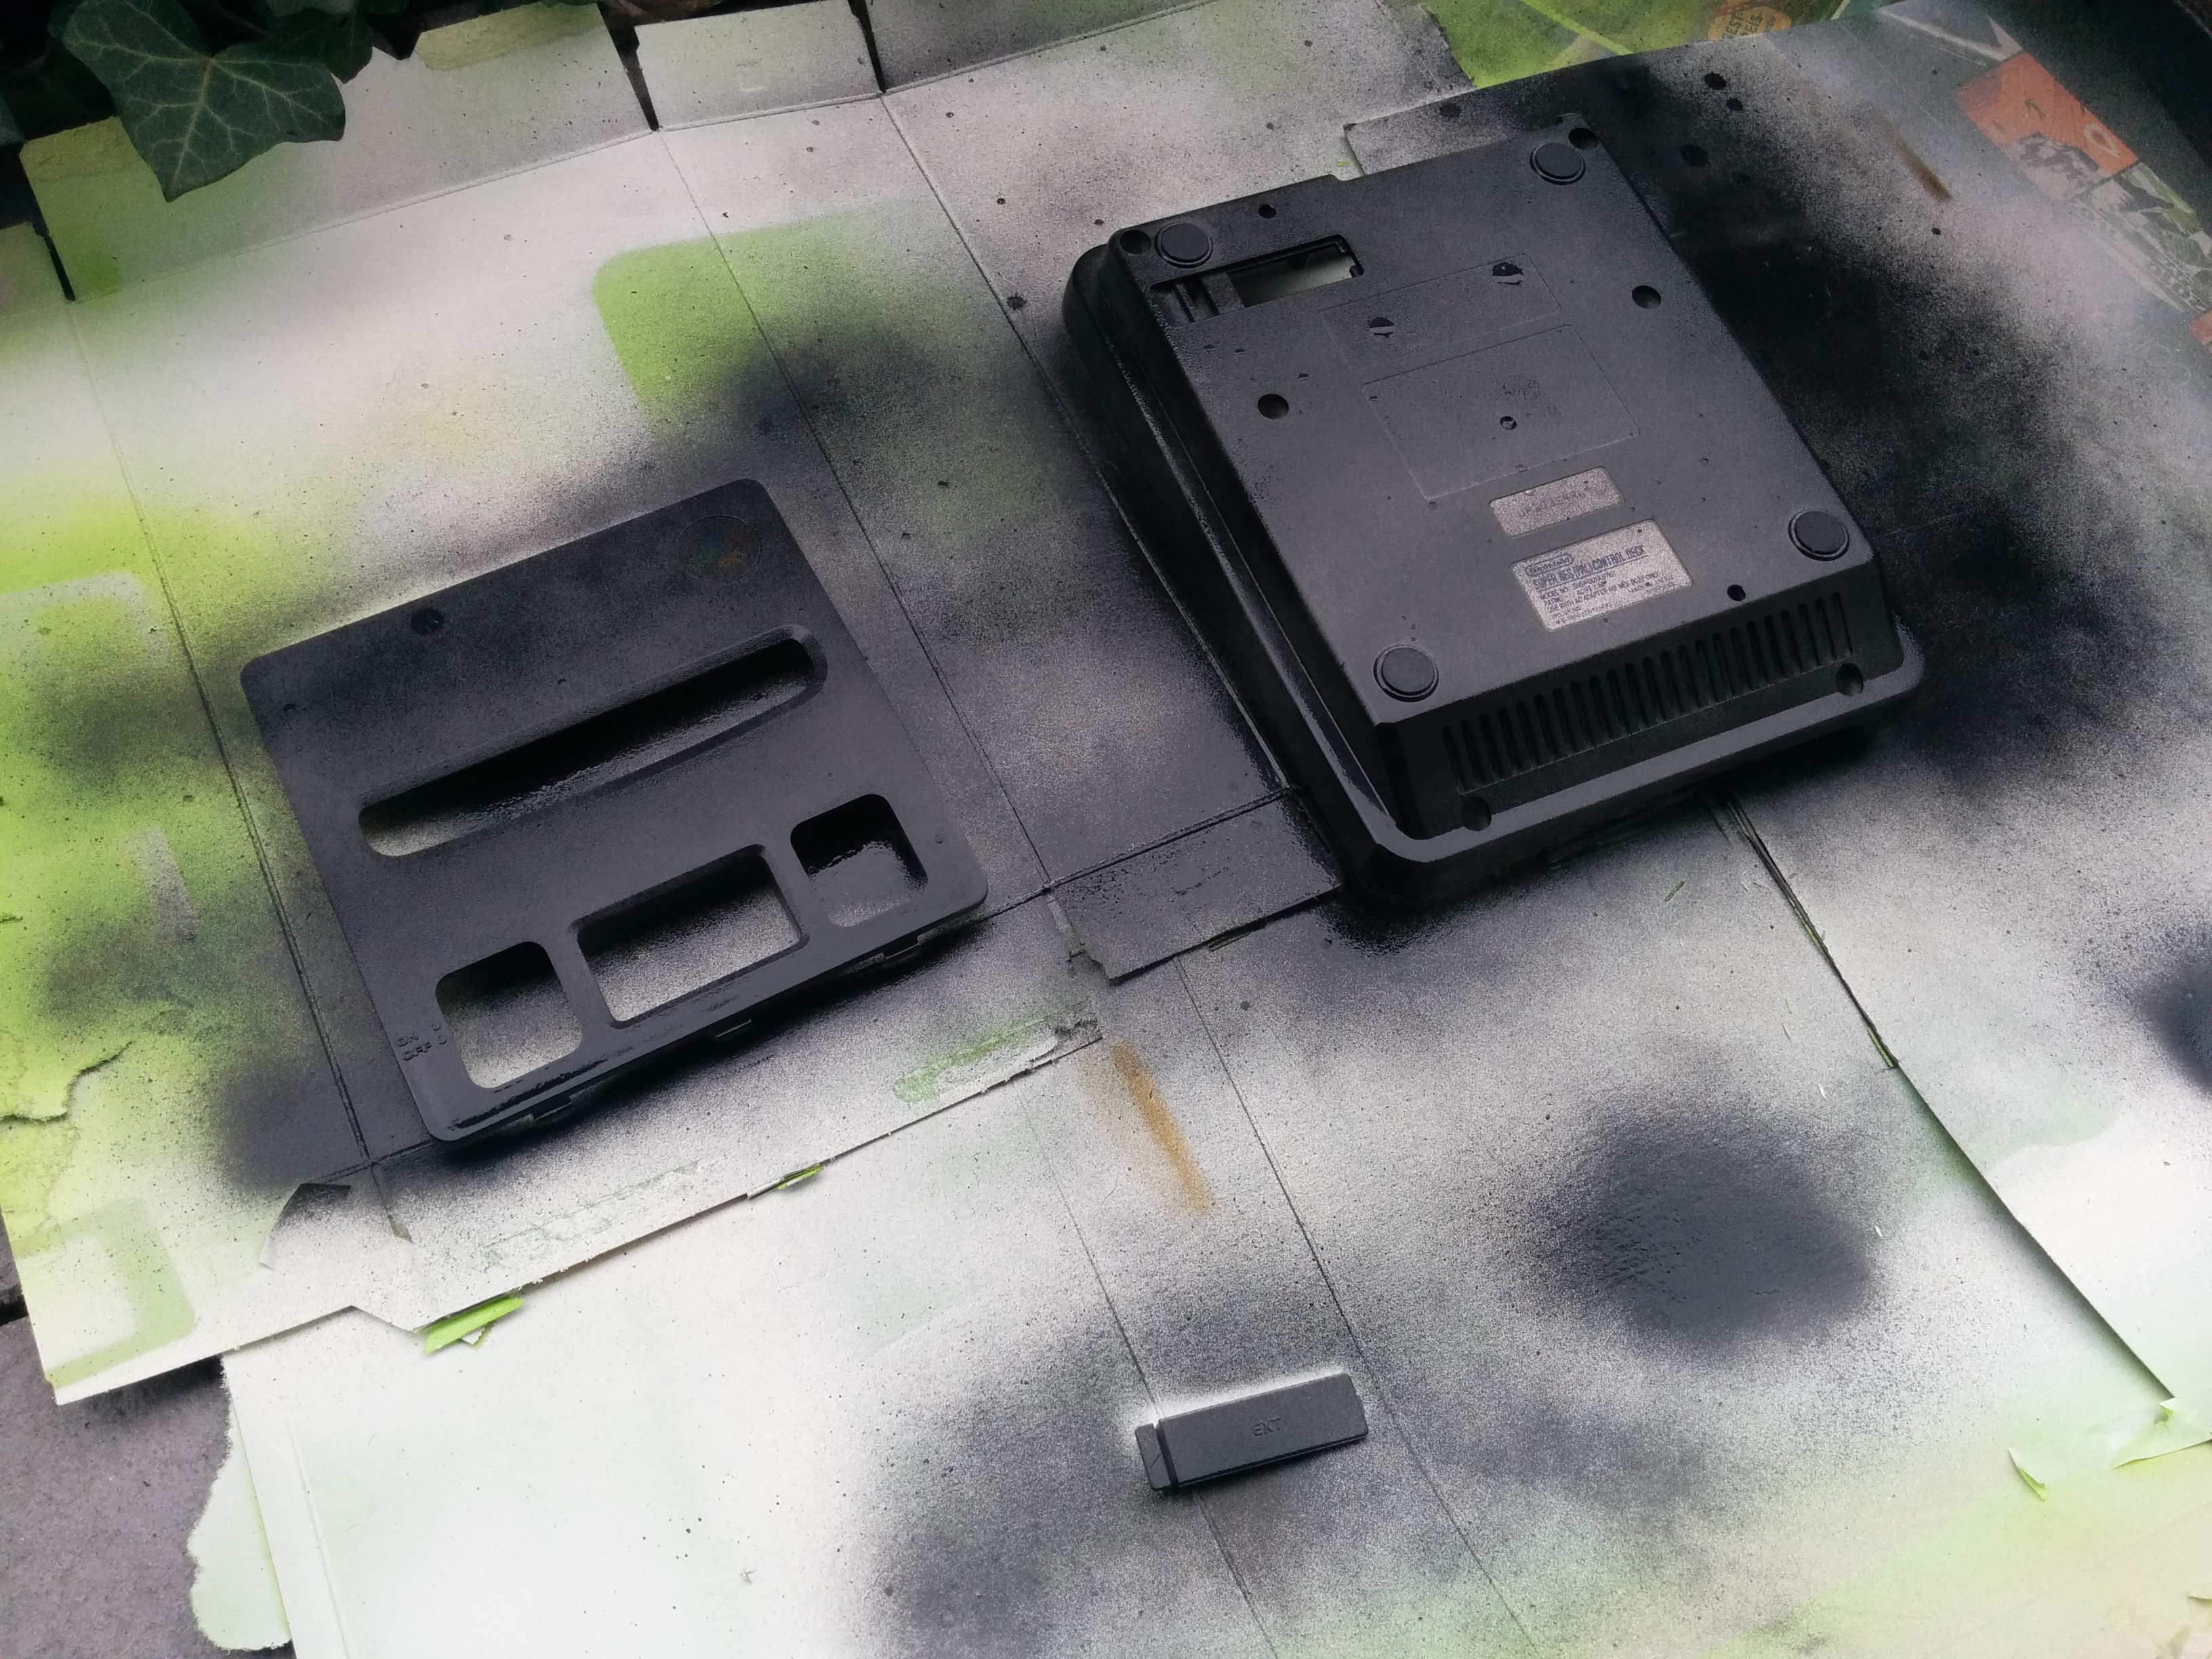
1) dismantle the SNES. I’m not going to post additional details, see the Yoshi’s Island Case mod for that
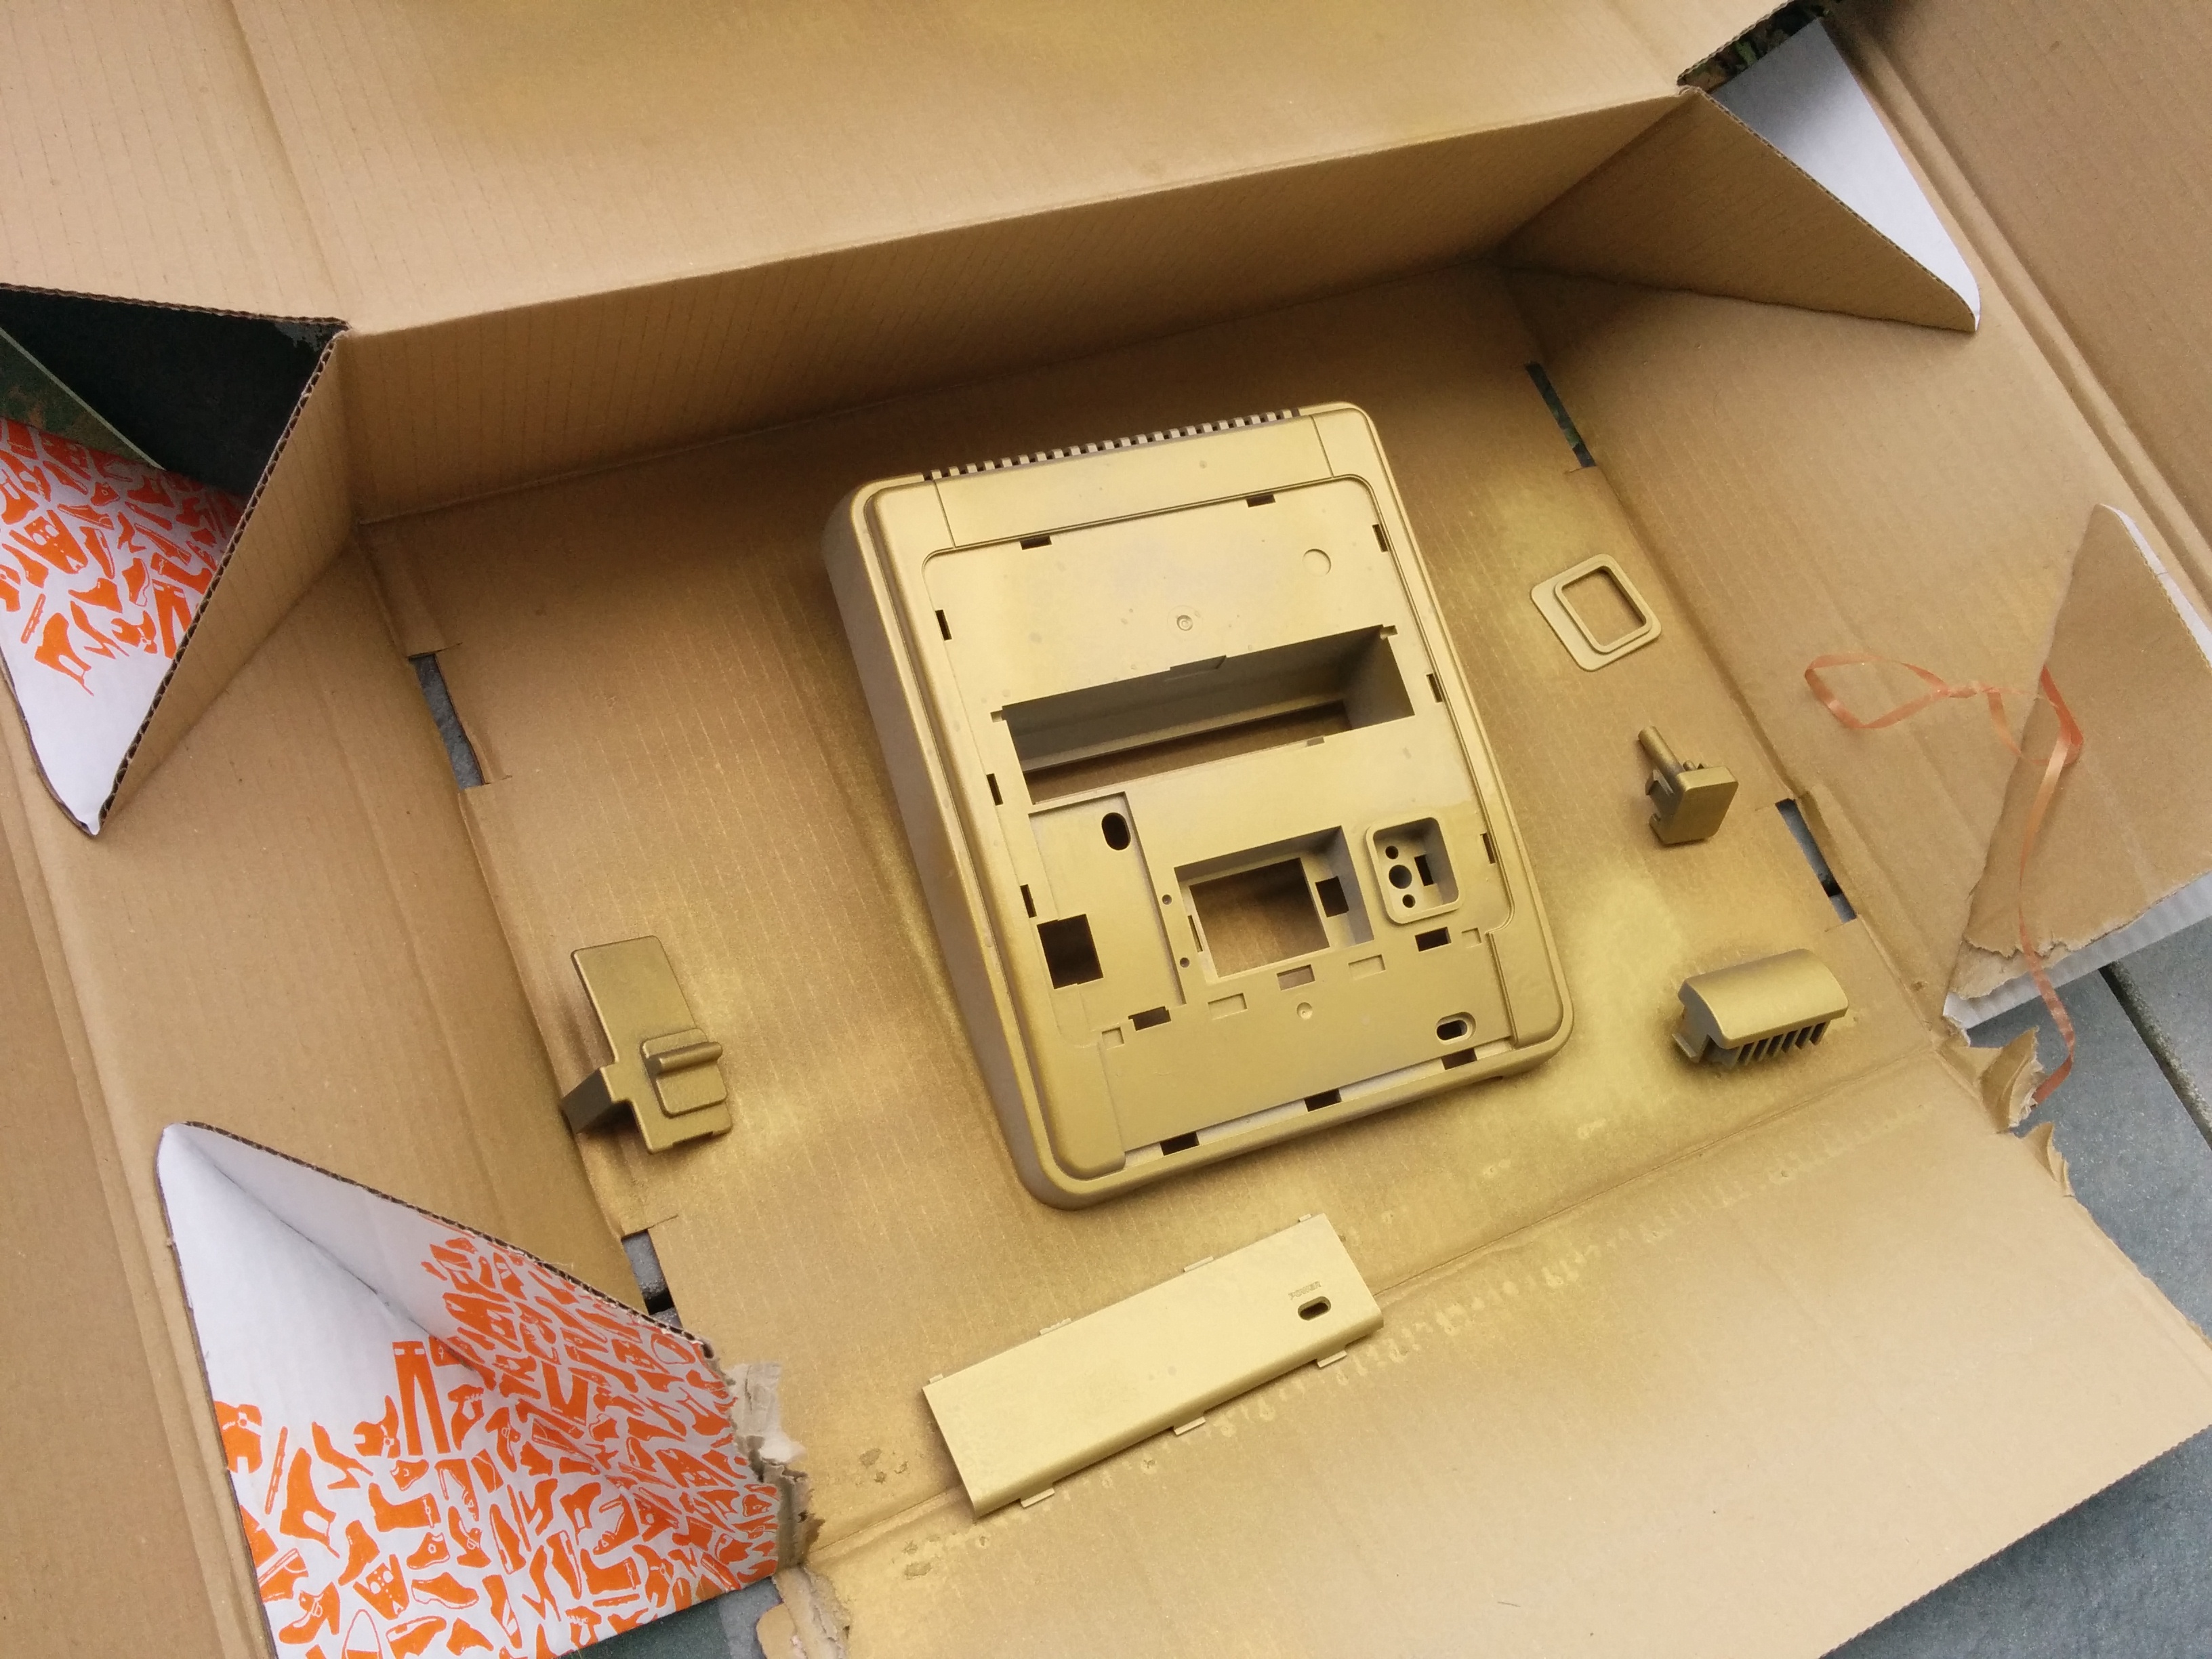
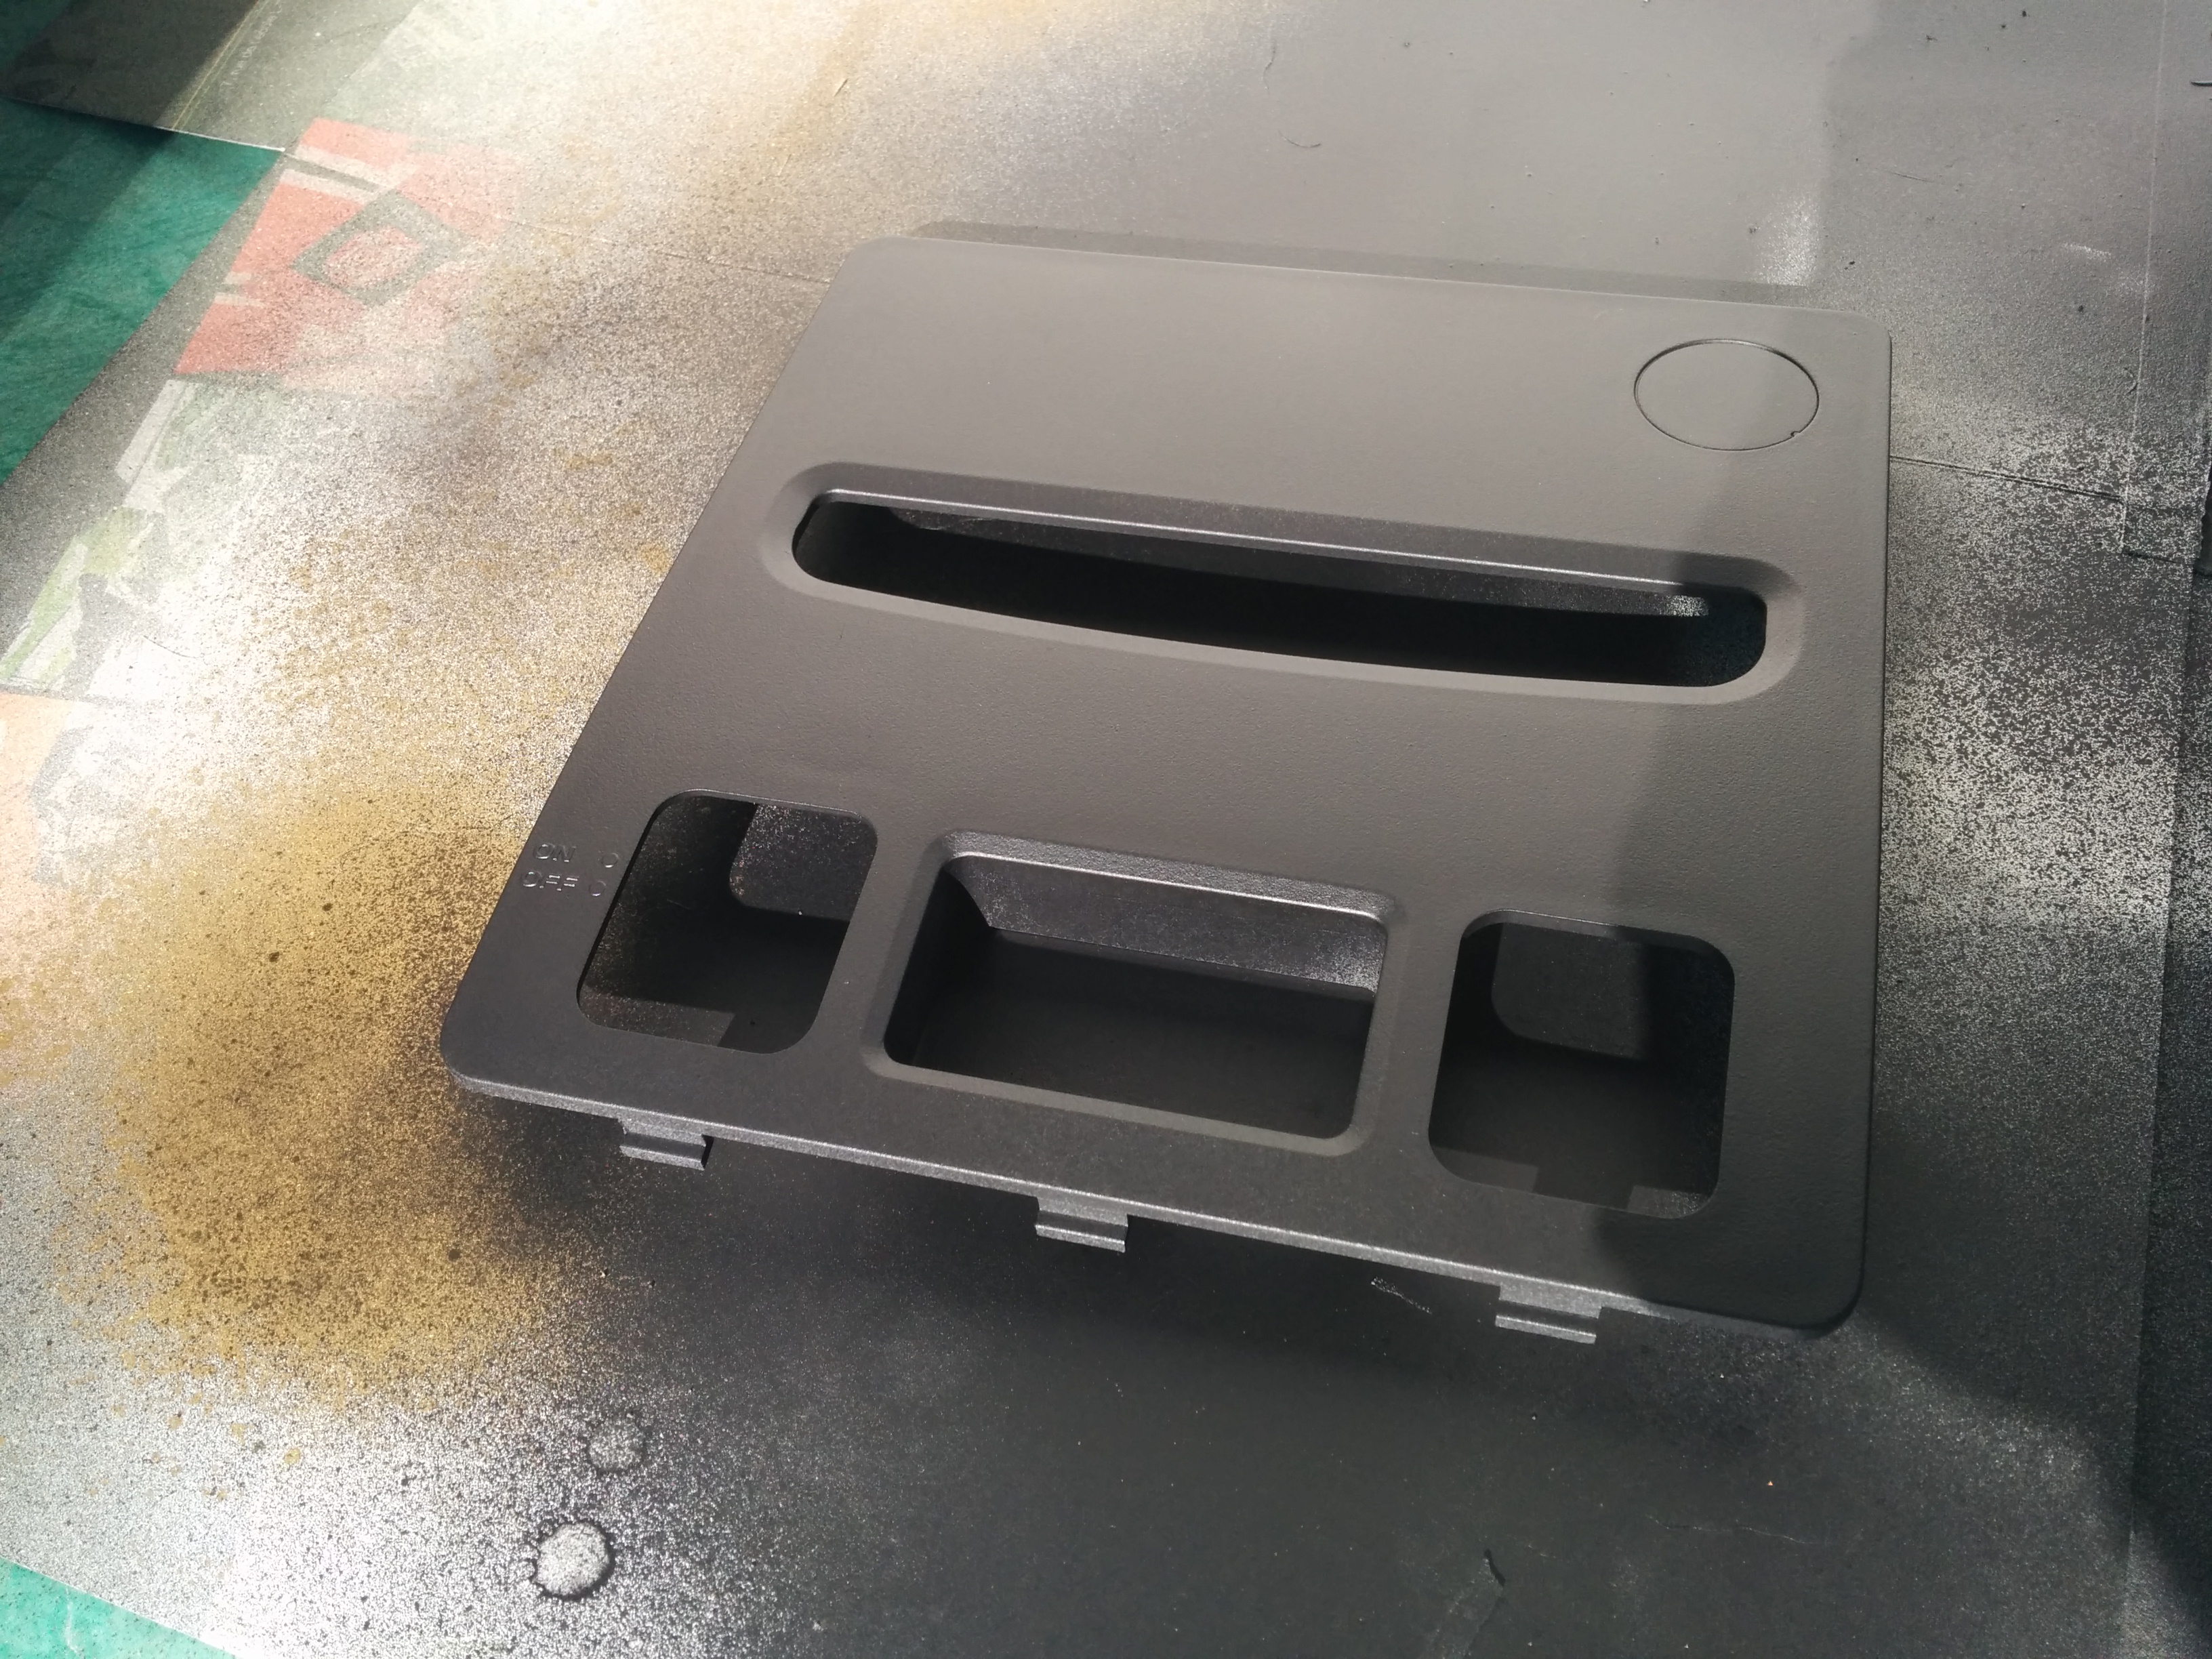
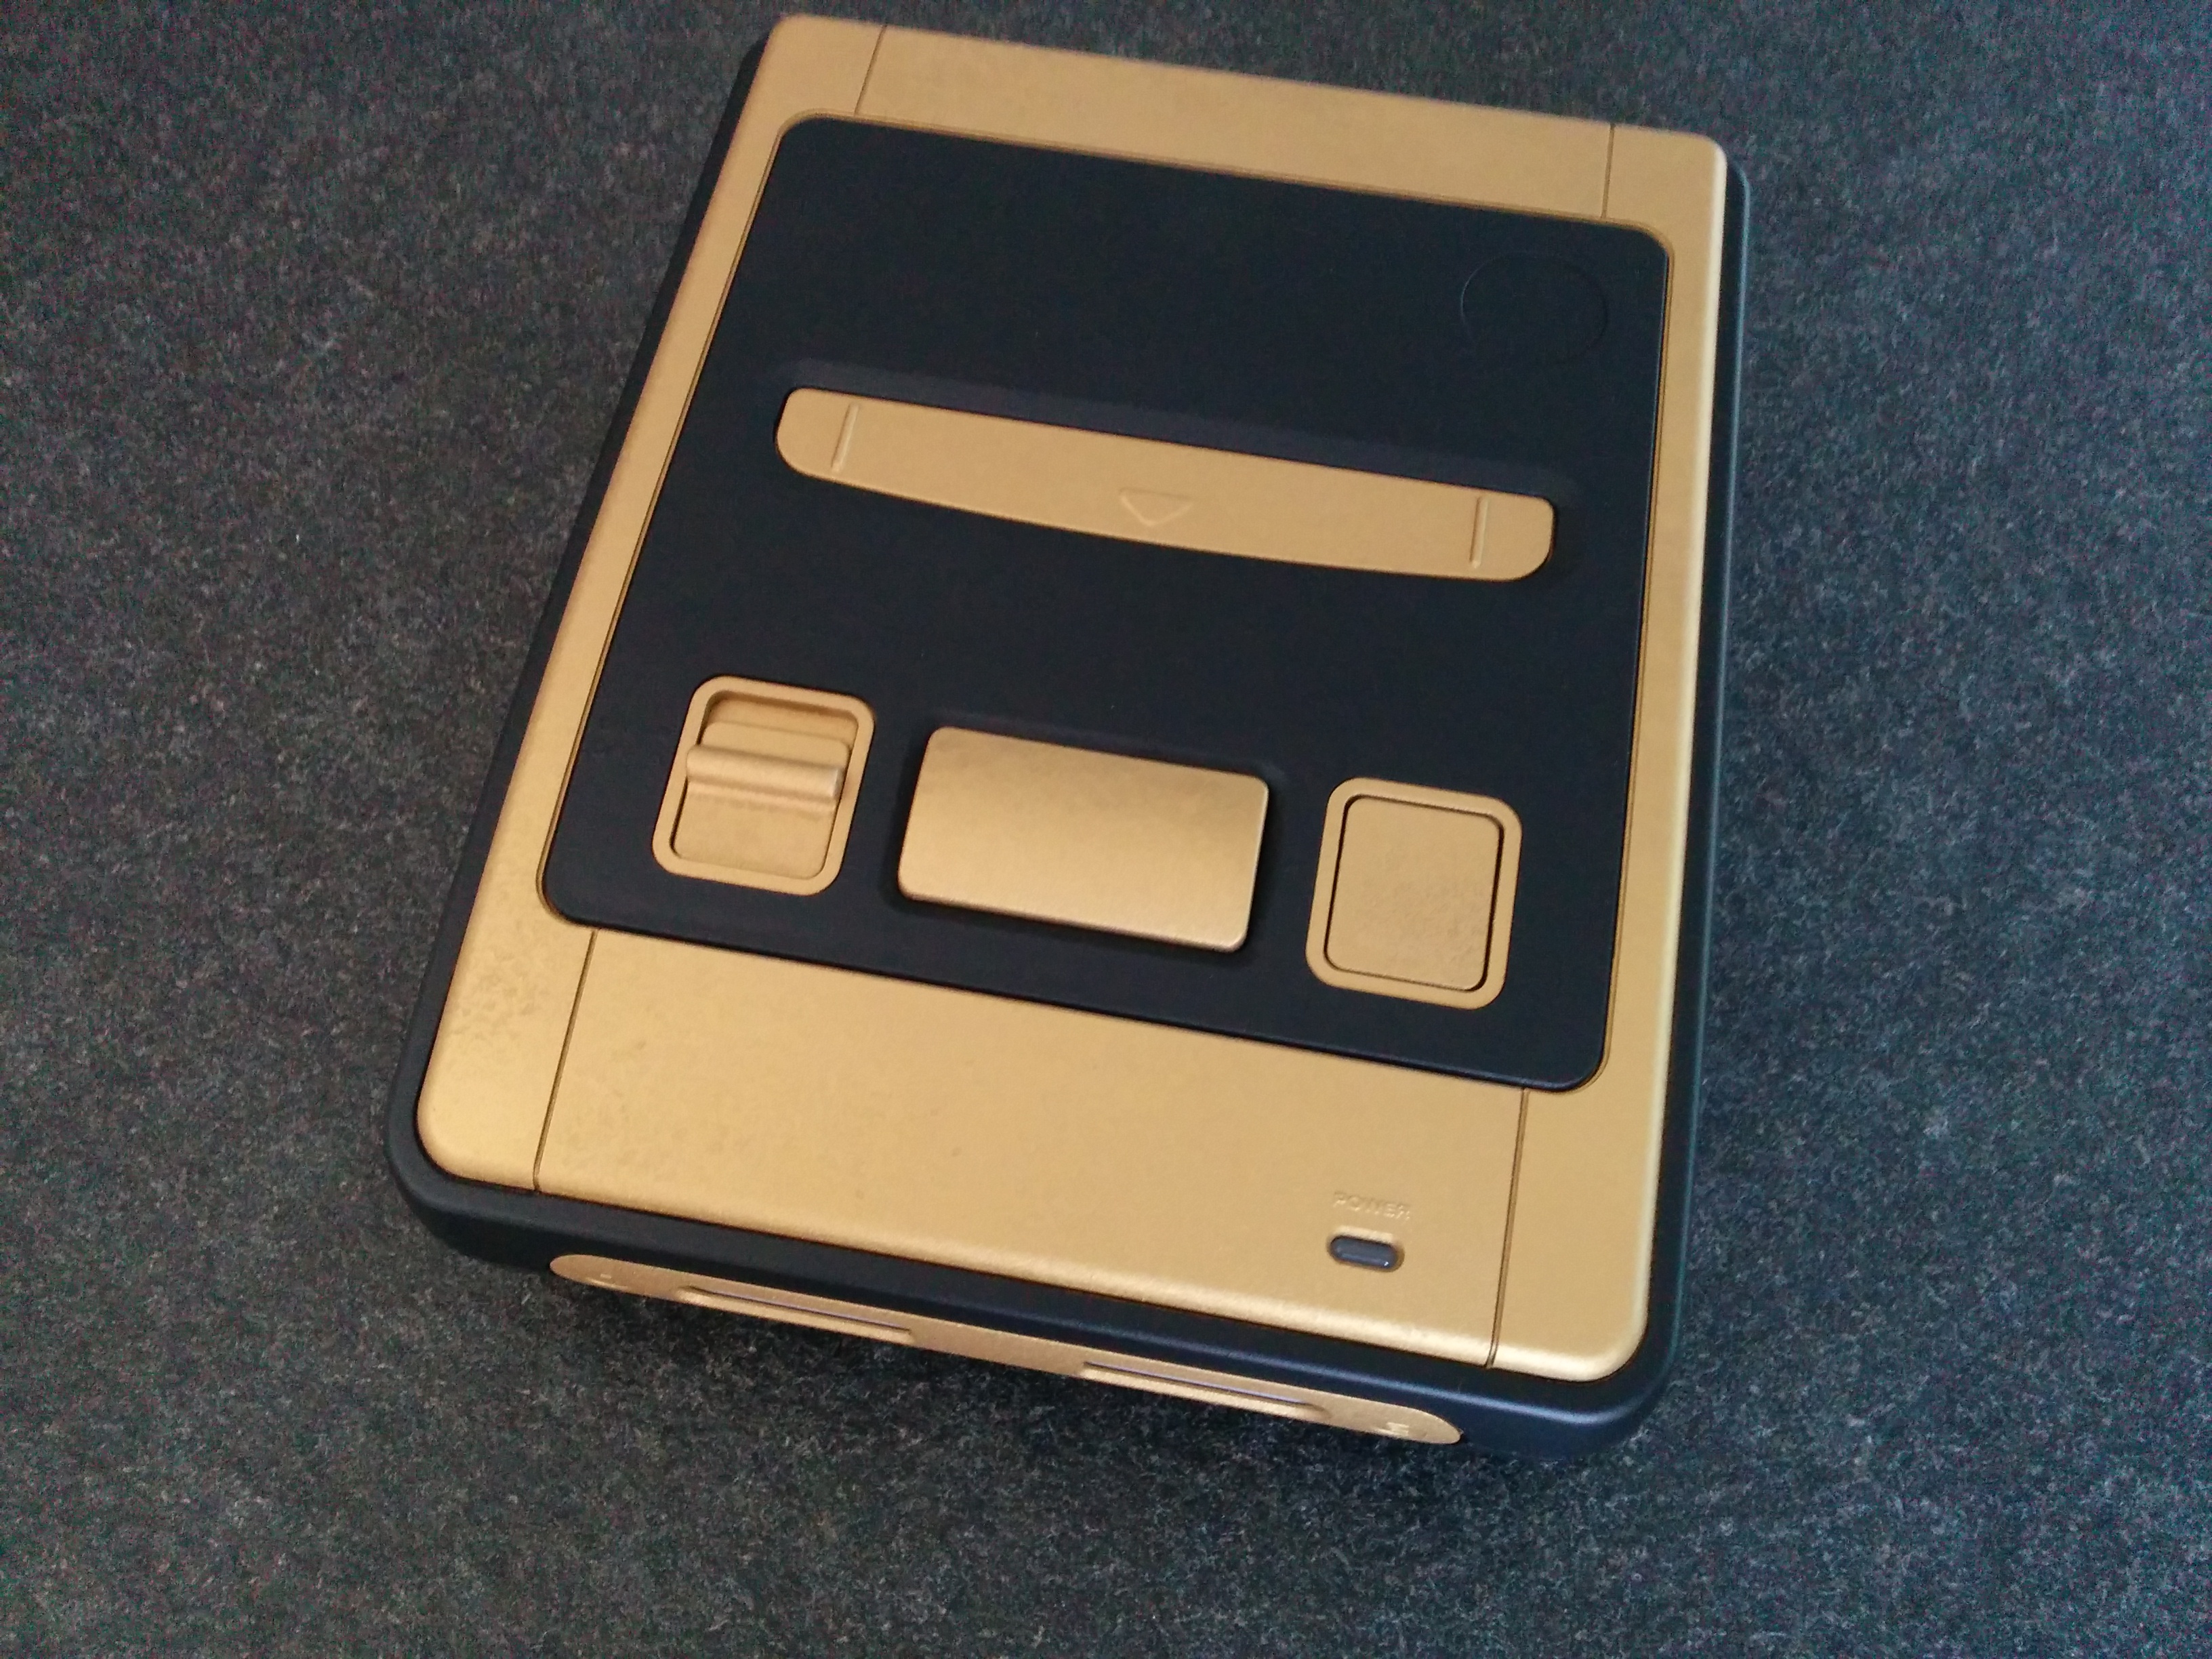
2) After cleaning all the parts, I chose a “brass” color and a “carbon black” color for the case. the brass is very nice looking and pretty resembling to the Zelda goldish color.
3) As always: take your time. use 4, 5 thin coats, let them dry at least 30mins to achieve the same results. It depends on the weather conditions, how fast the color is drying.
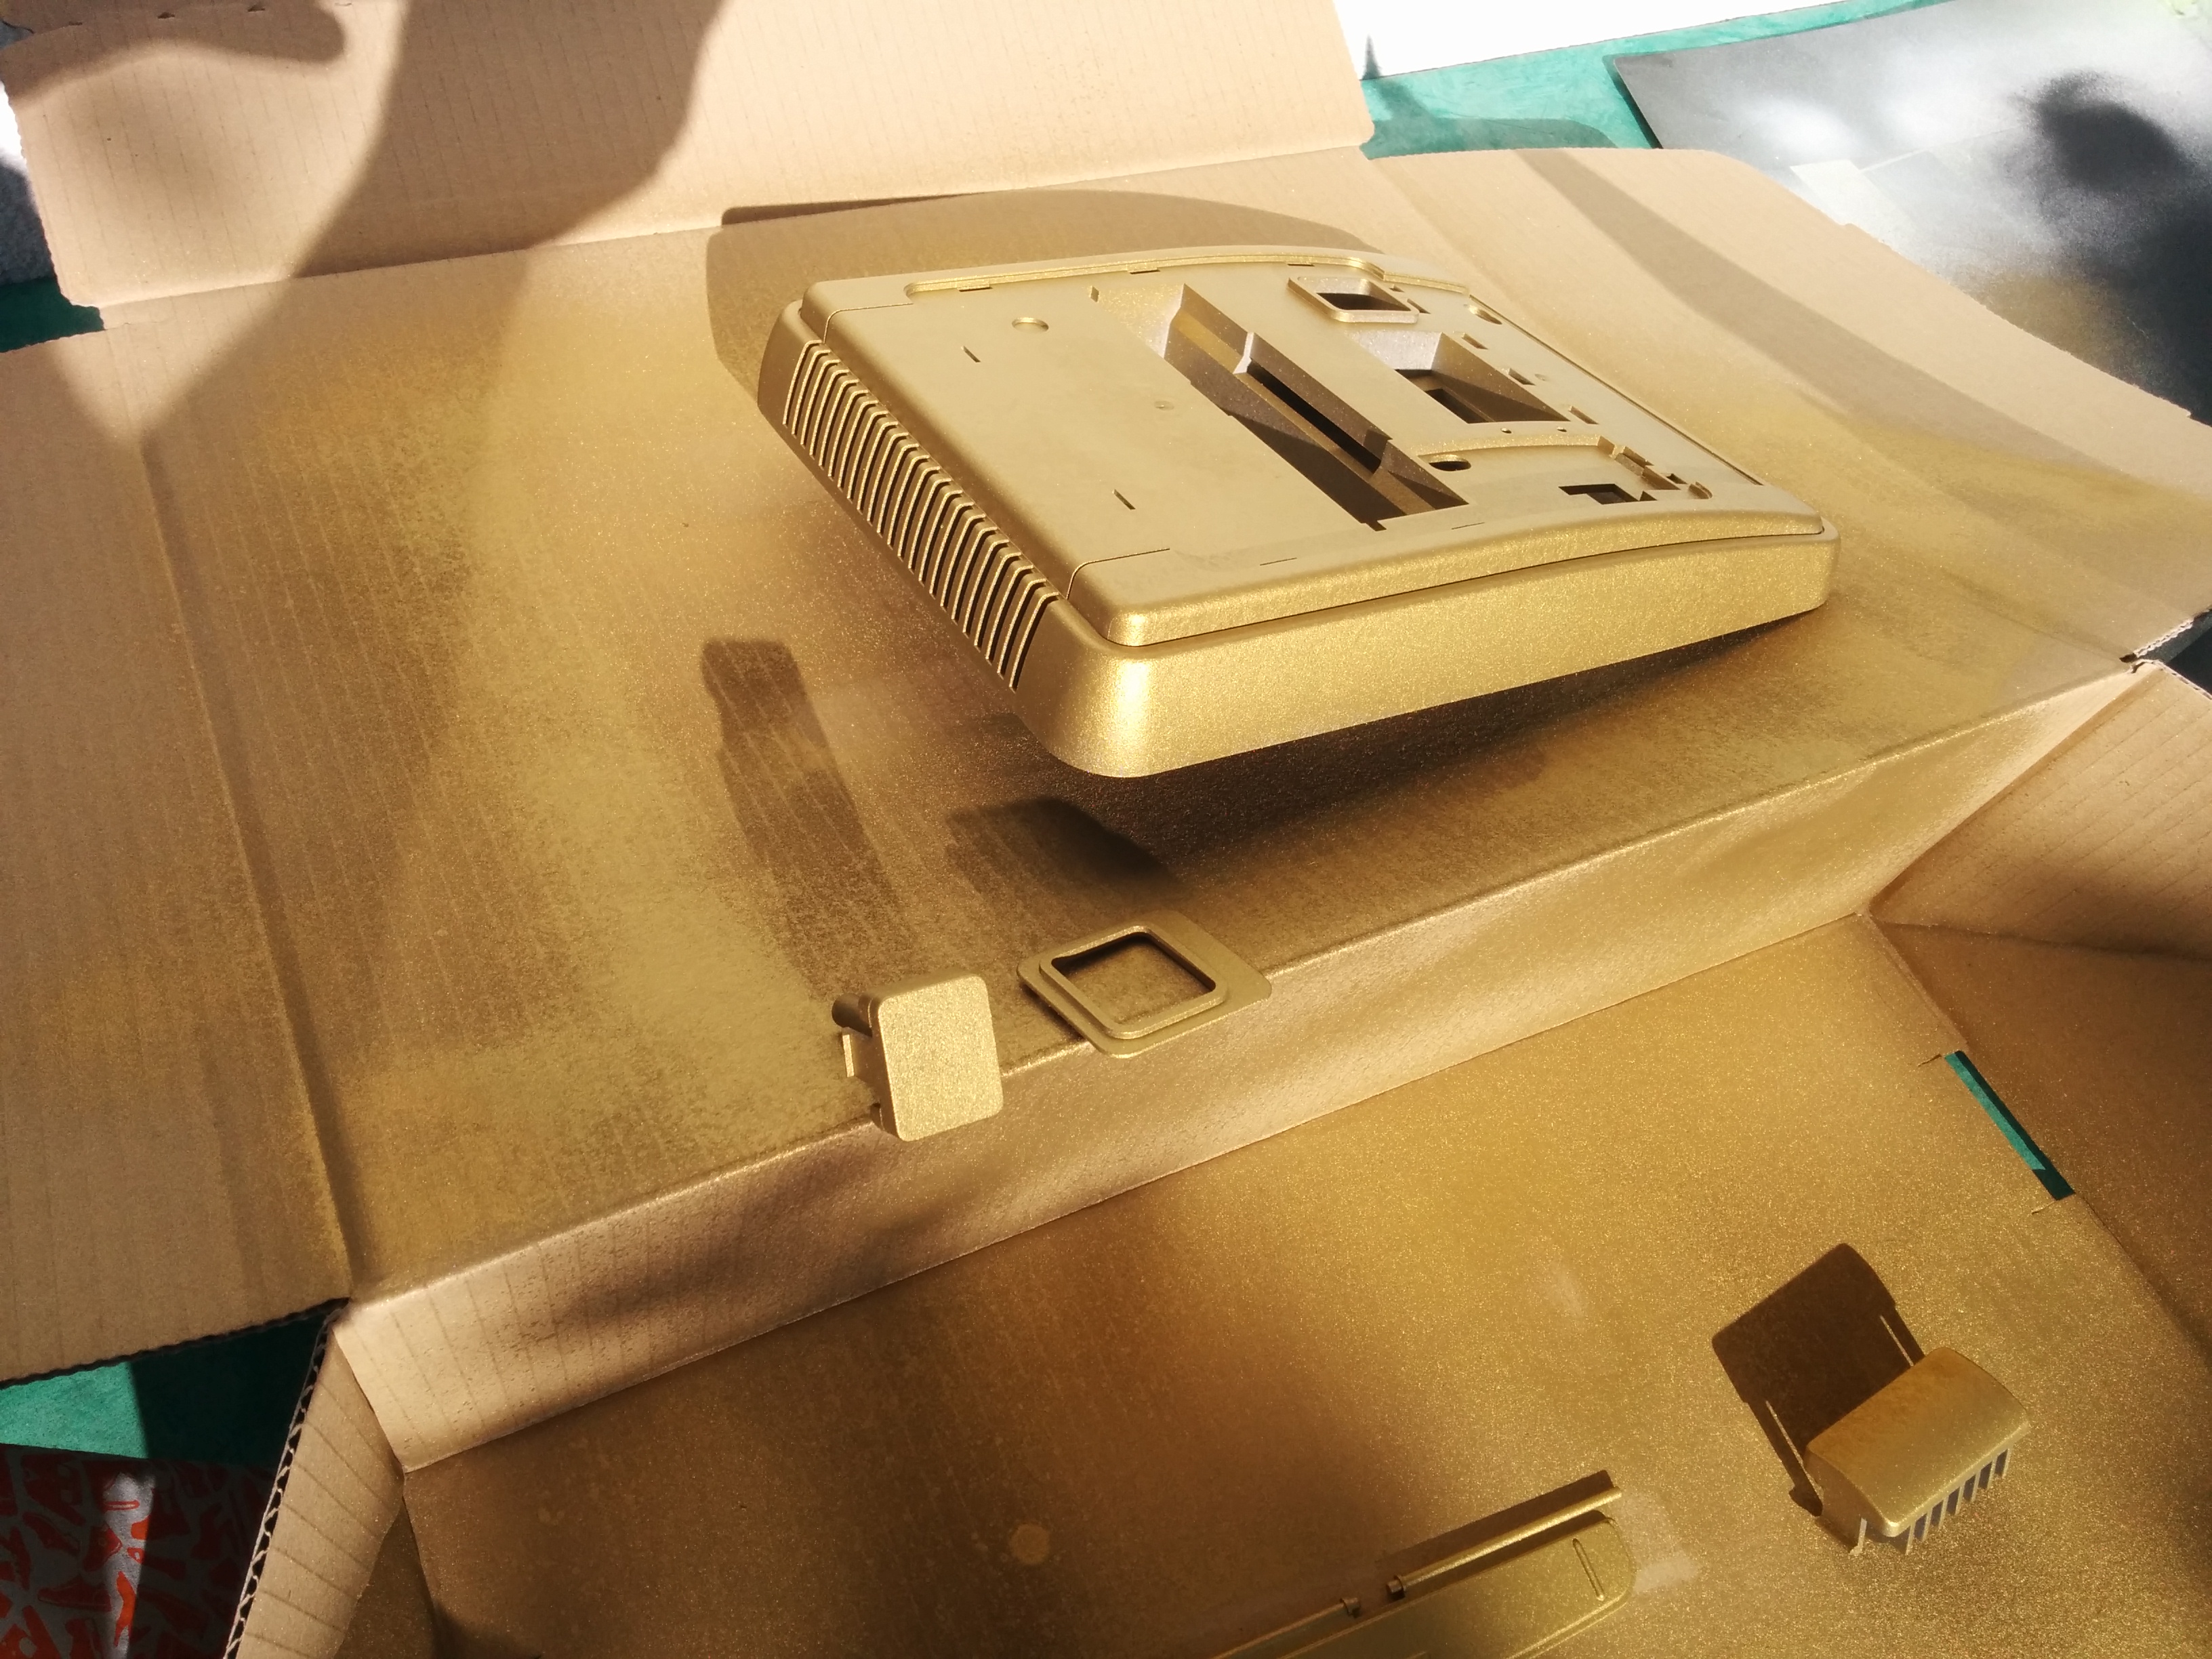
4)
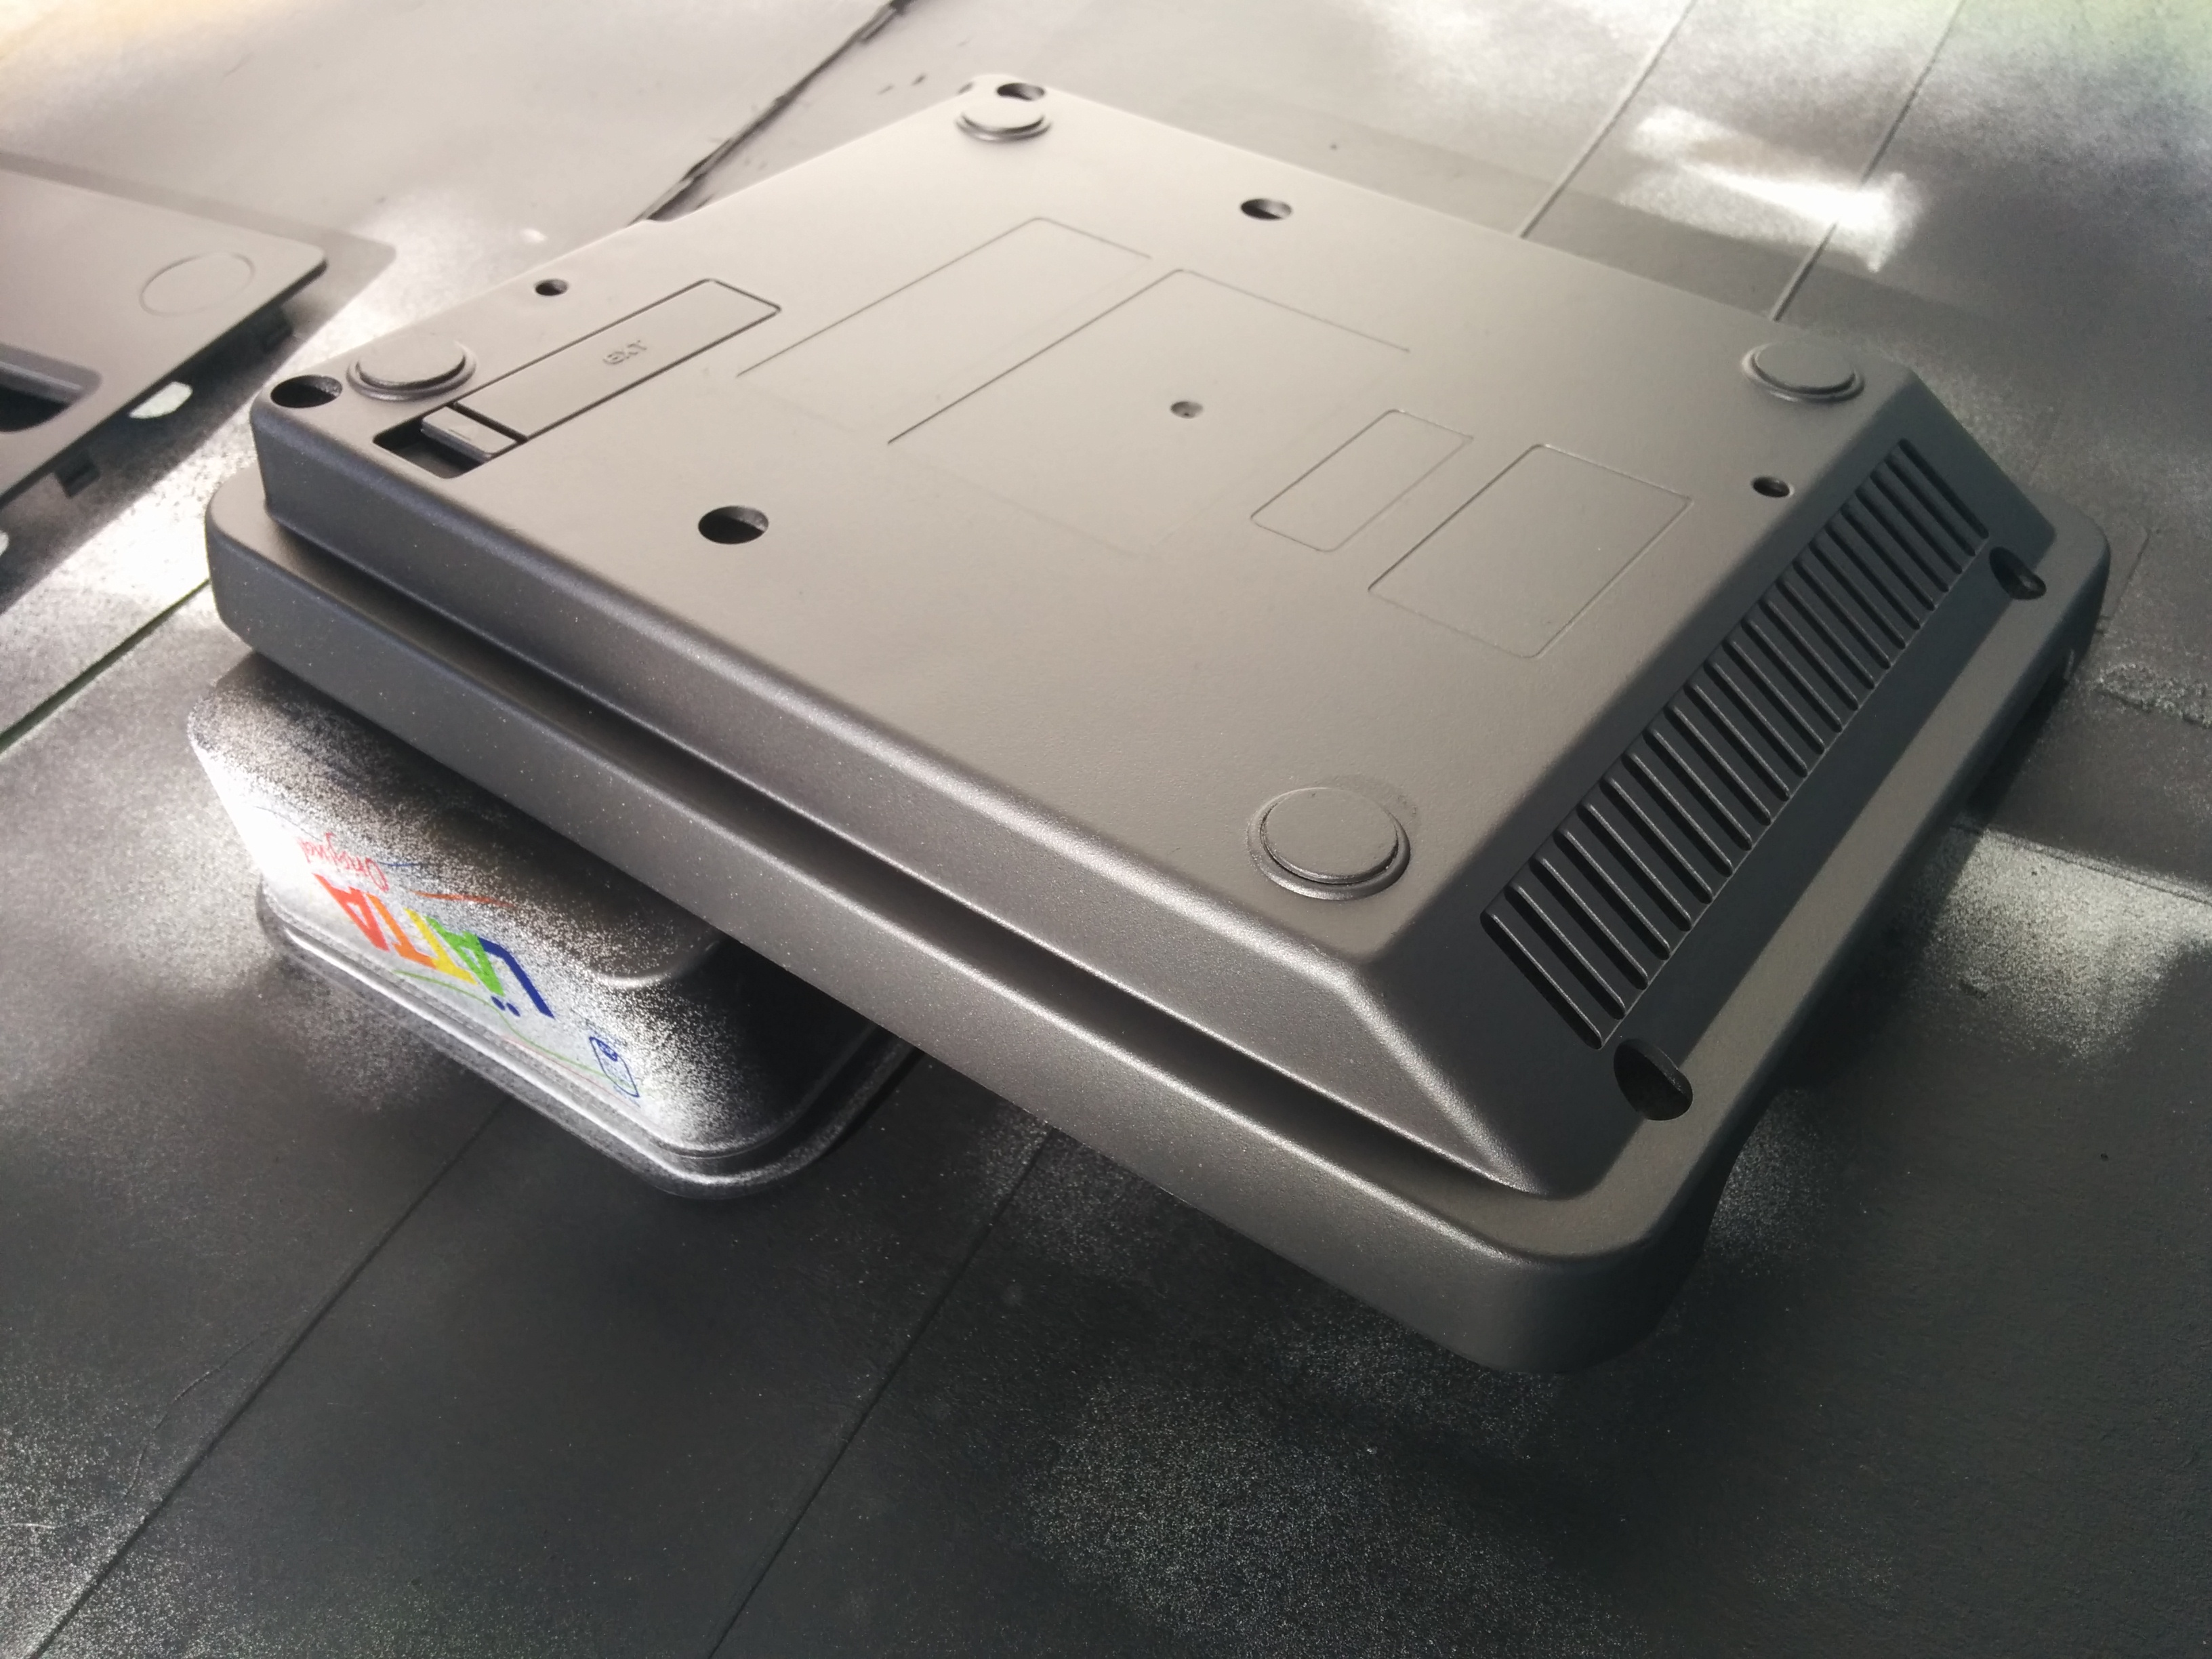
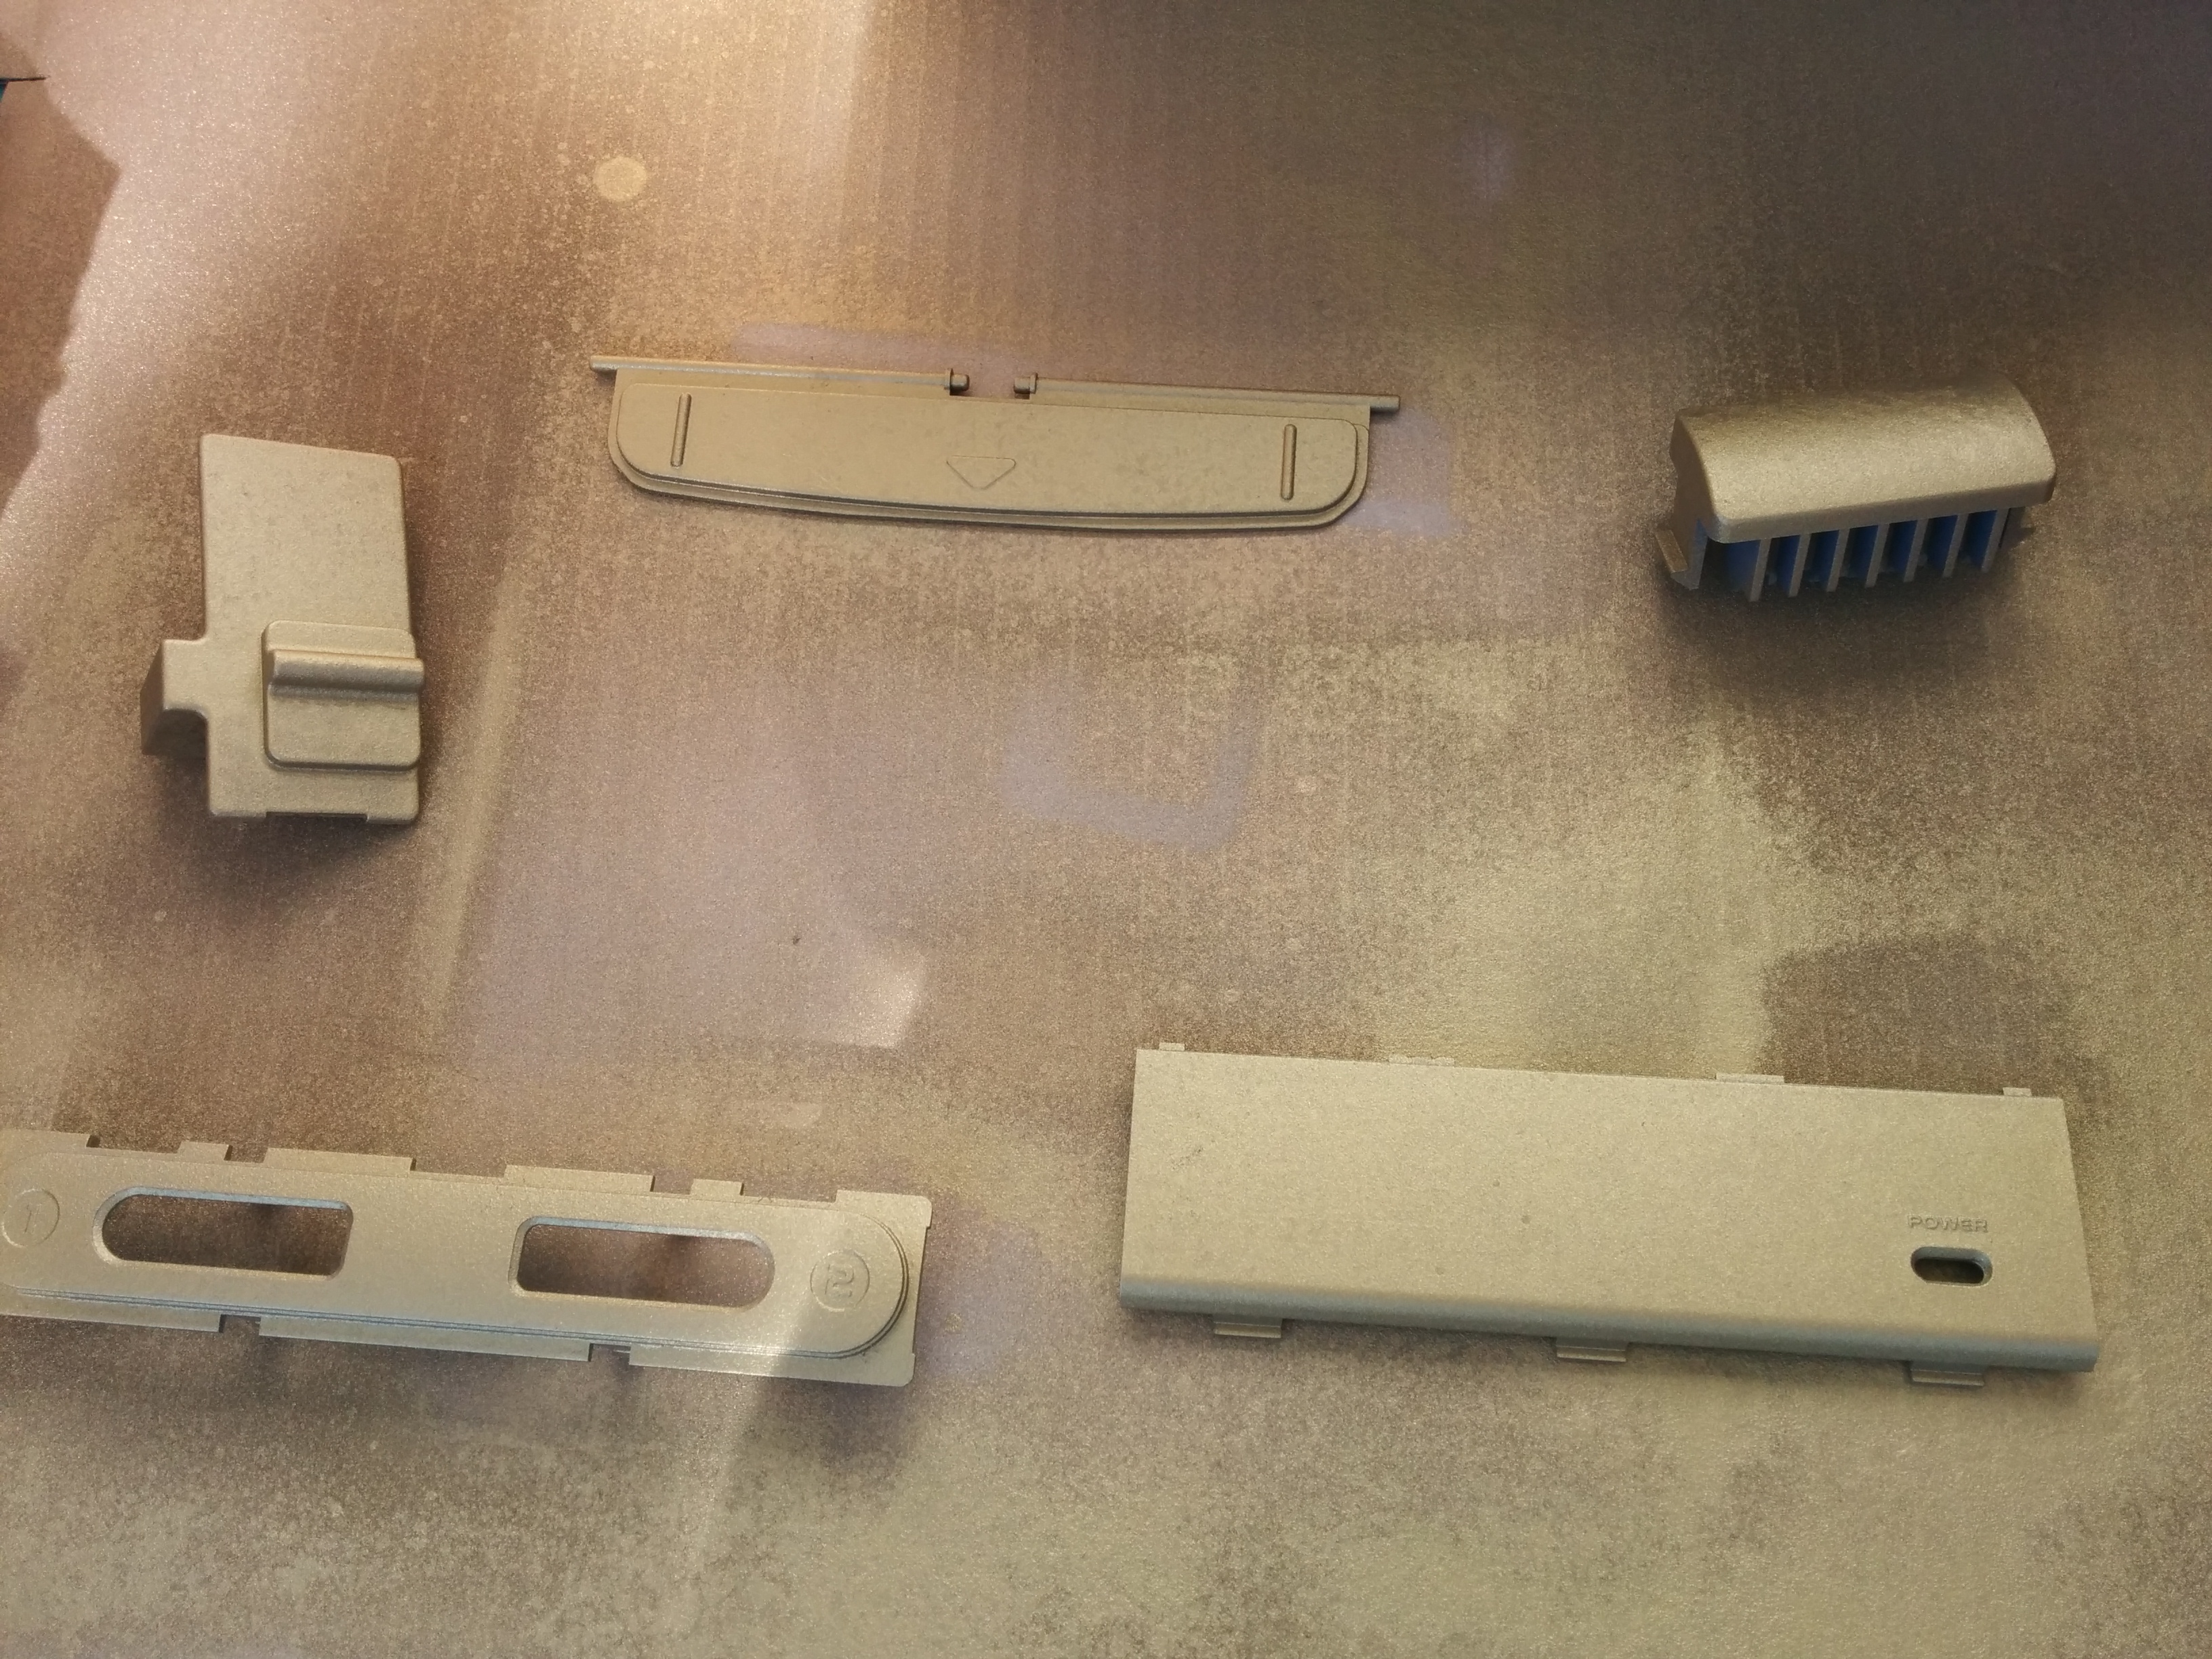
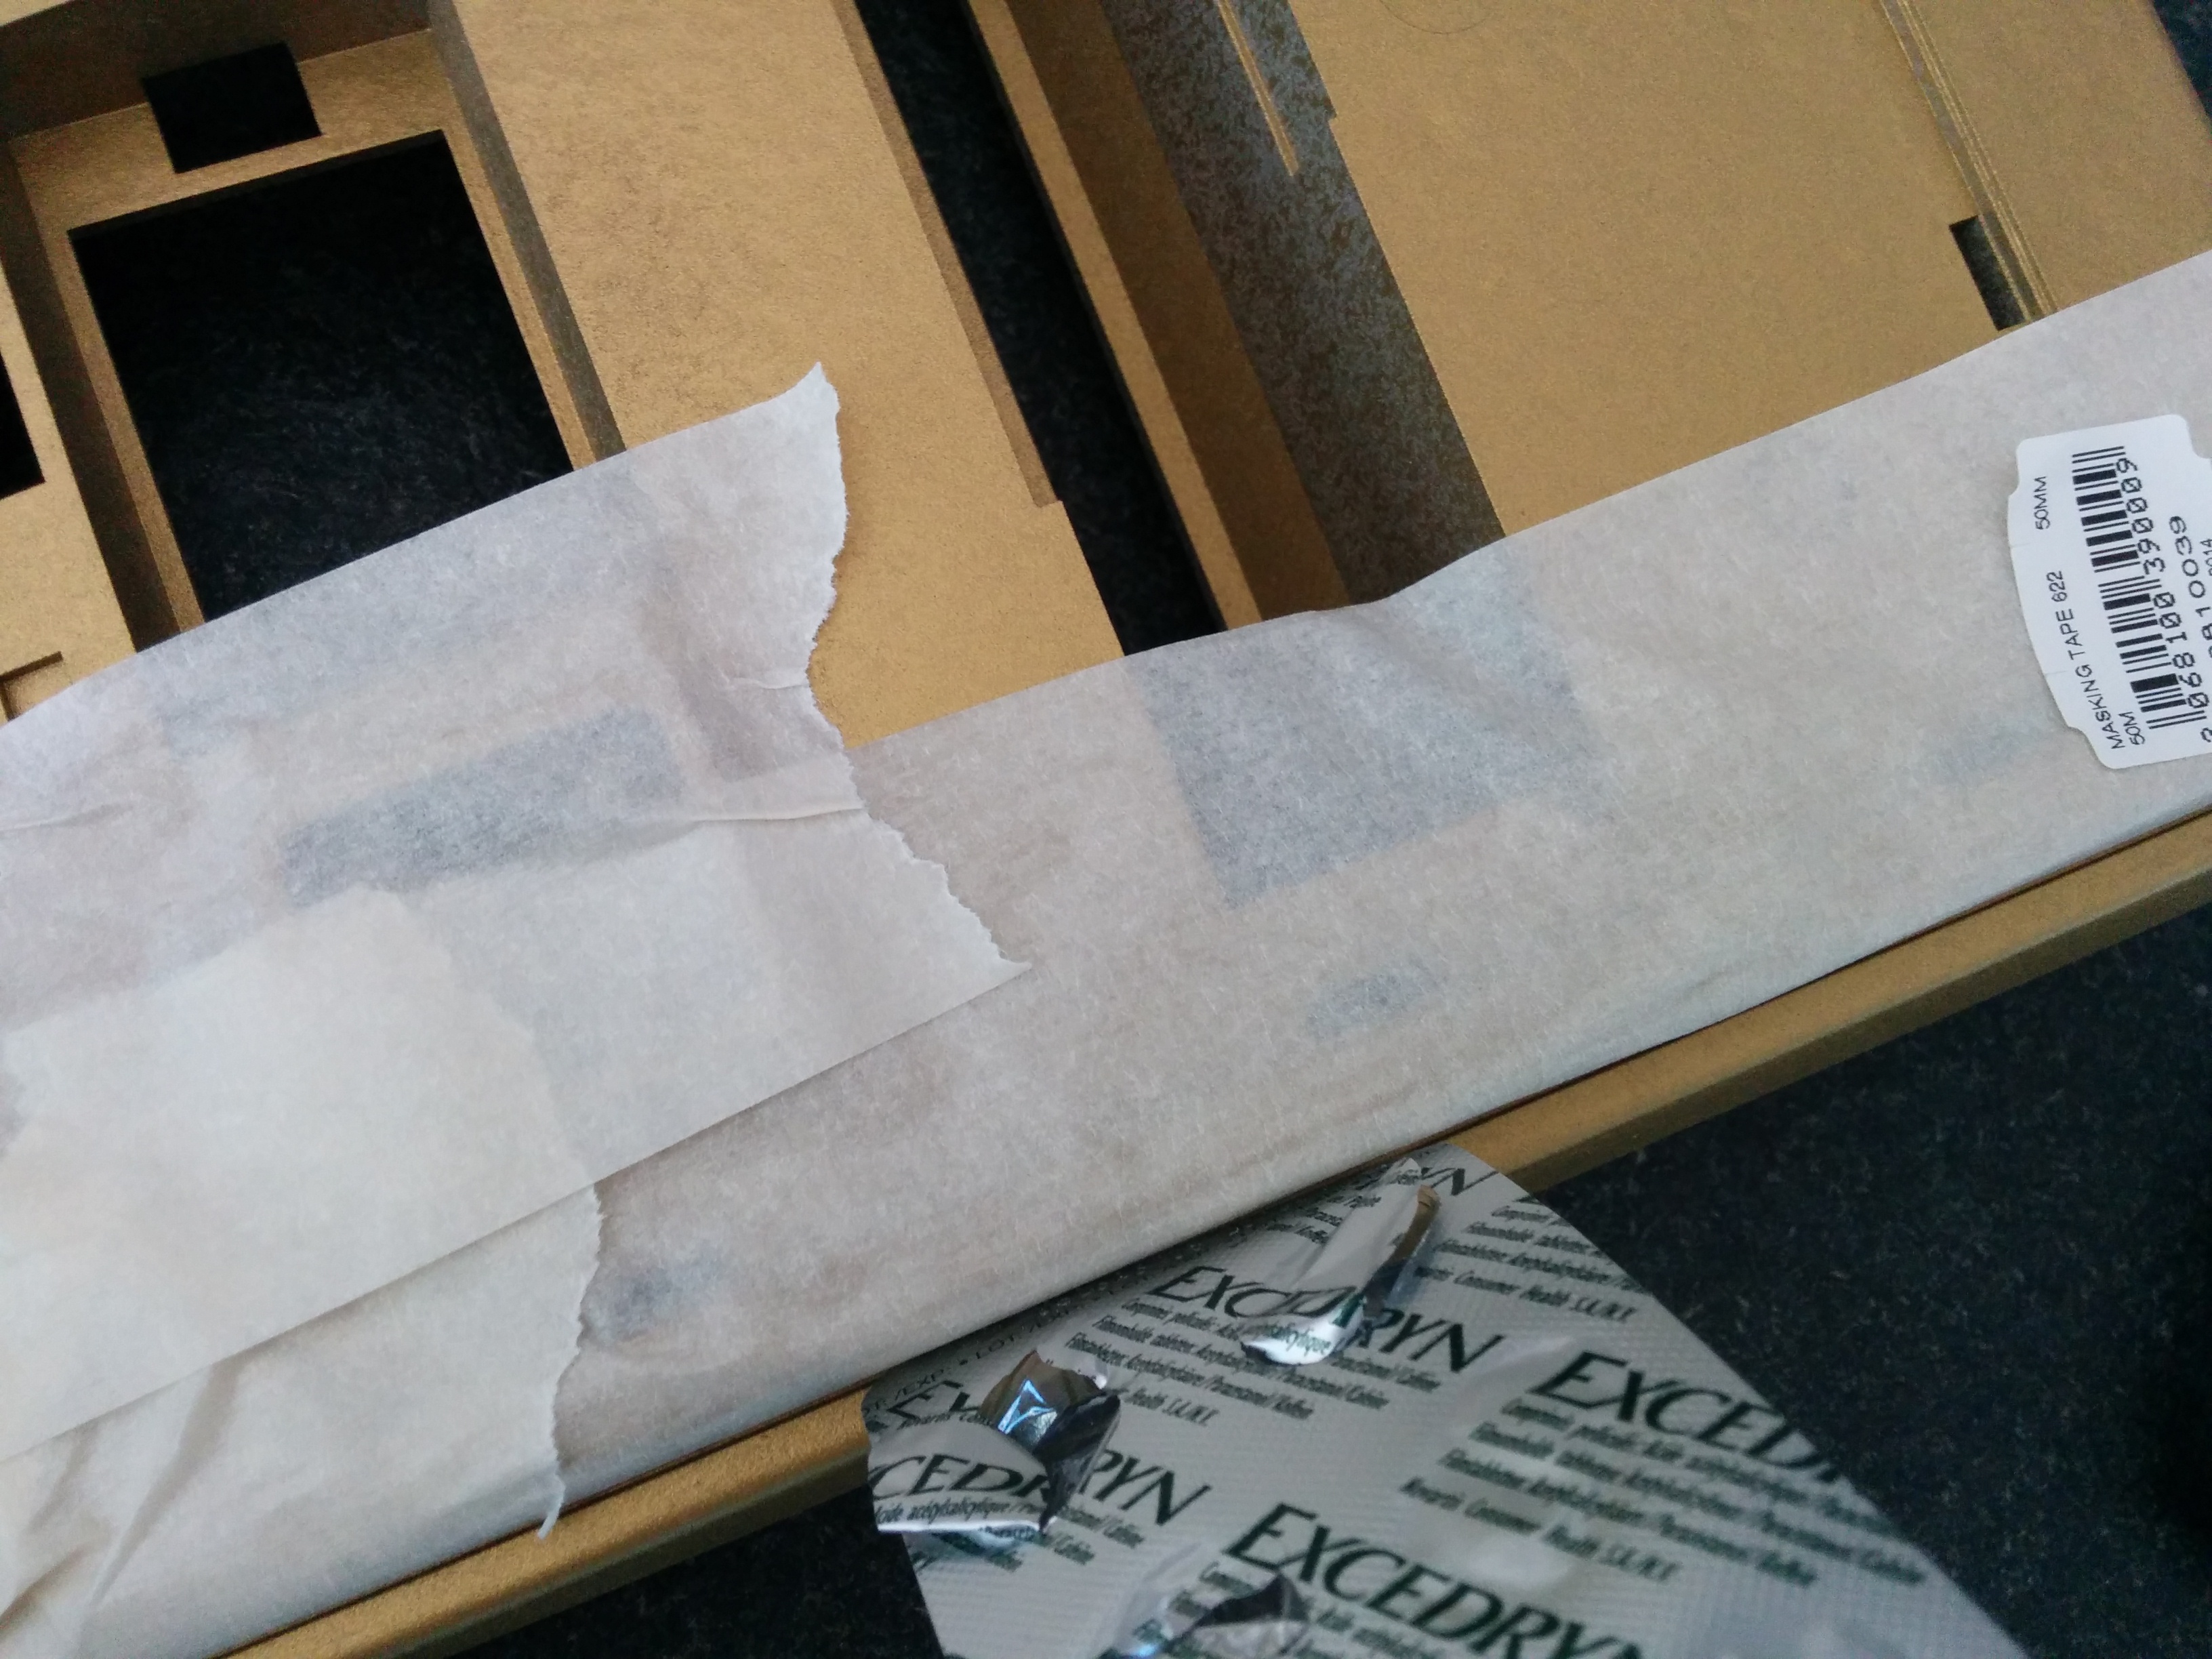
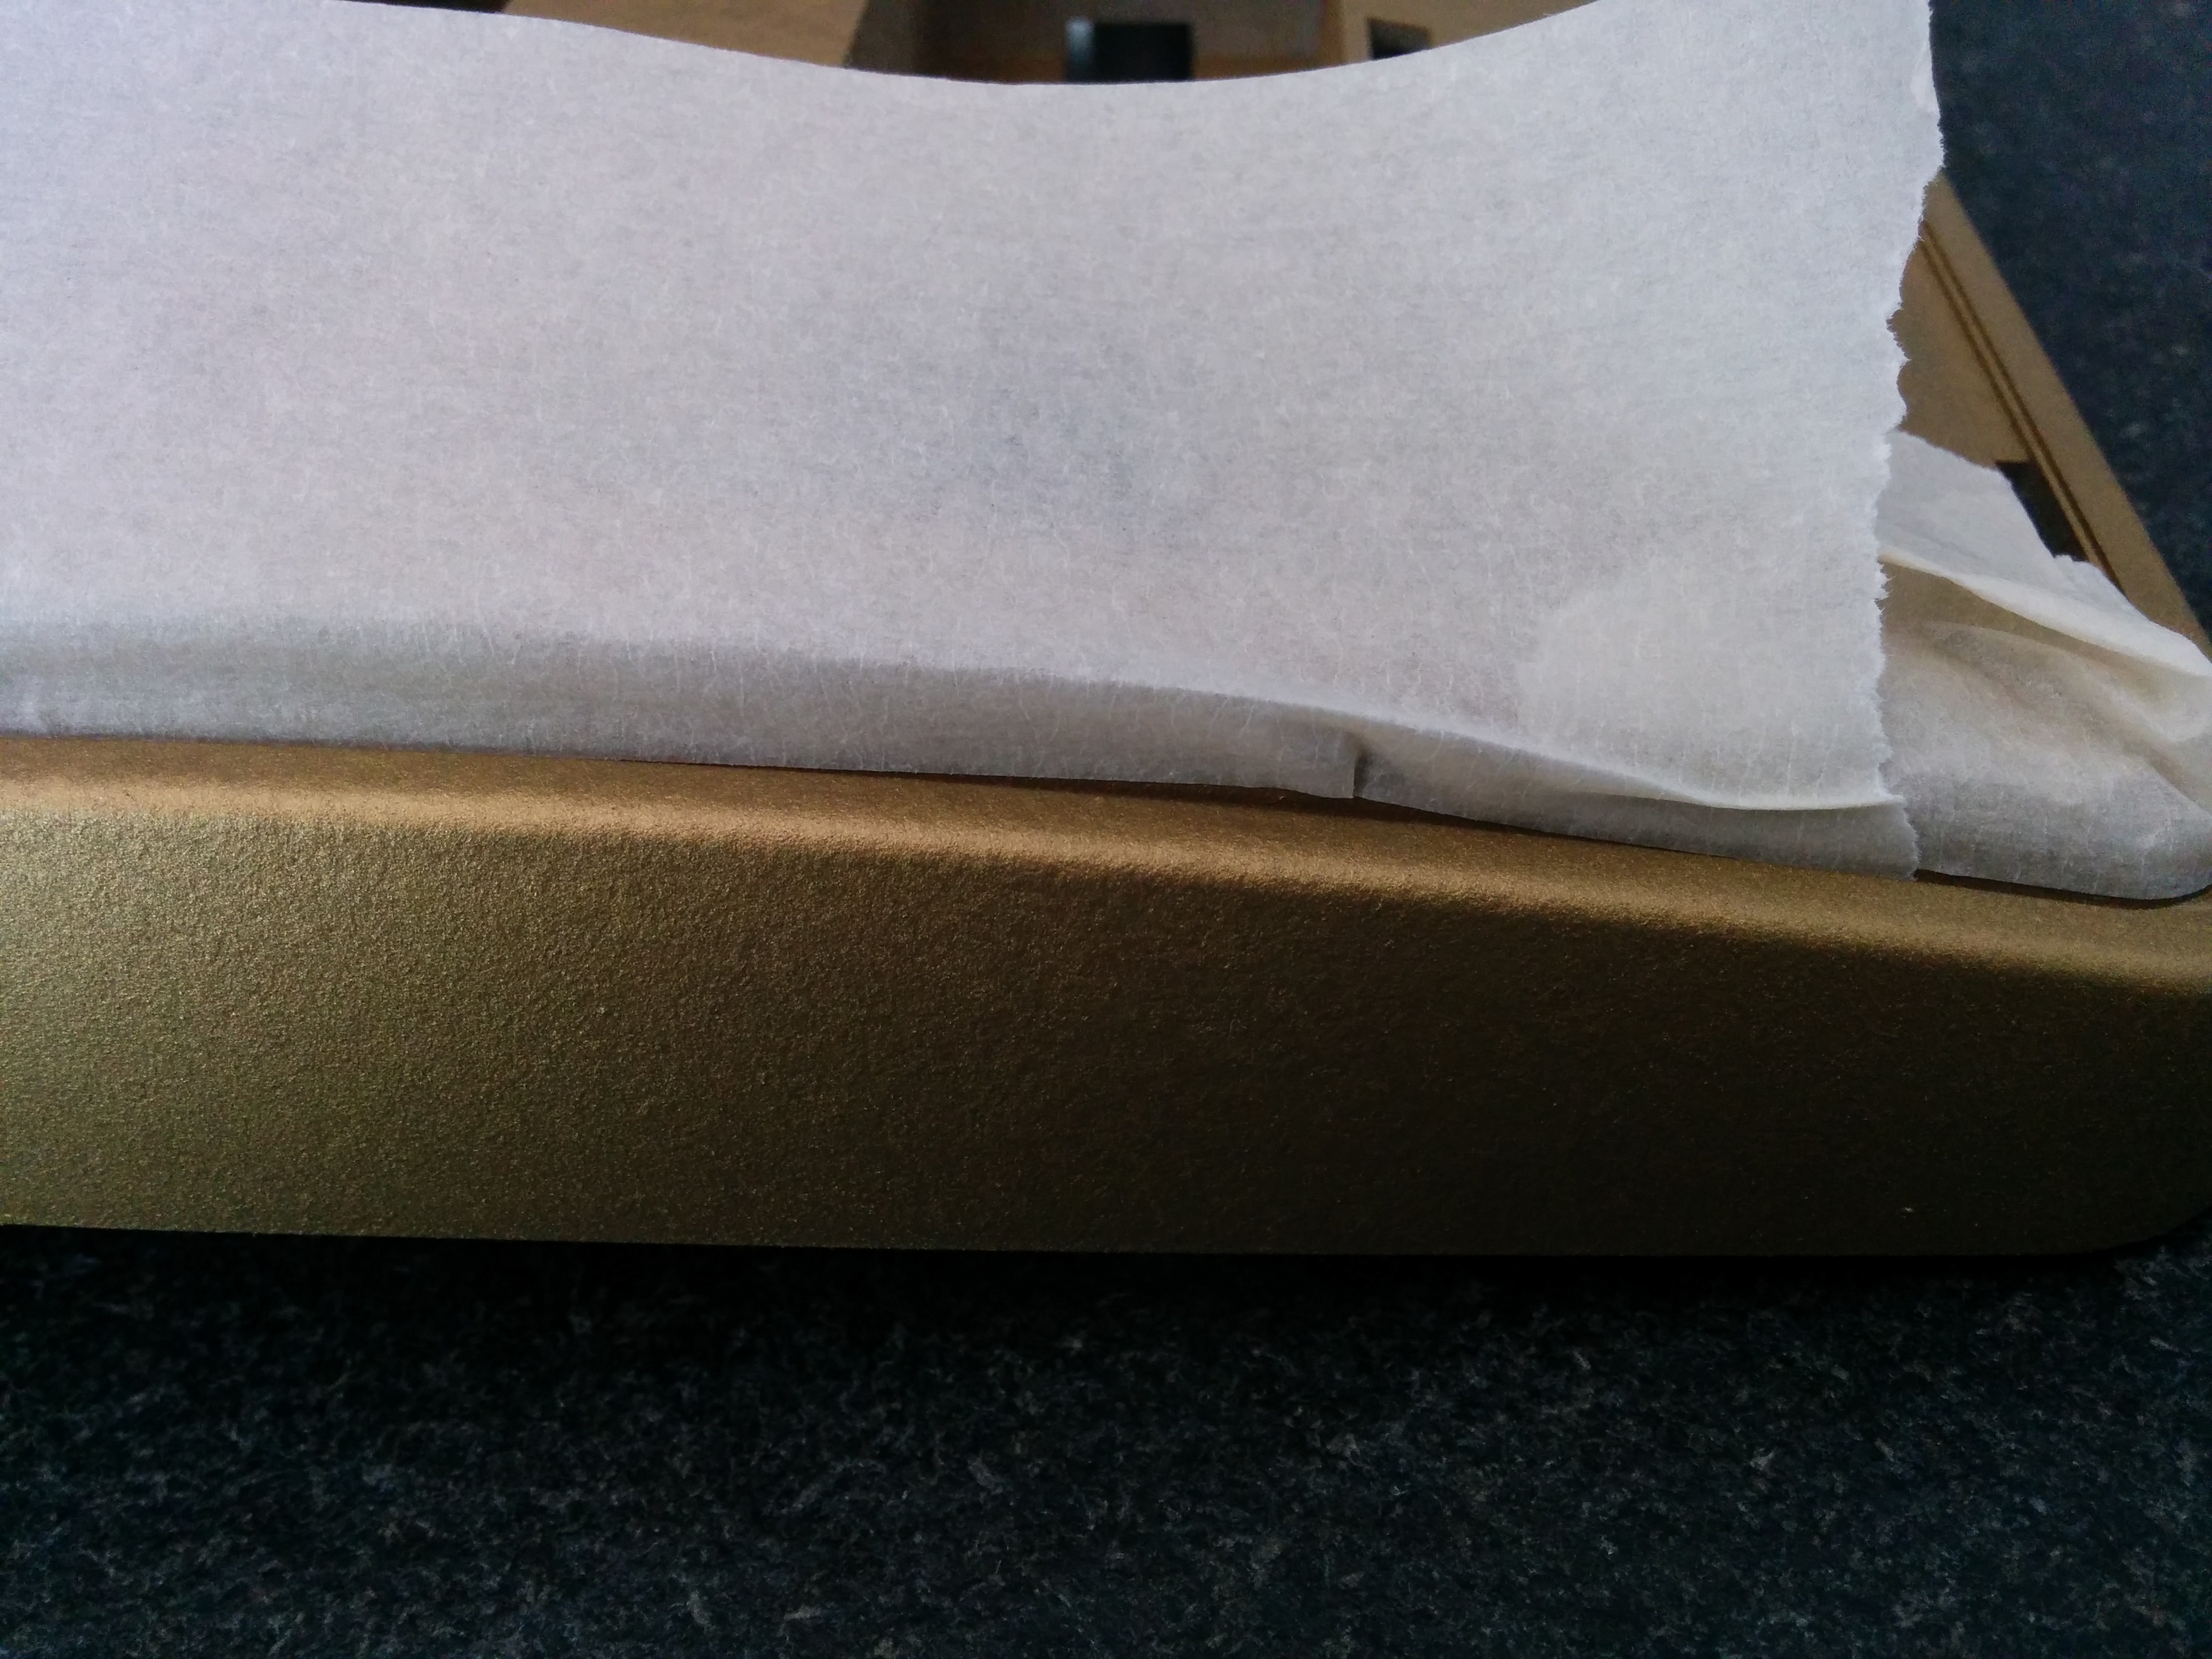
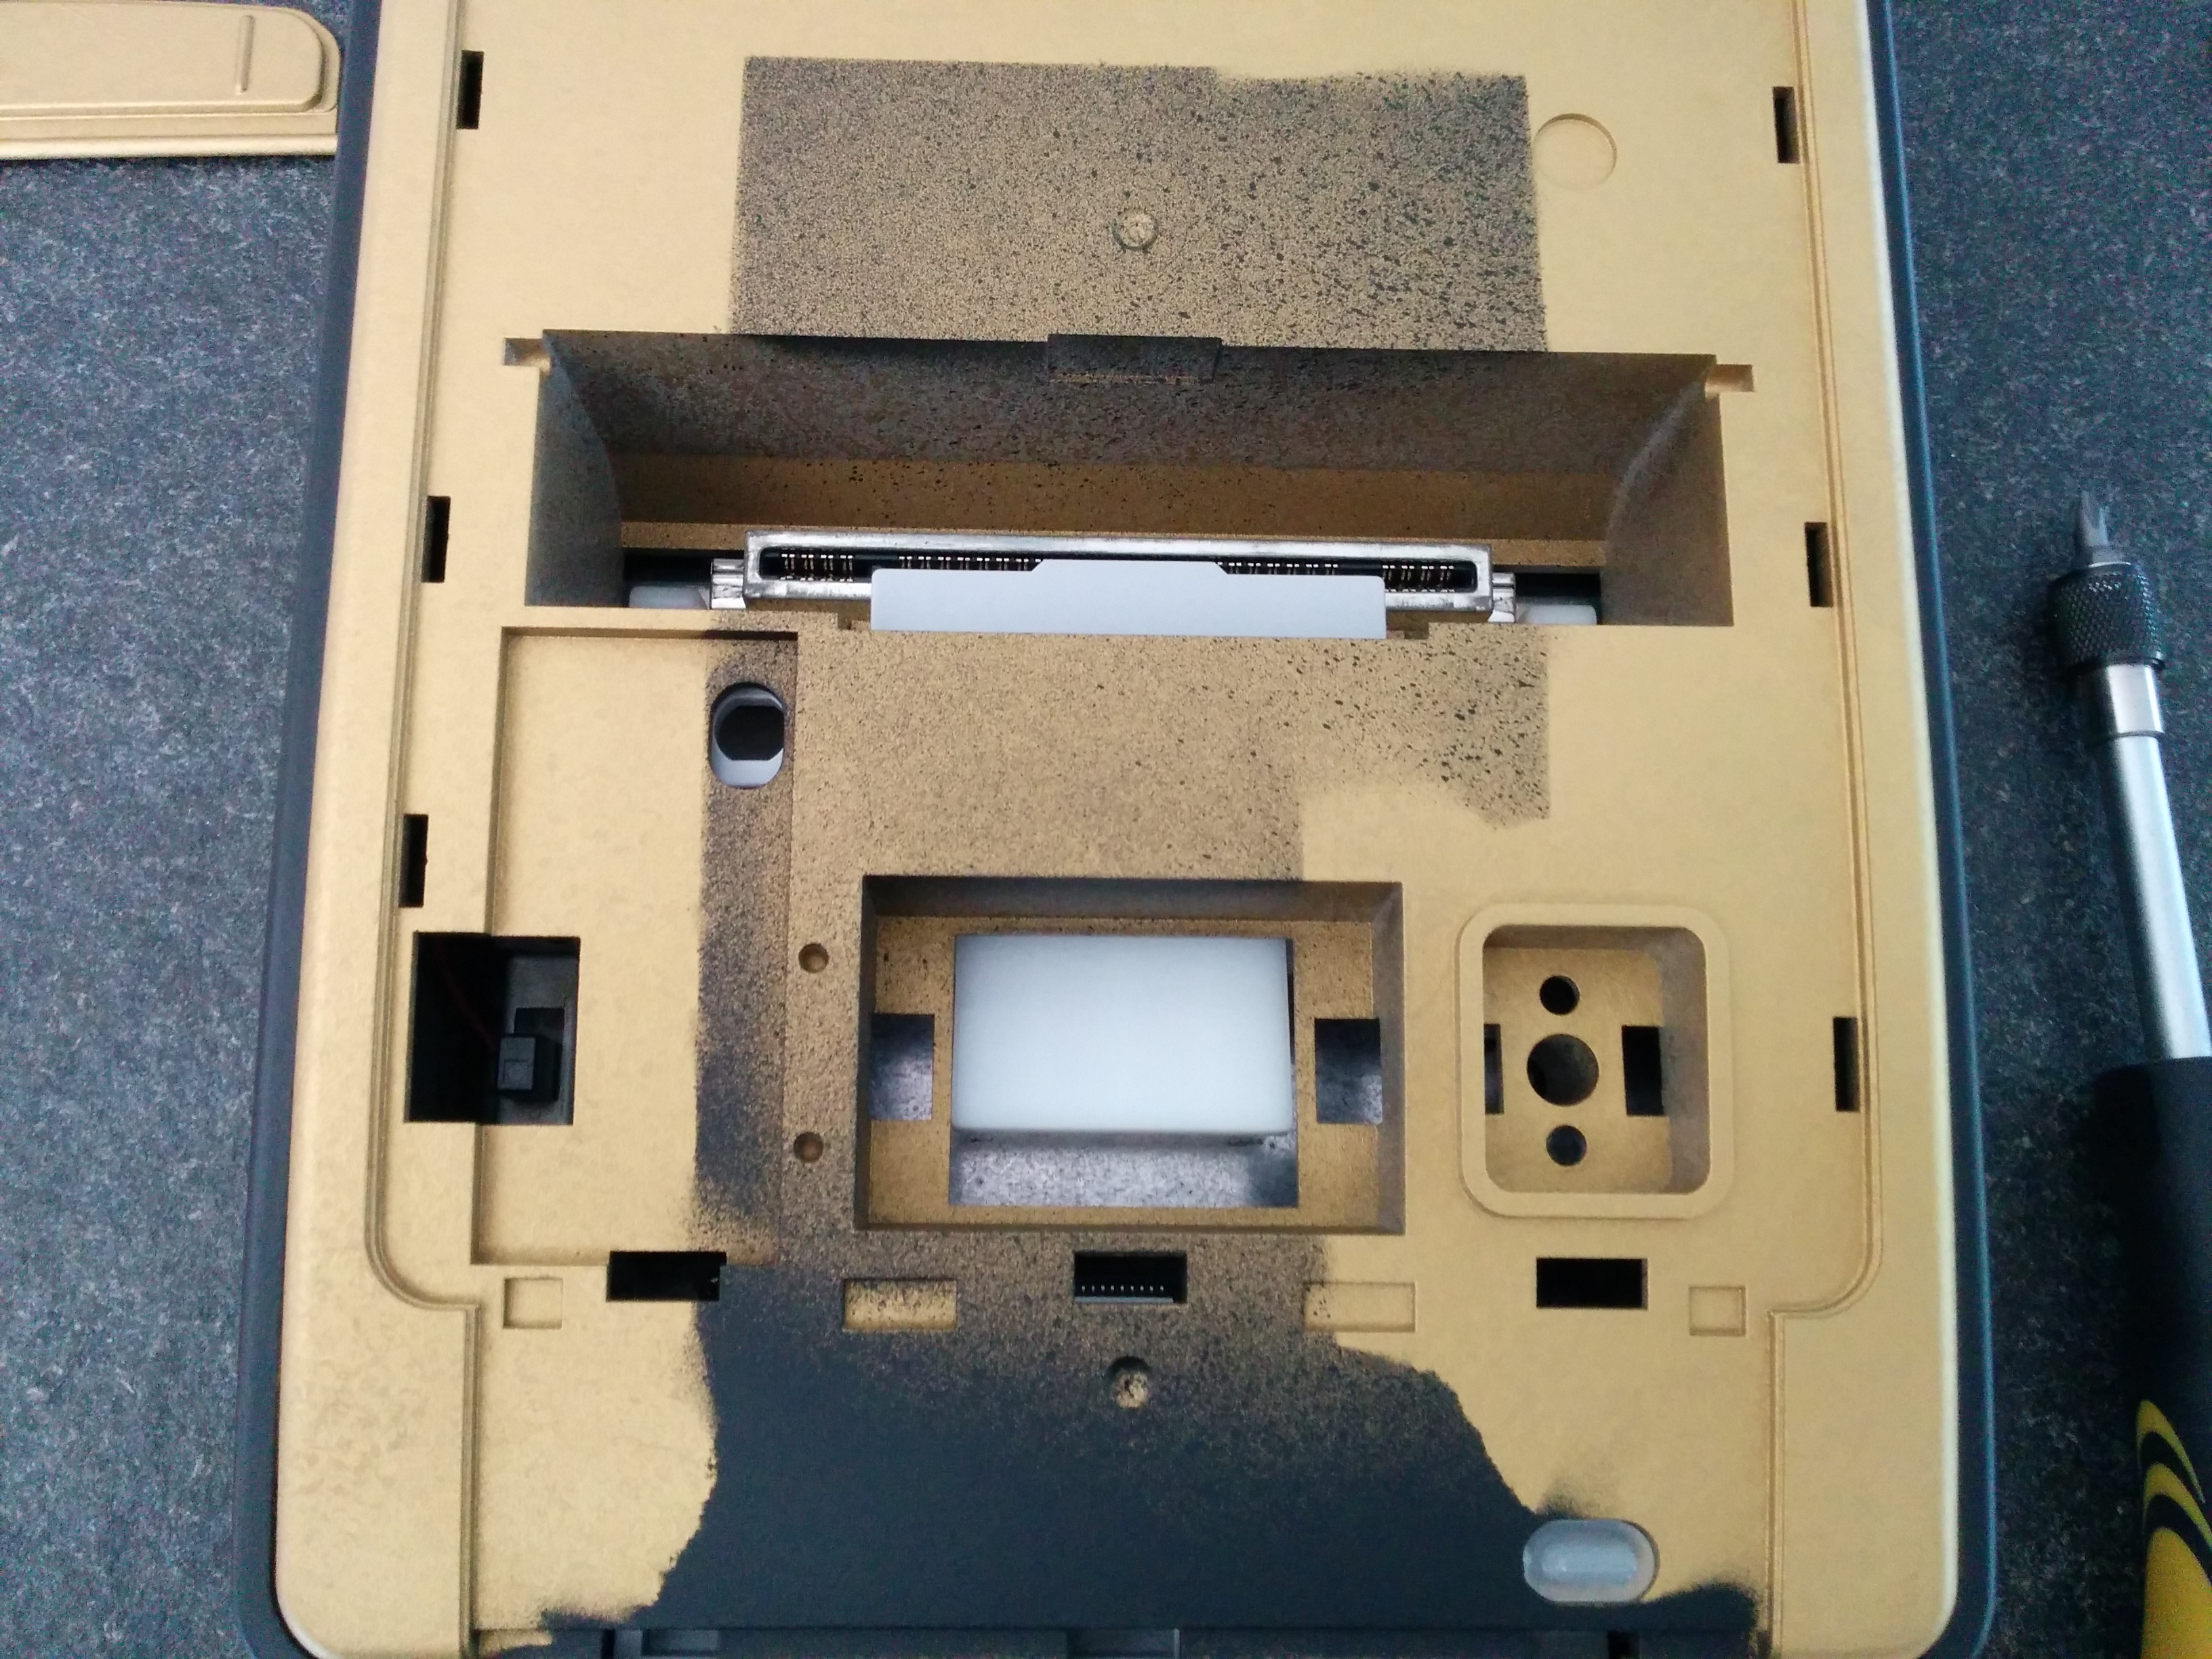
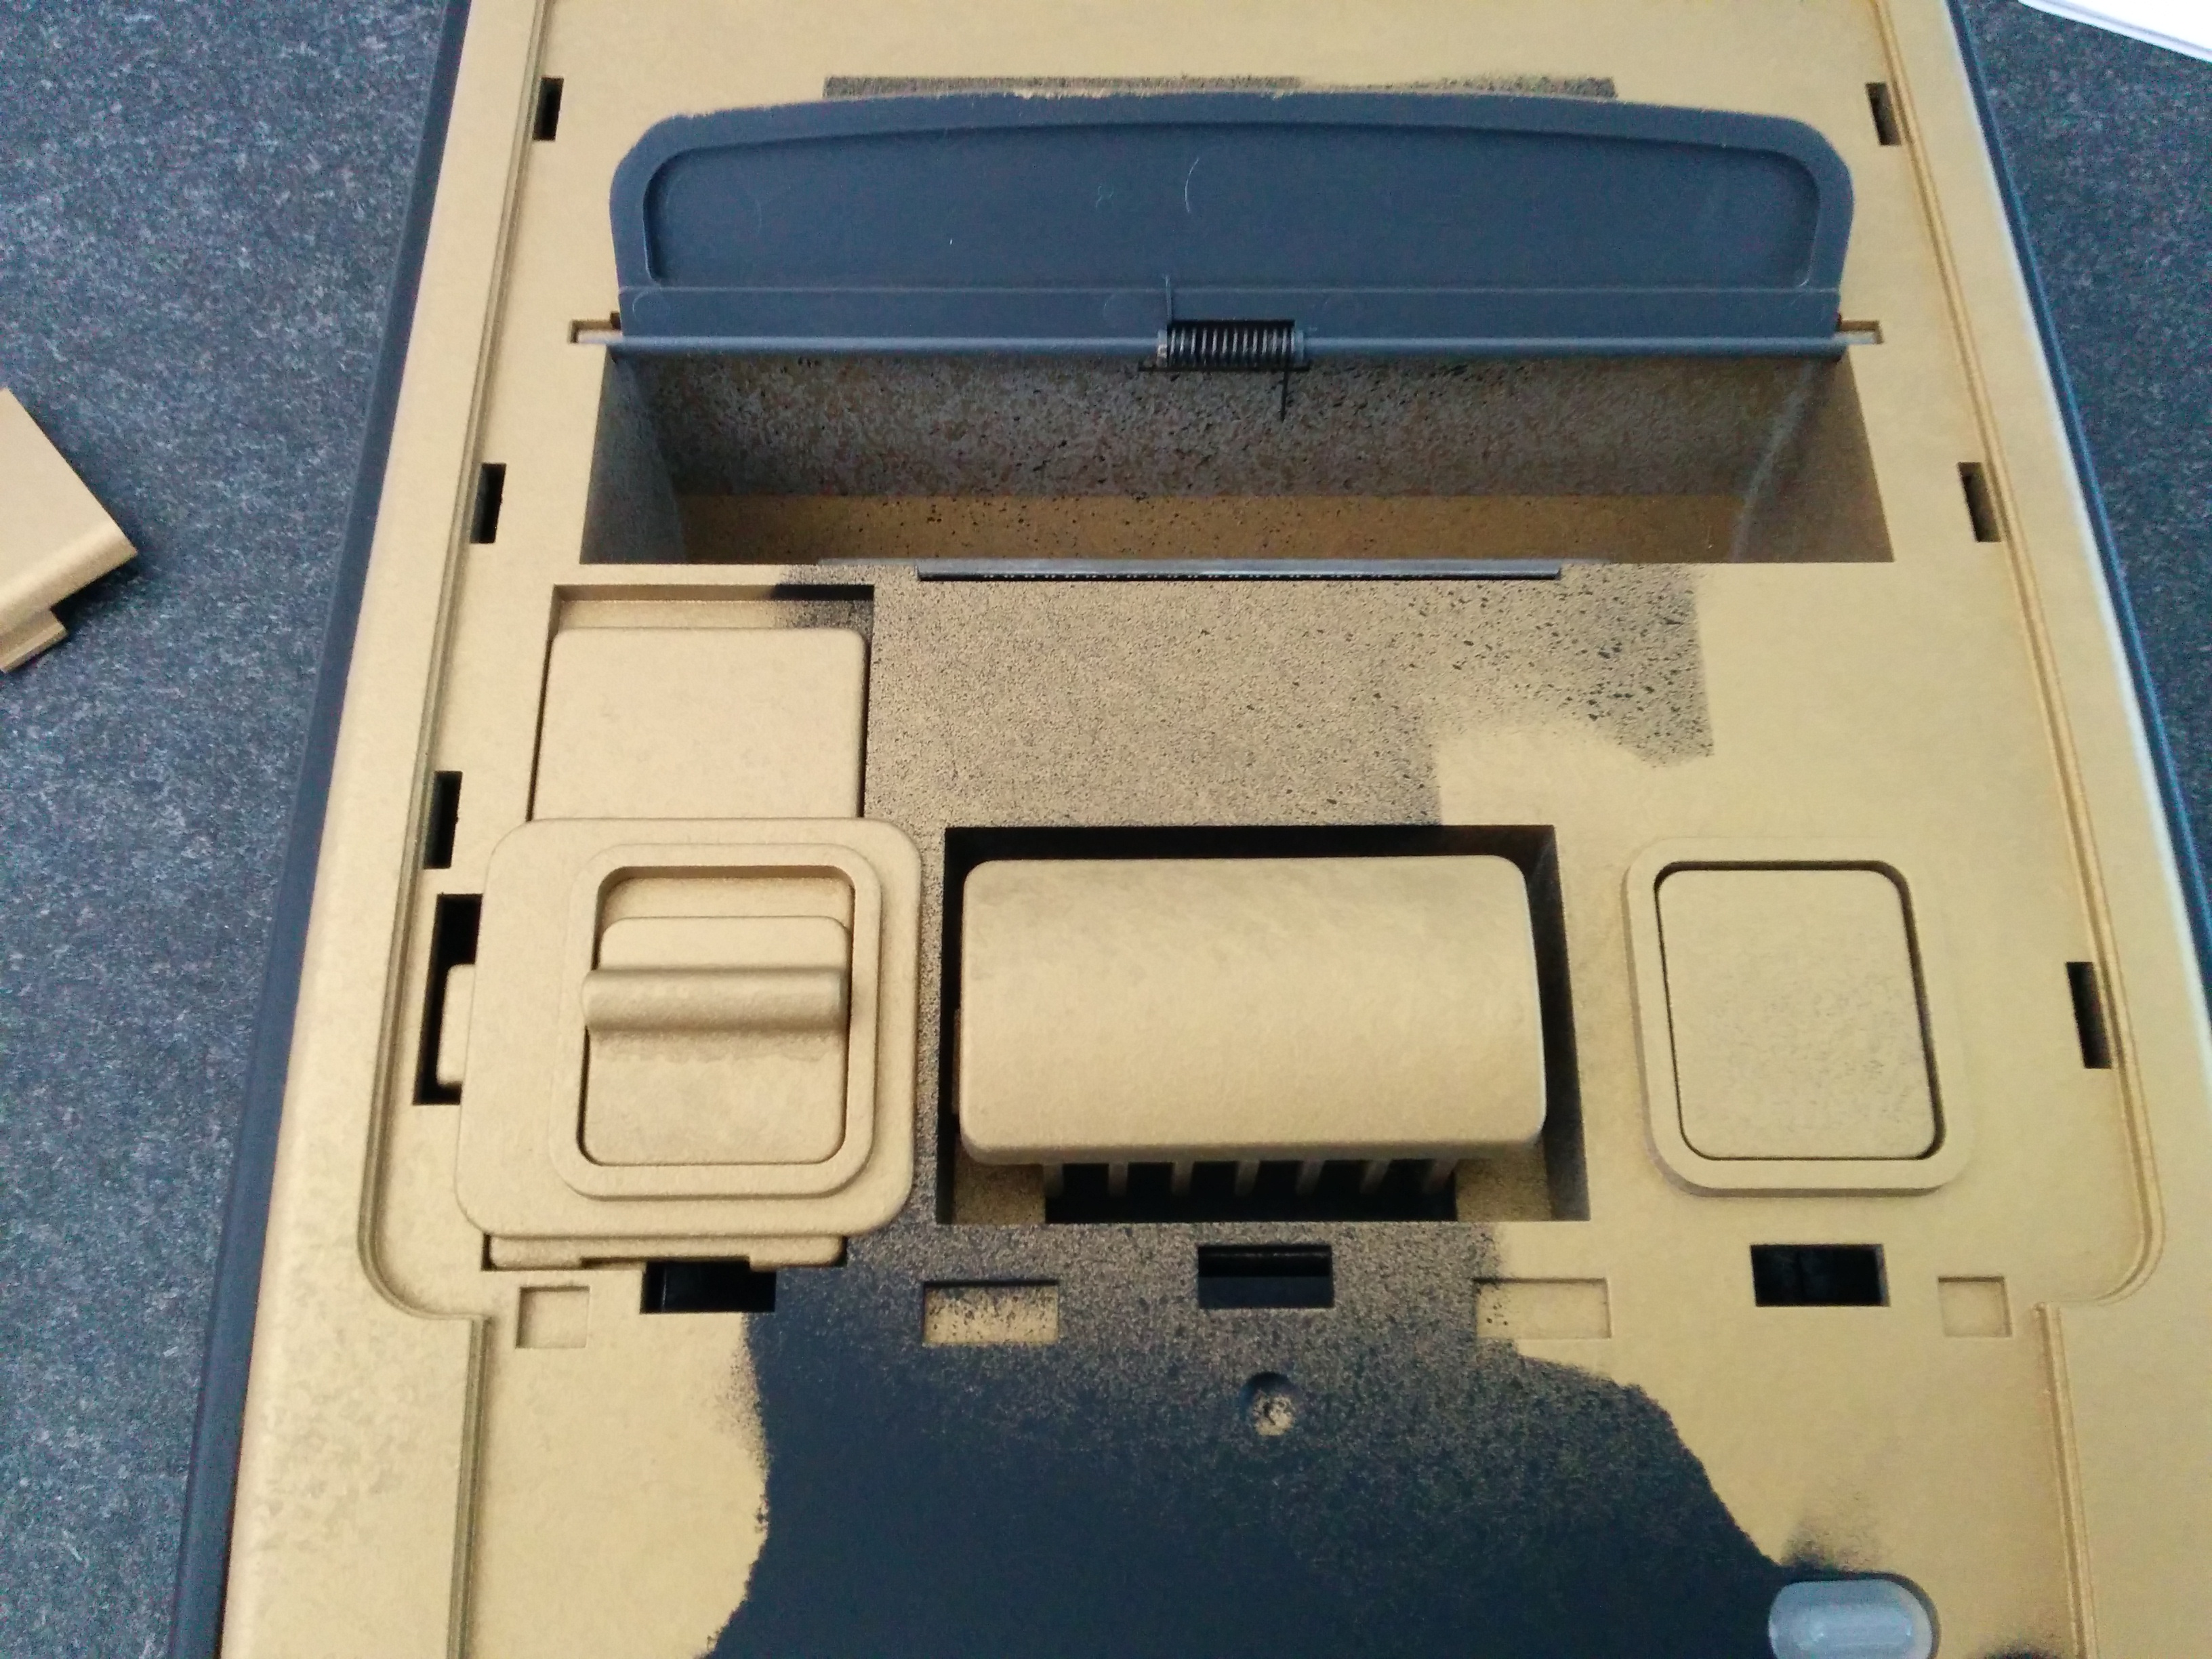
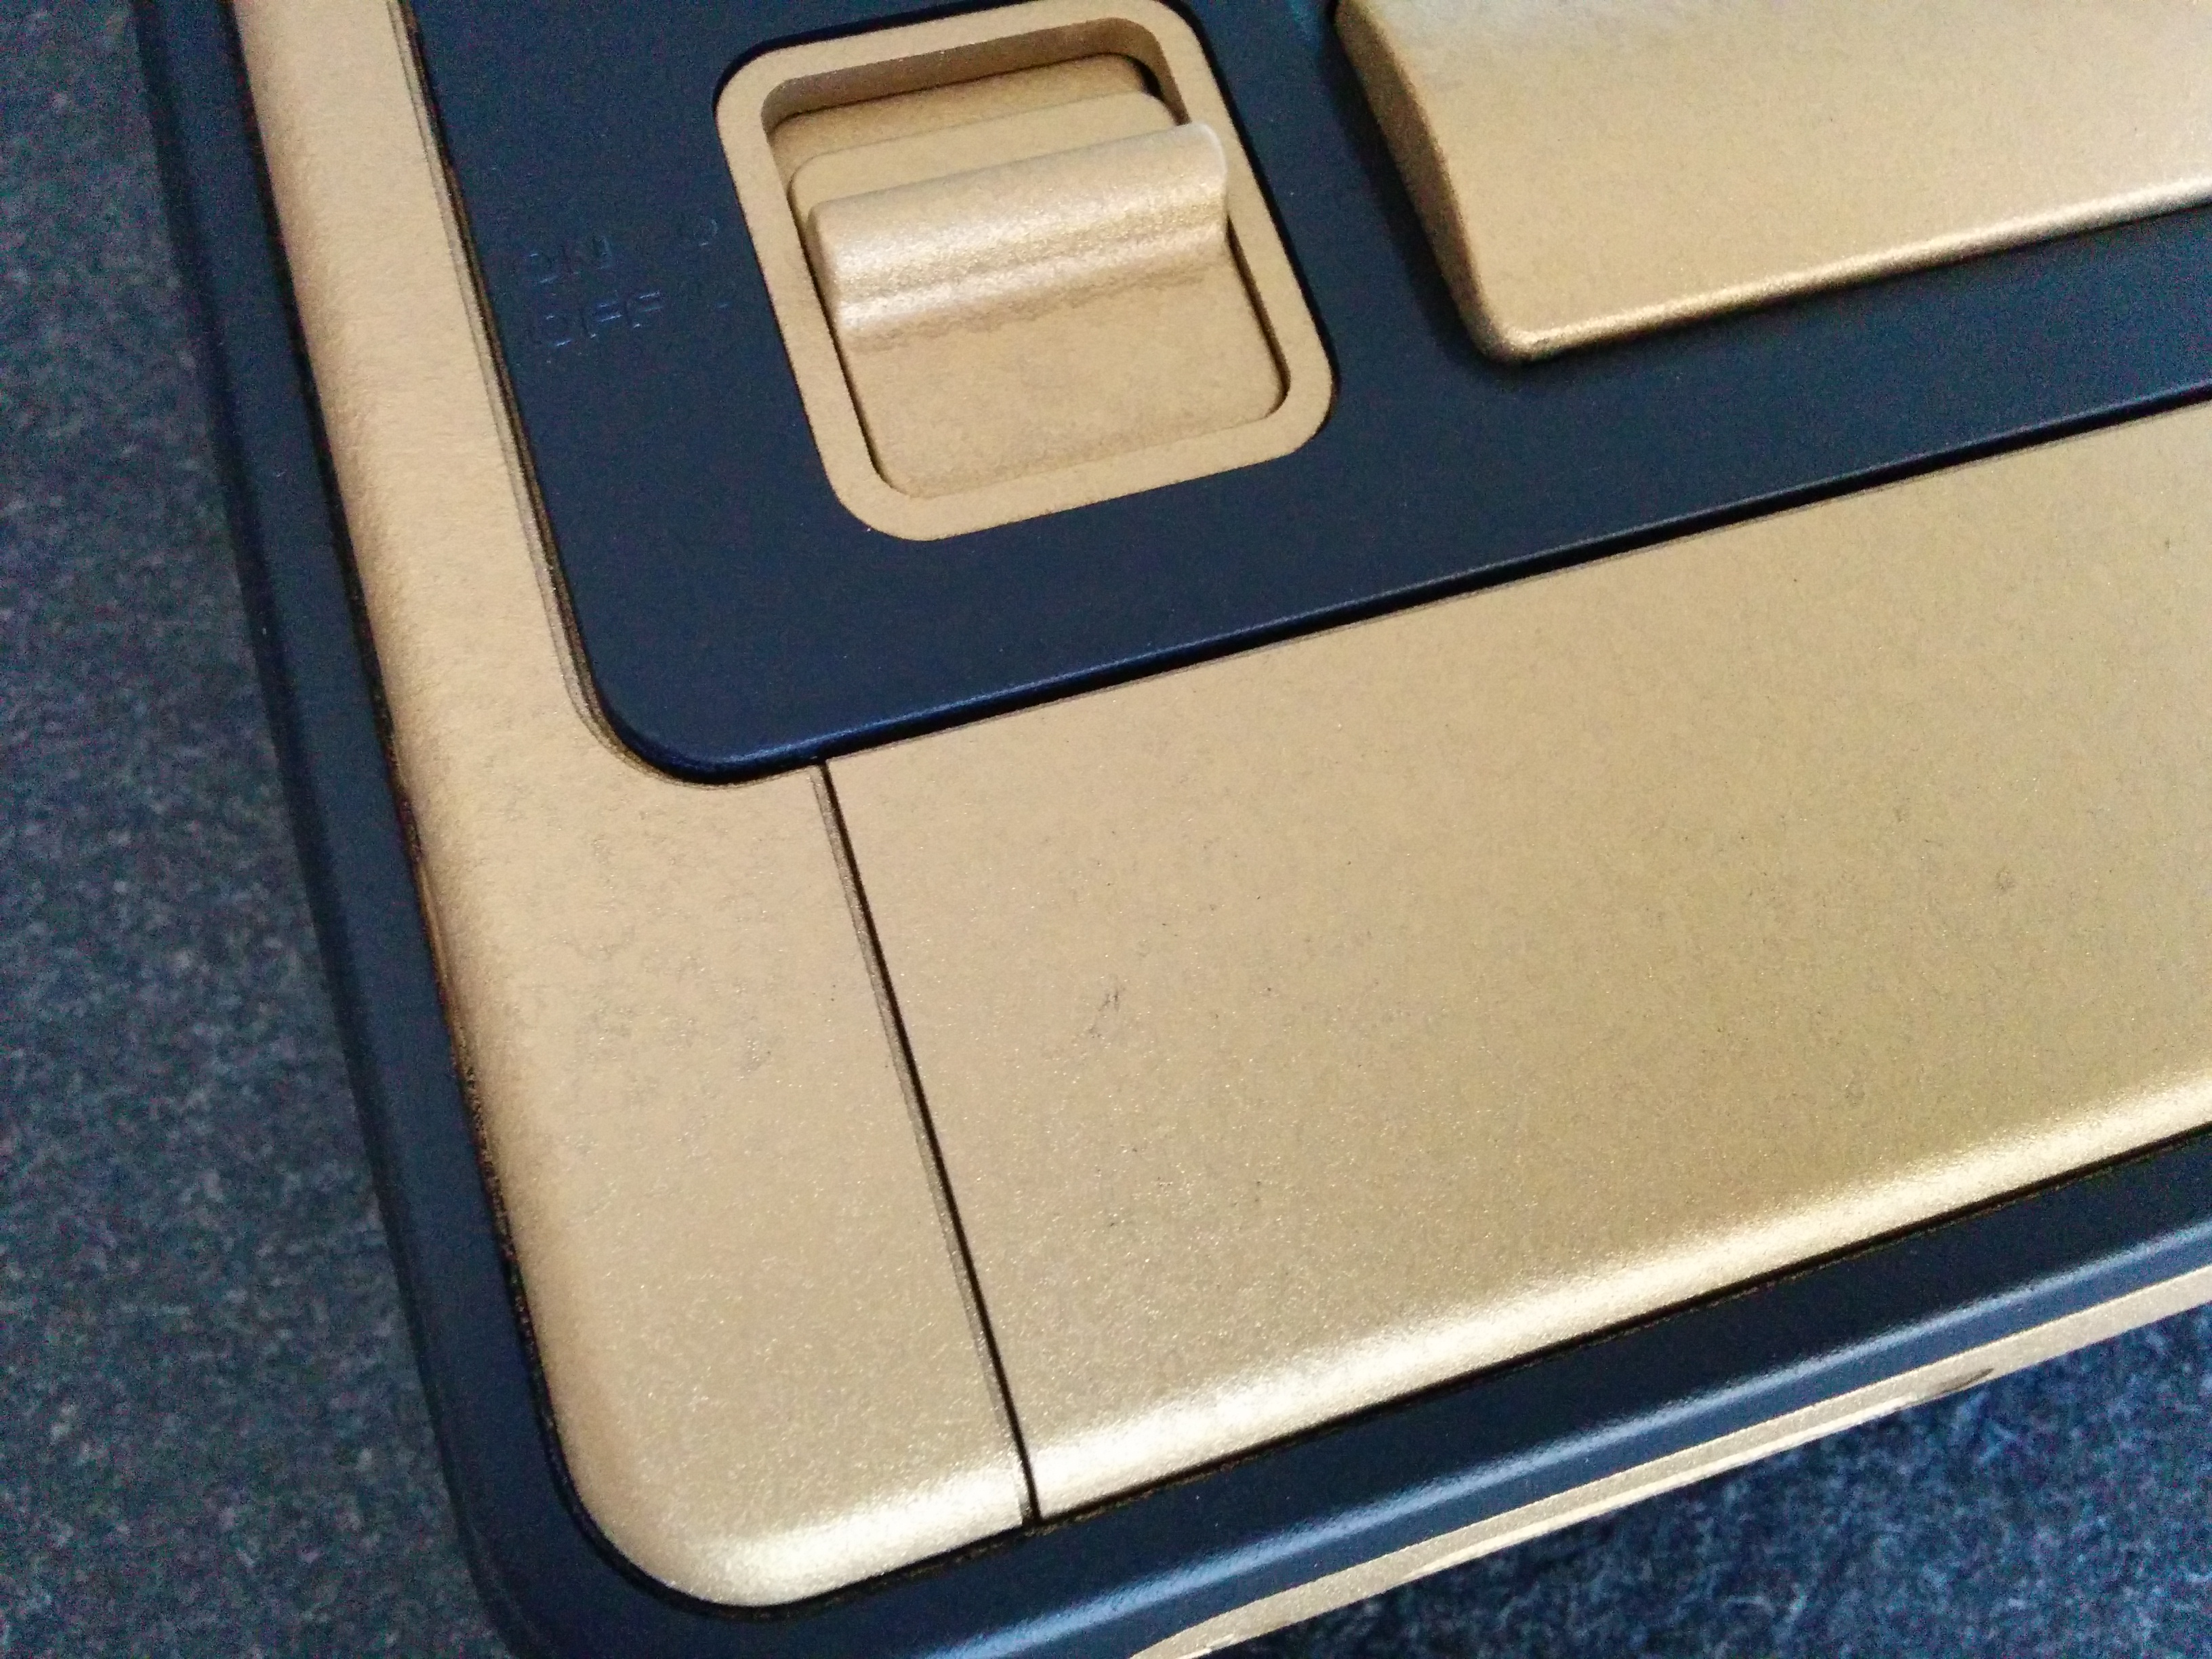
With all the single parts painted, it’s time to add a little detail. I wanted only the top-border surface painted in brass, but all the parts seen around that part (and so, the parts around the front-connector-plate) in black. I had to use sticky tape to cover the brass parts. Be sure that the paint is extremely dry, before applying tape. Don’t miss any spot! And don’t use power-tape, use that paper-style tape.
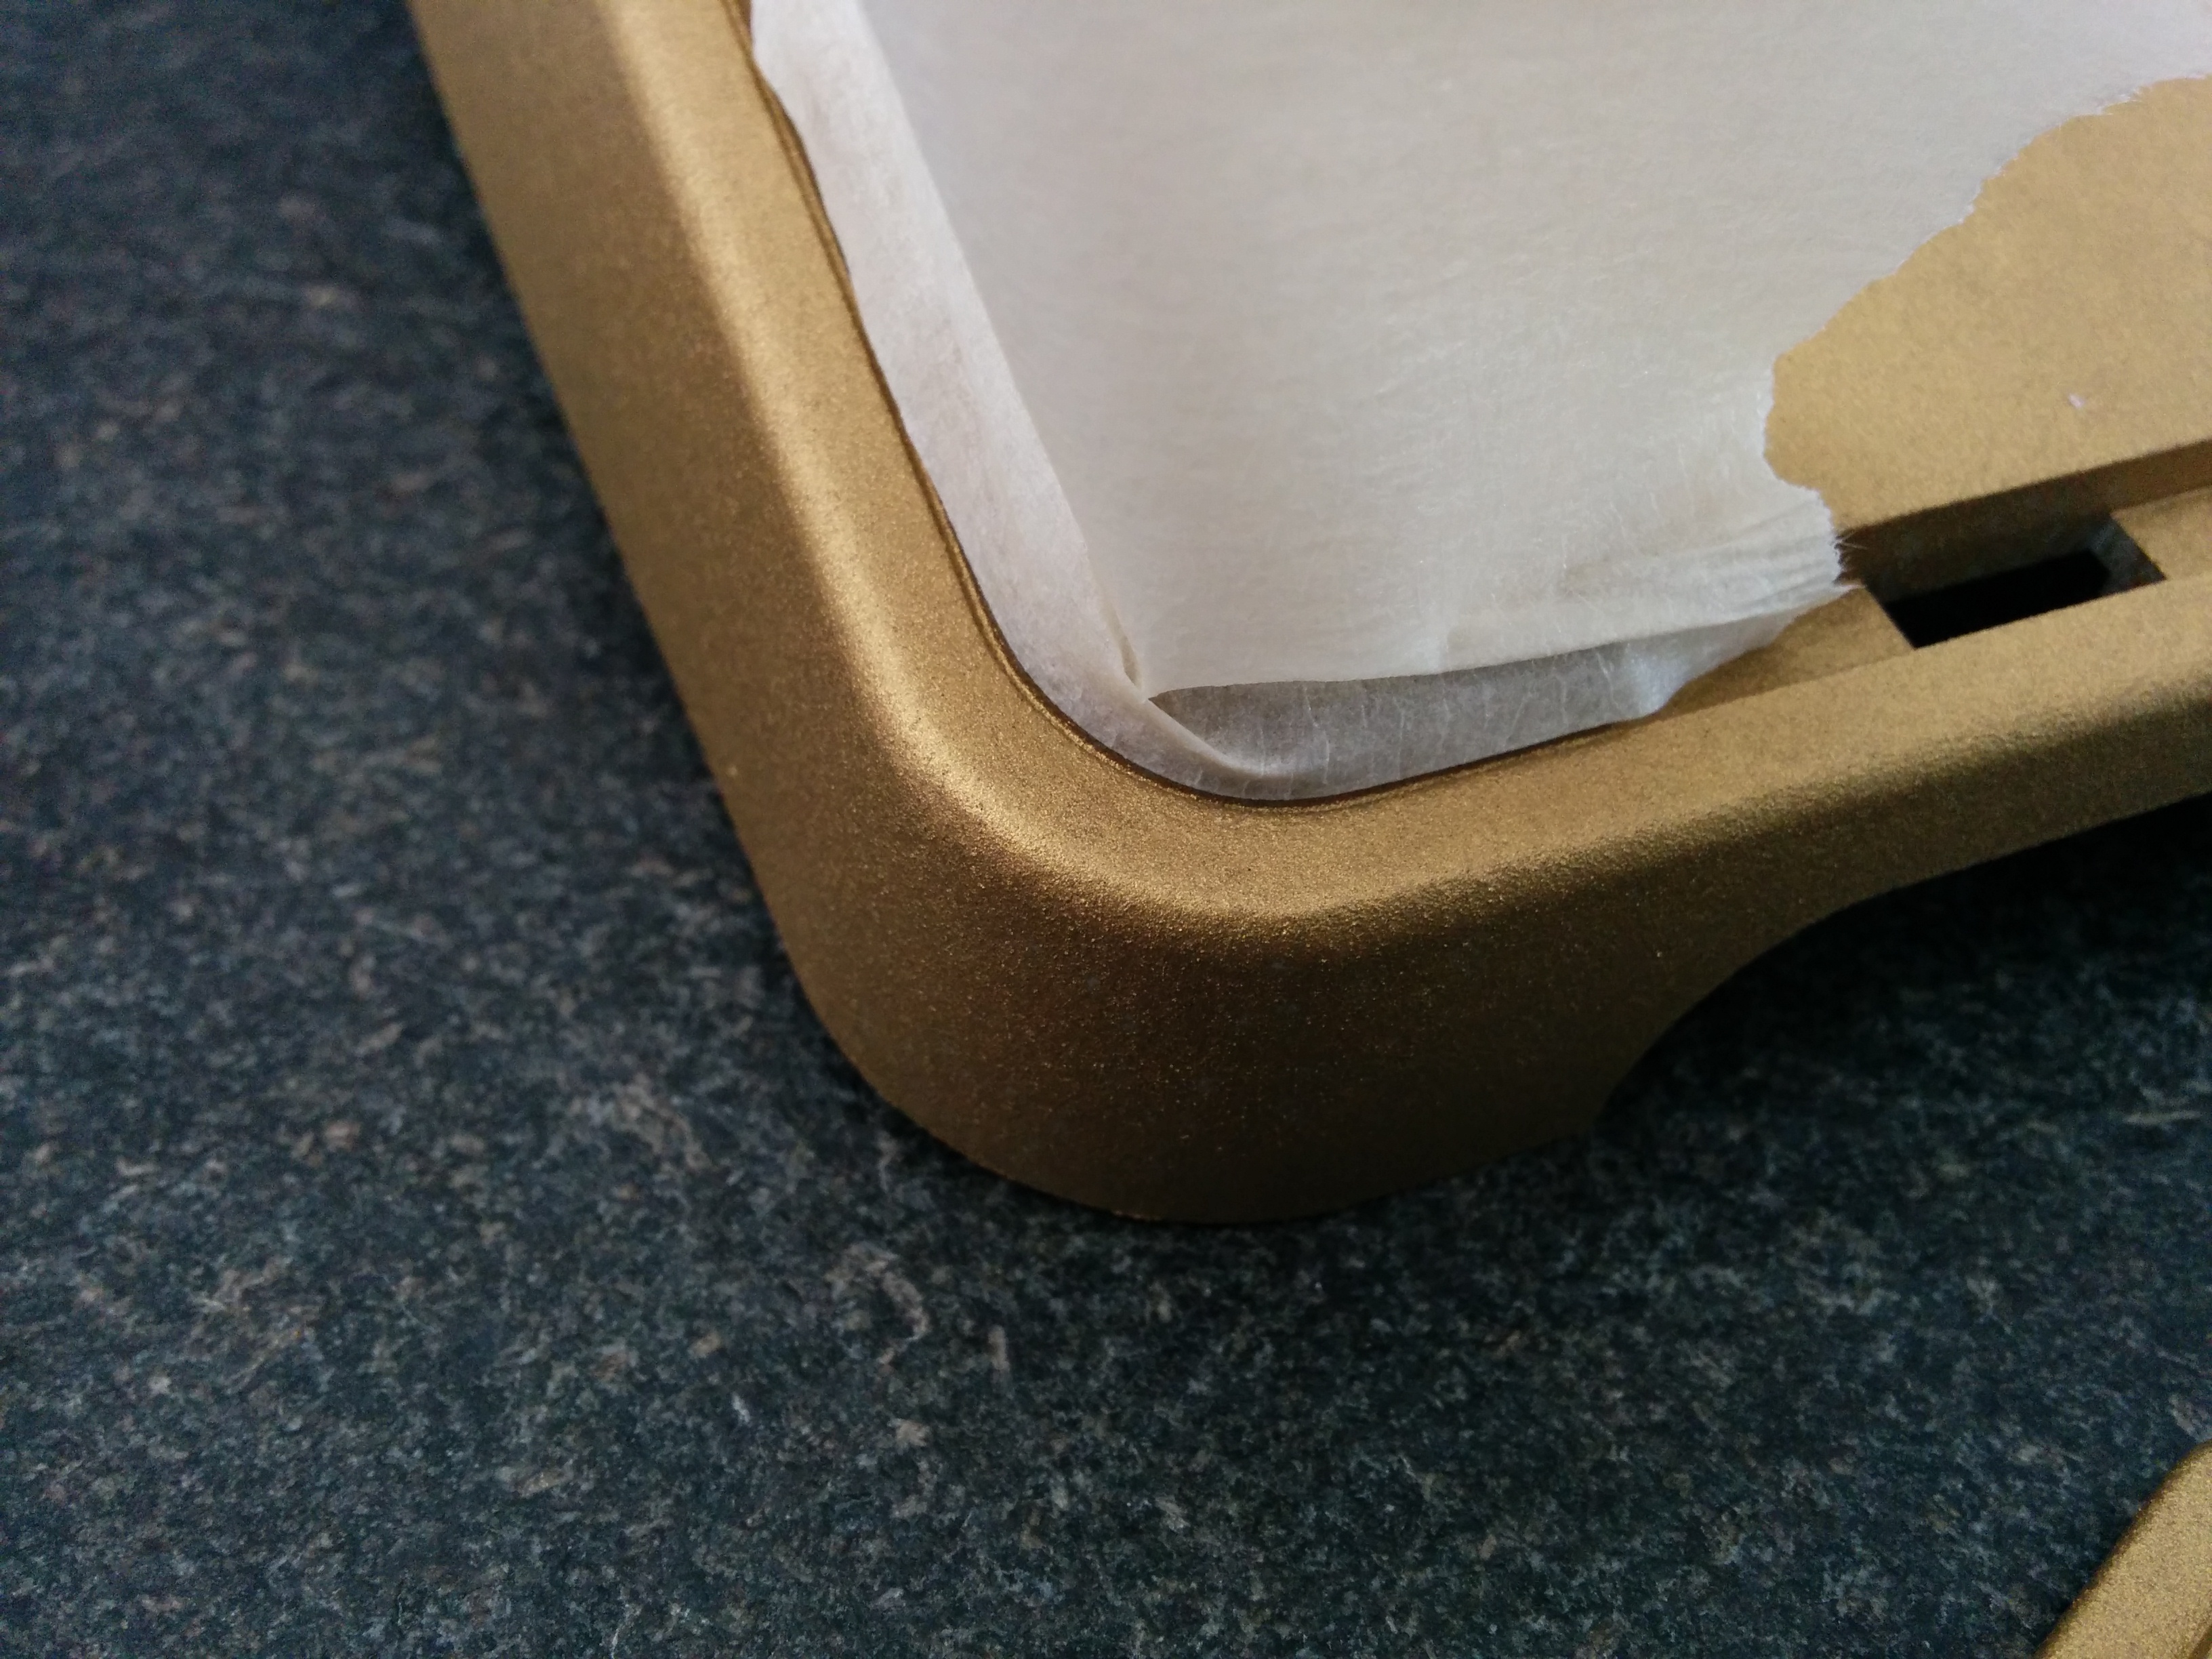
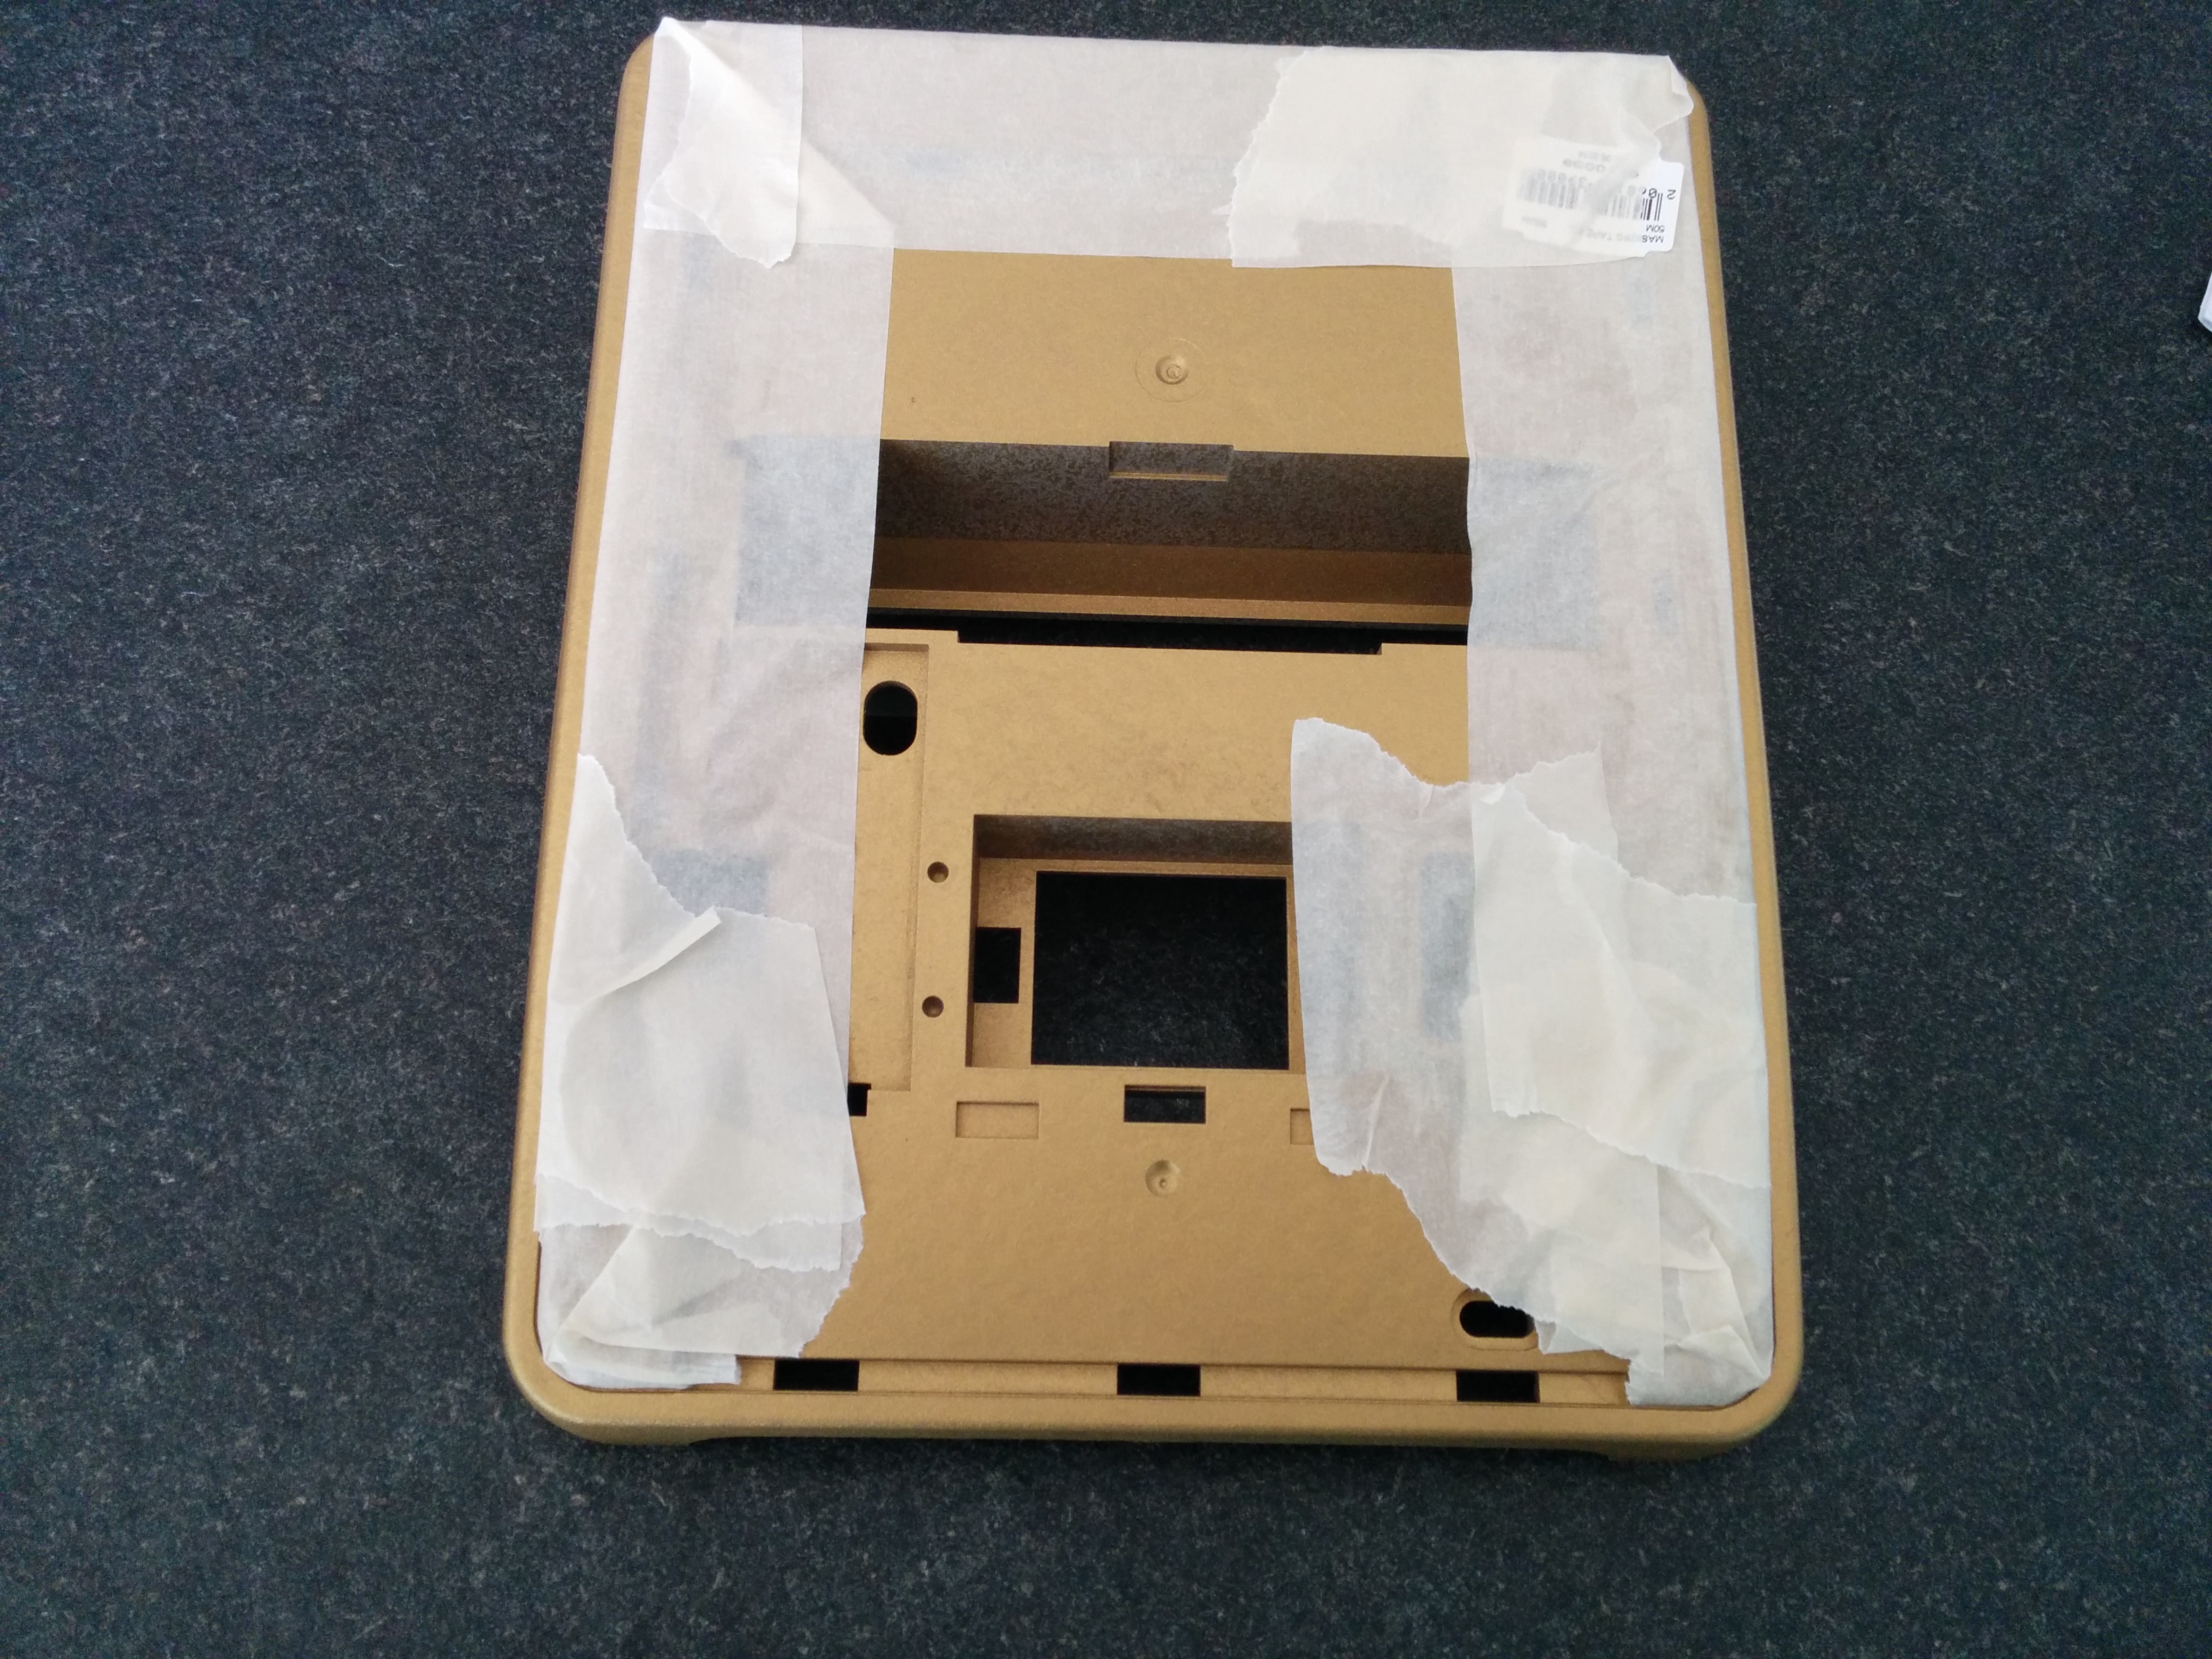
5)
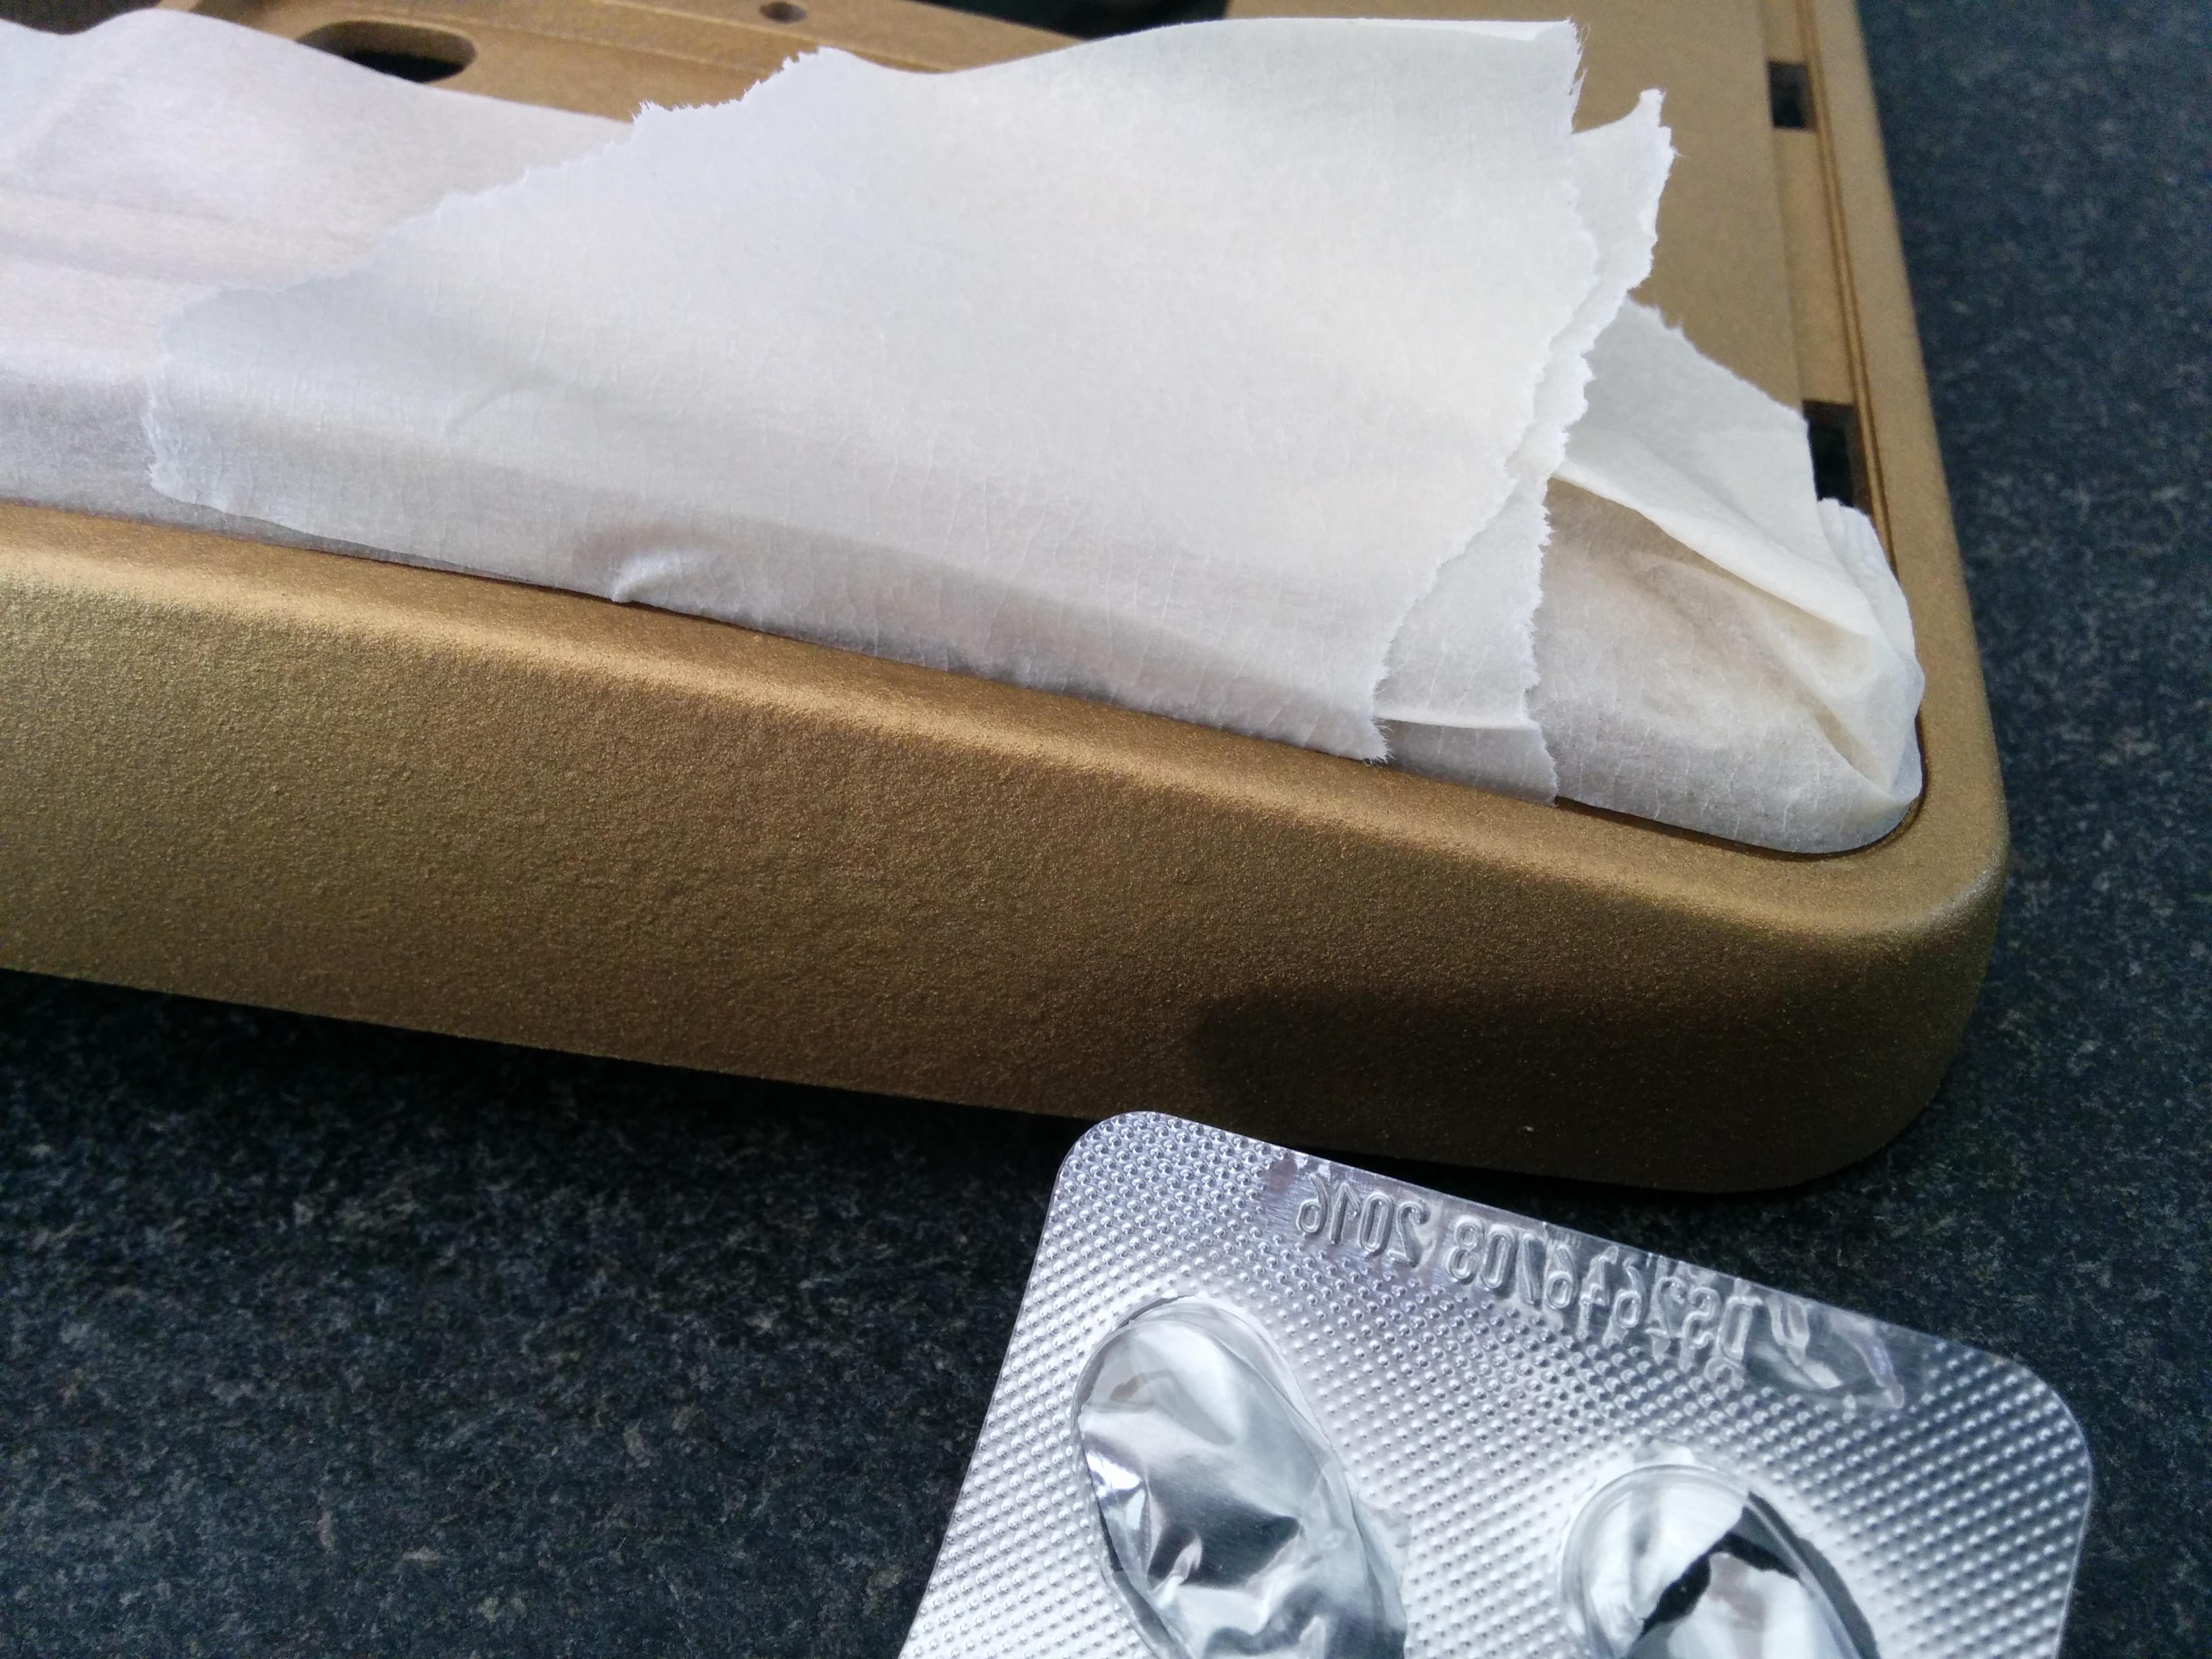
Make sure to fit the tape into the gaps: push it in with some home-made tool 😉
6)
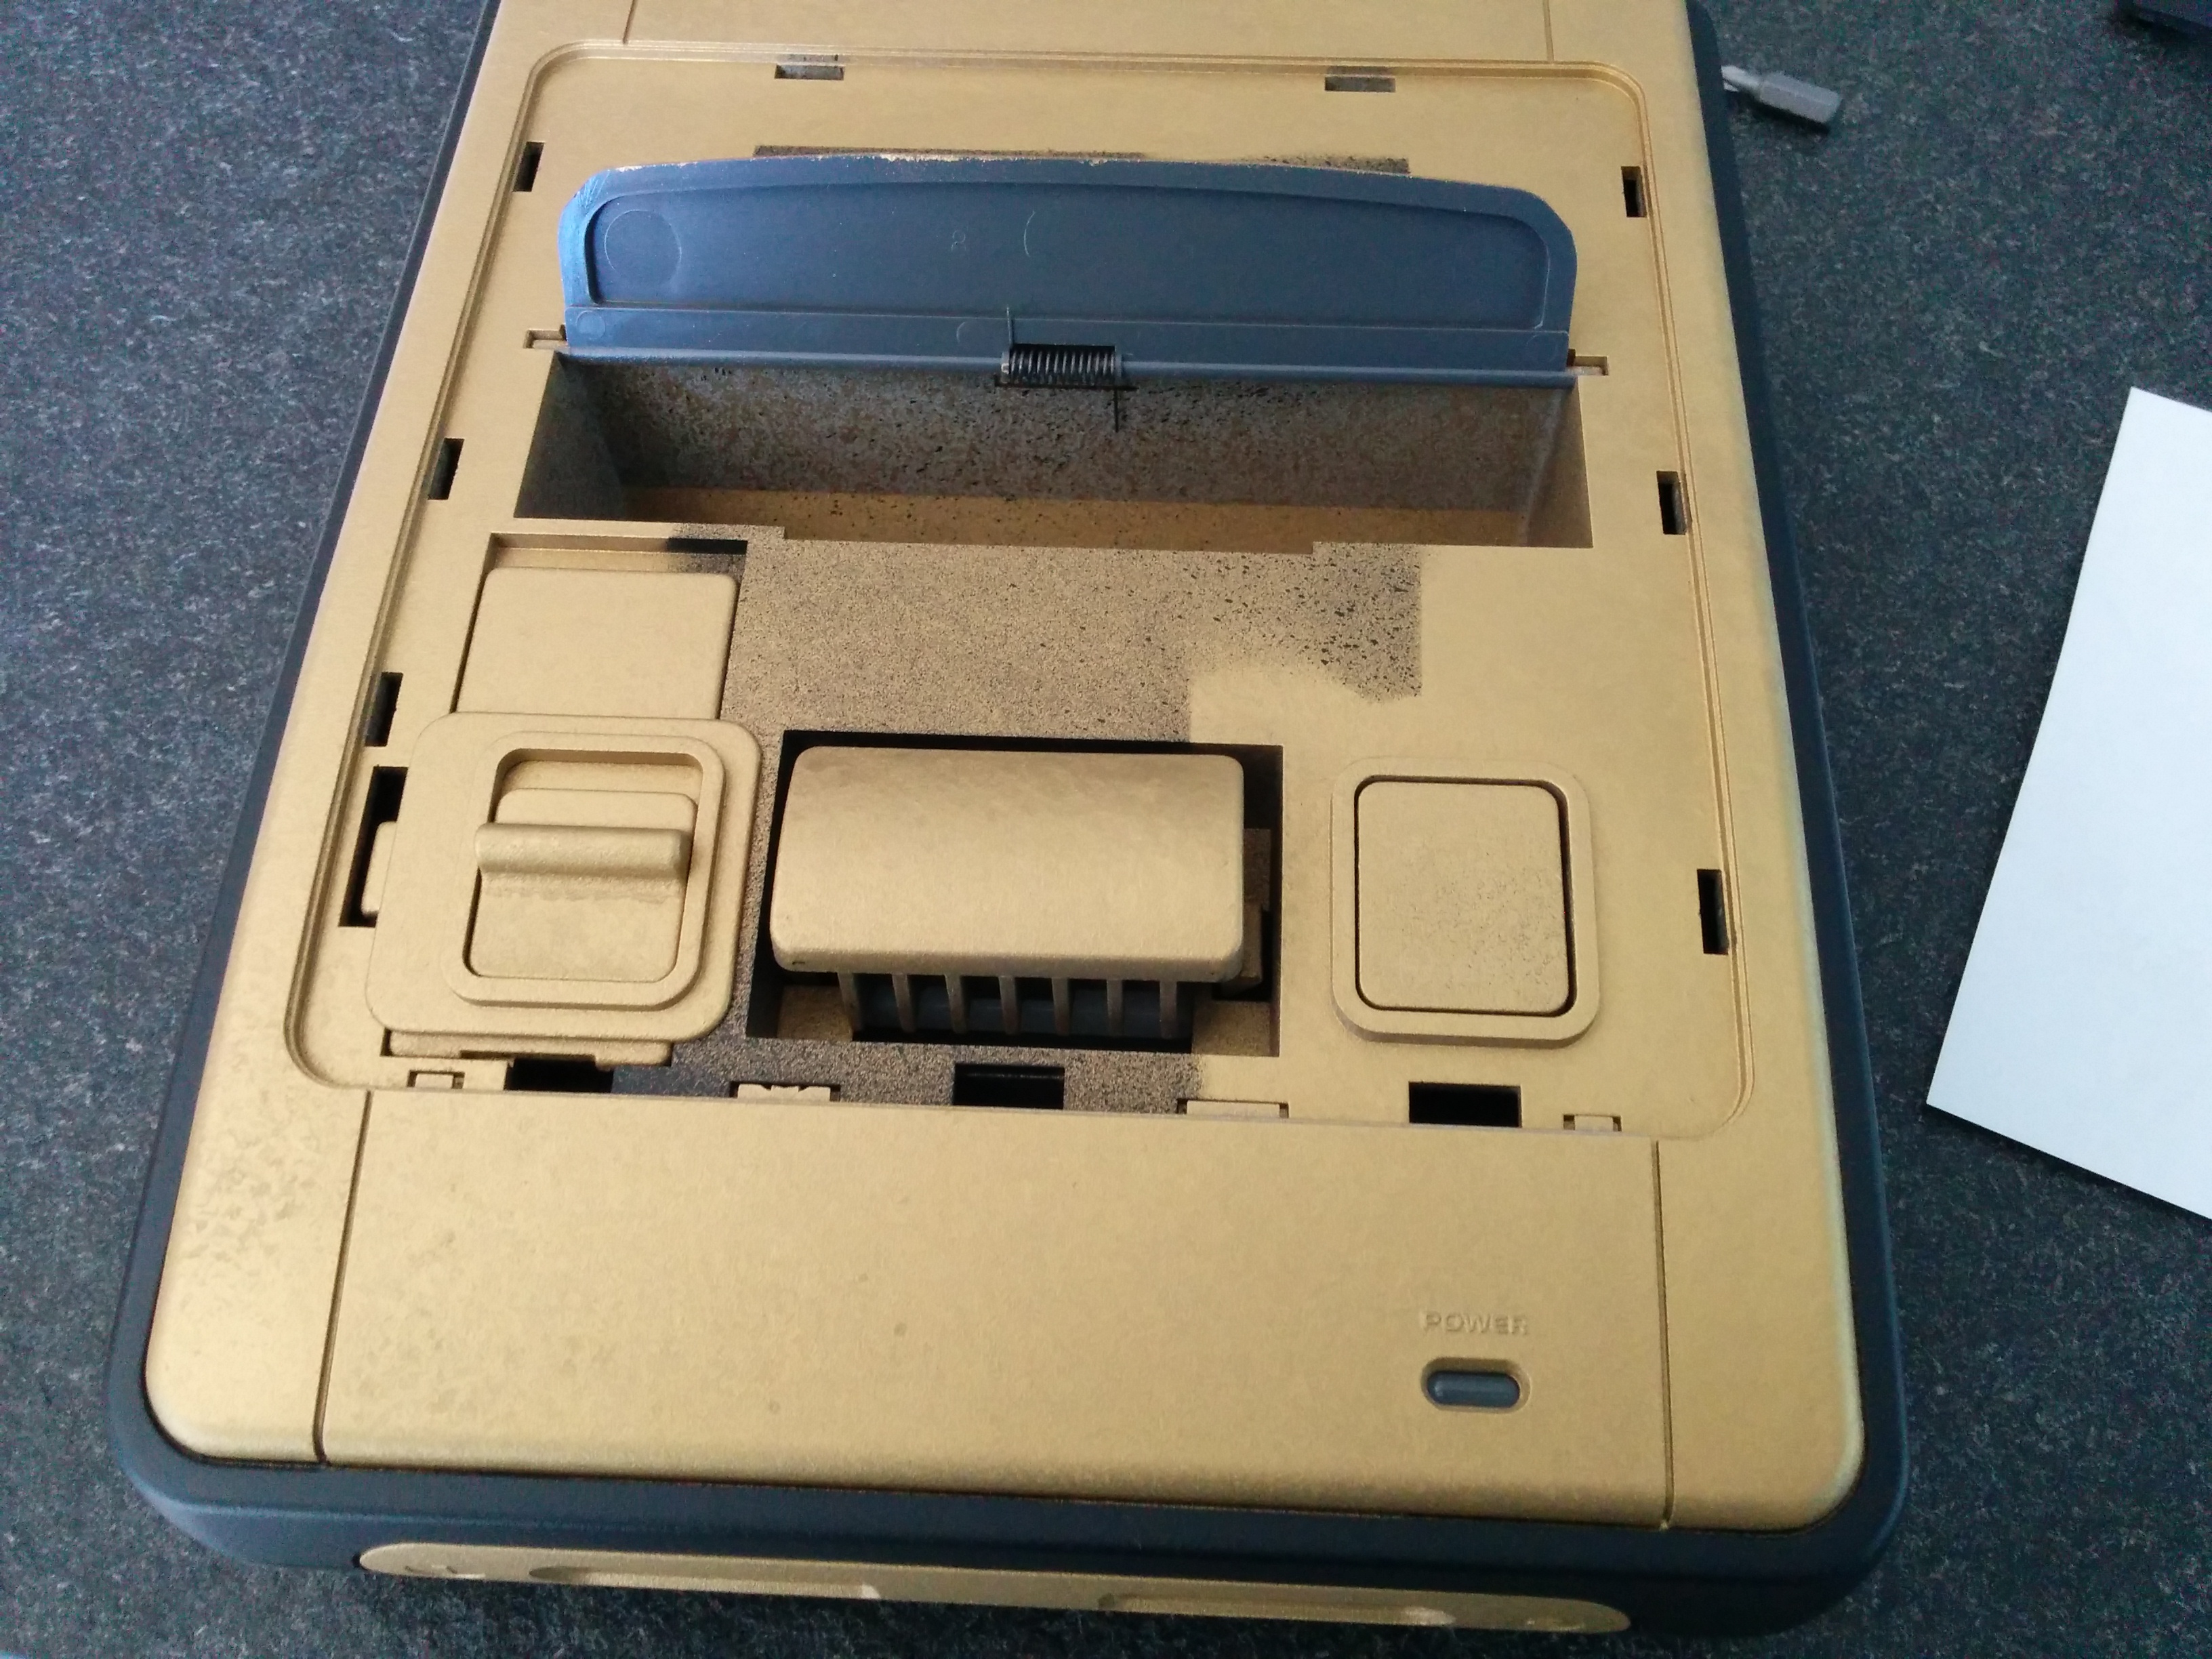
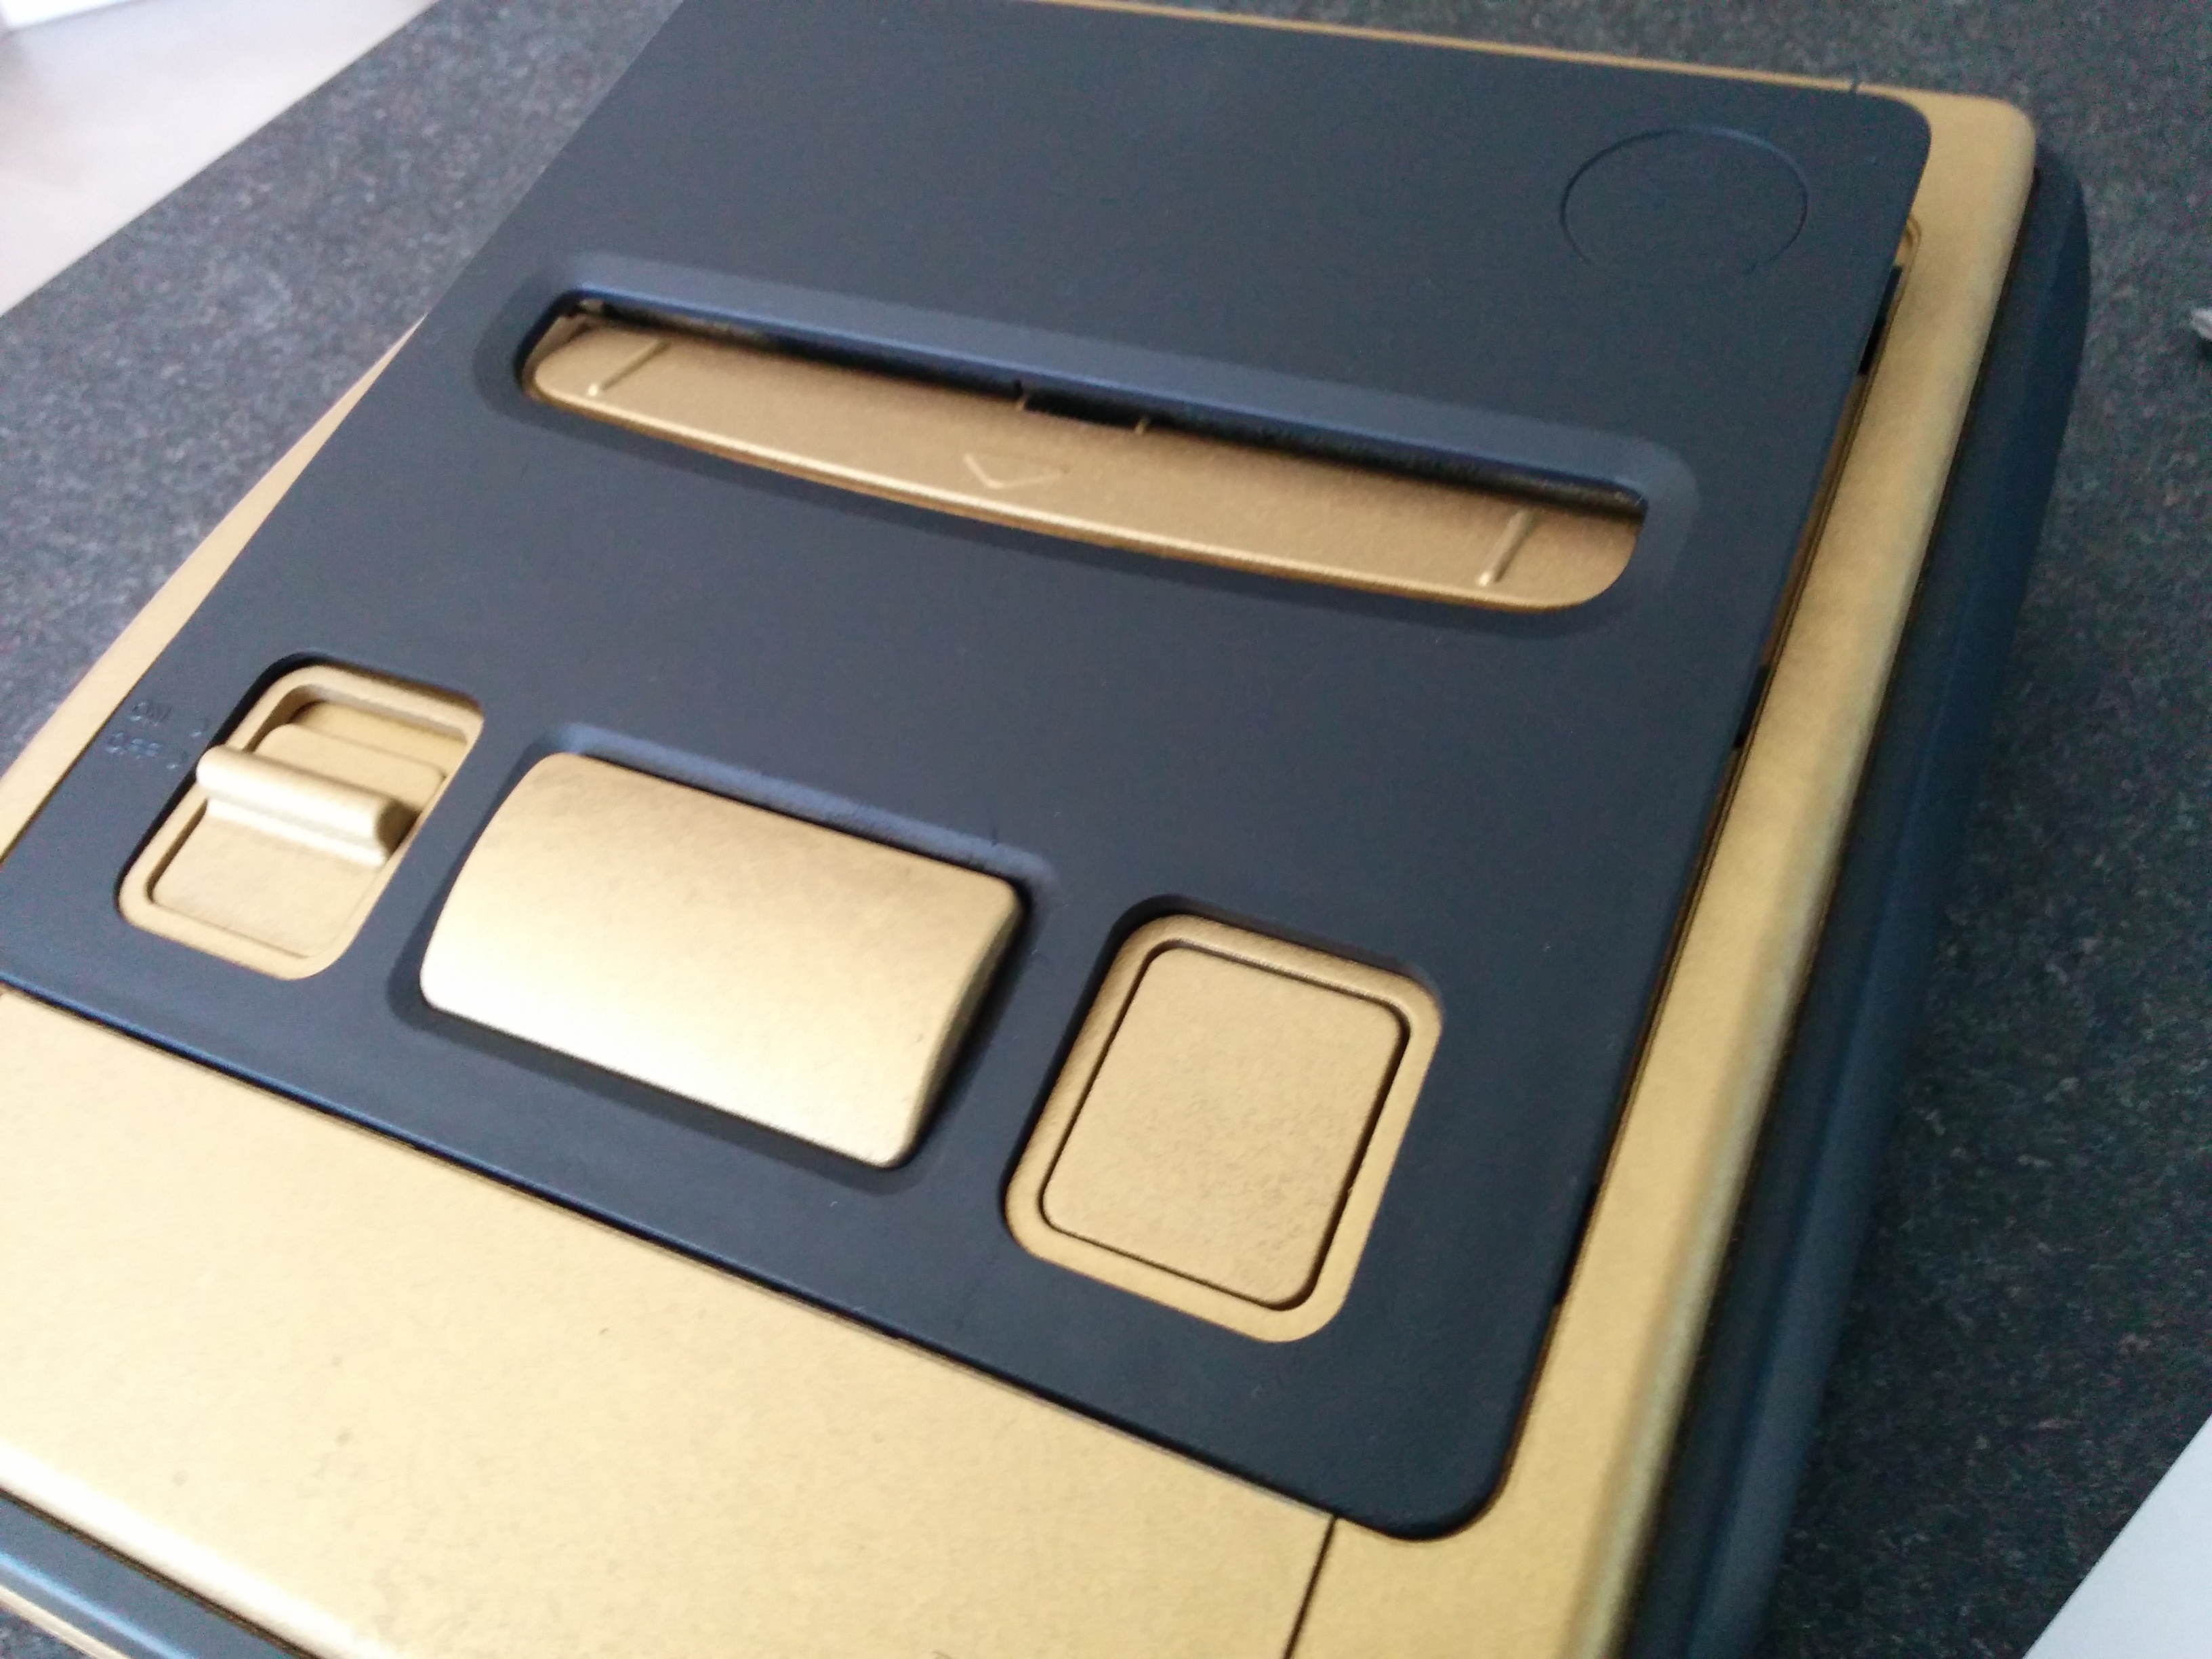
Off to the paintshop:

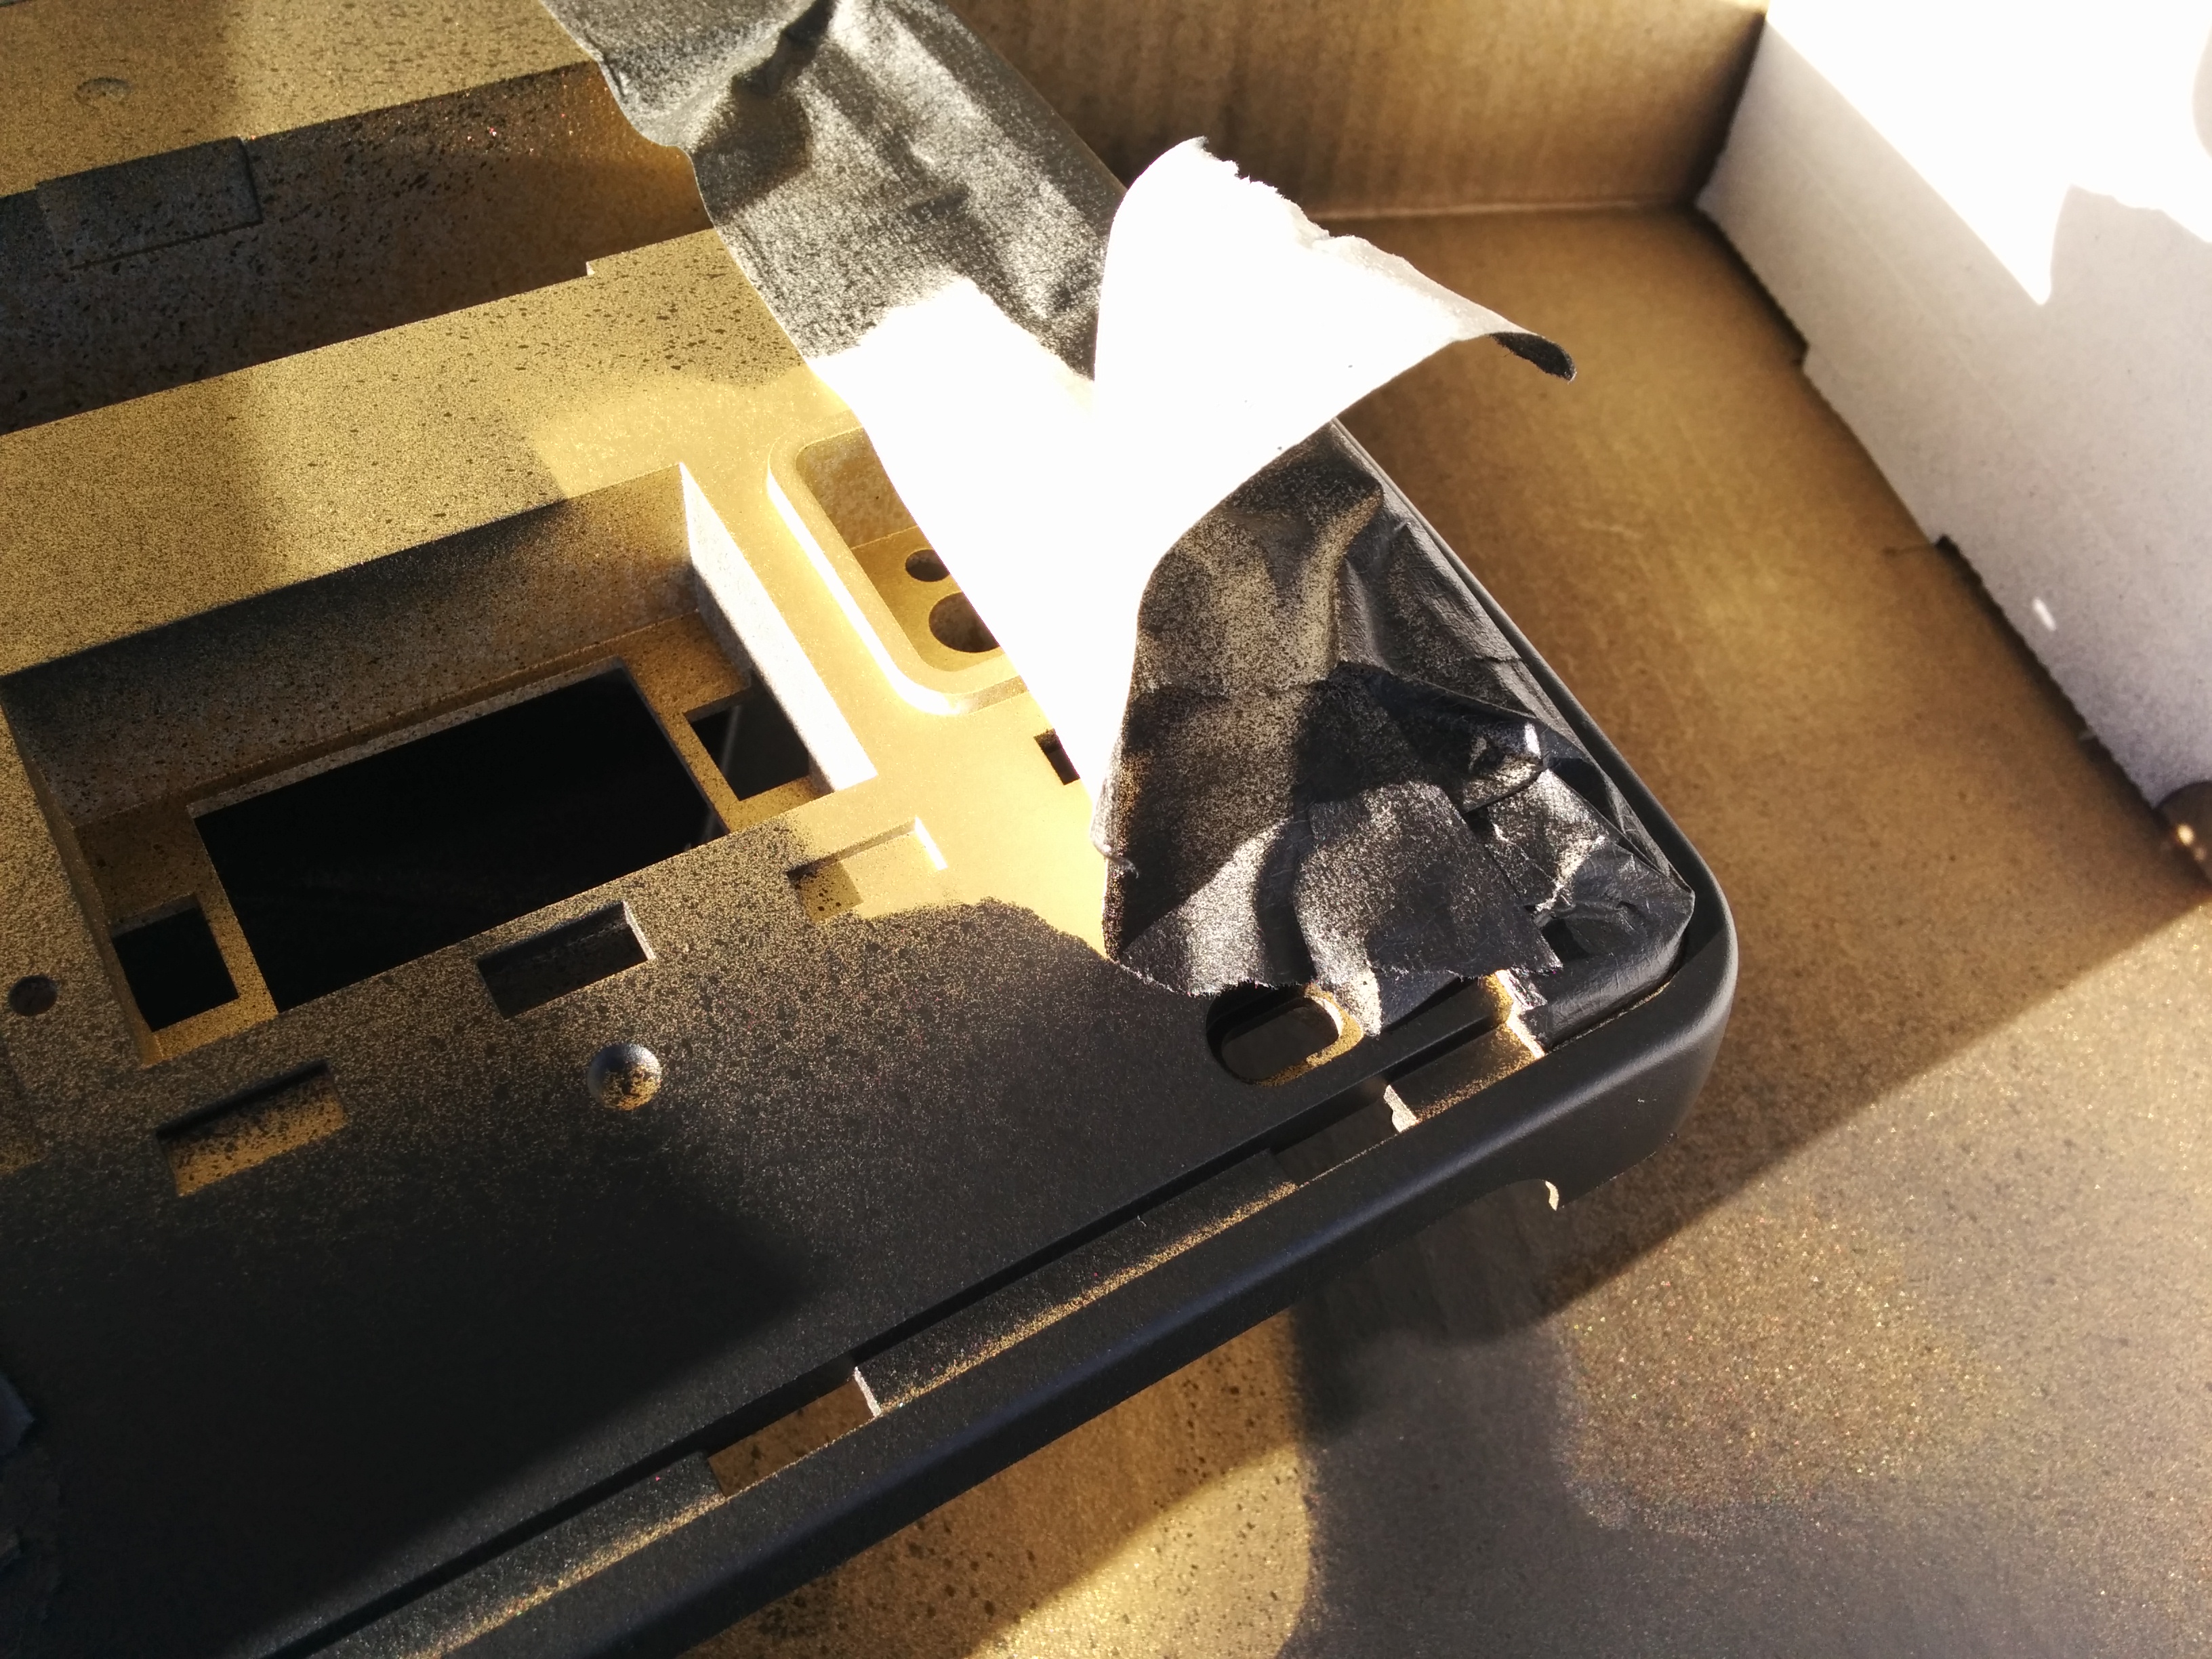
7)
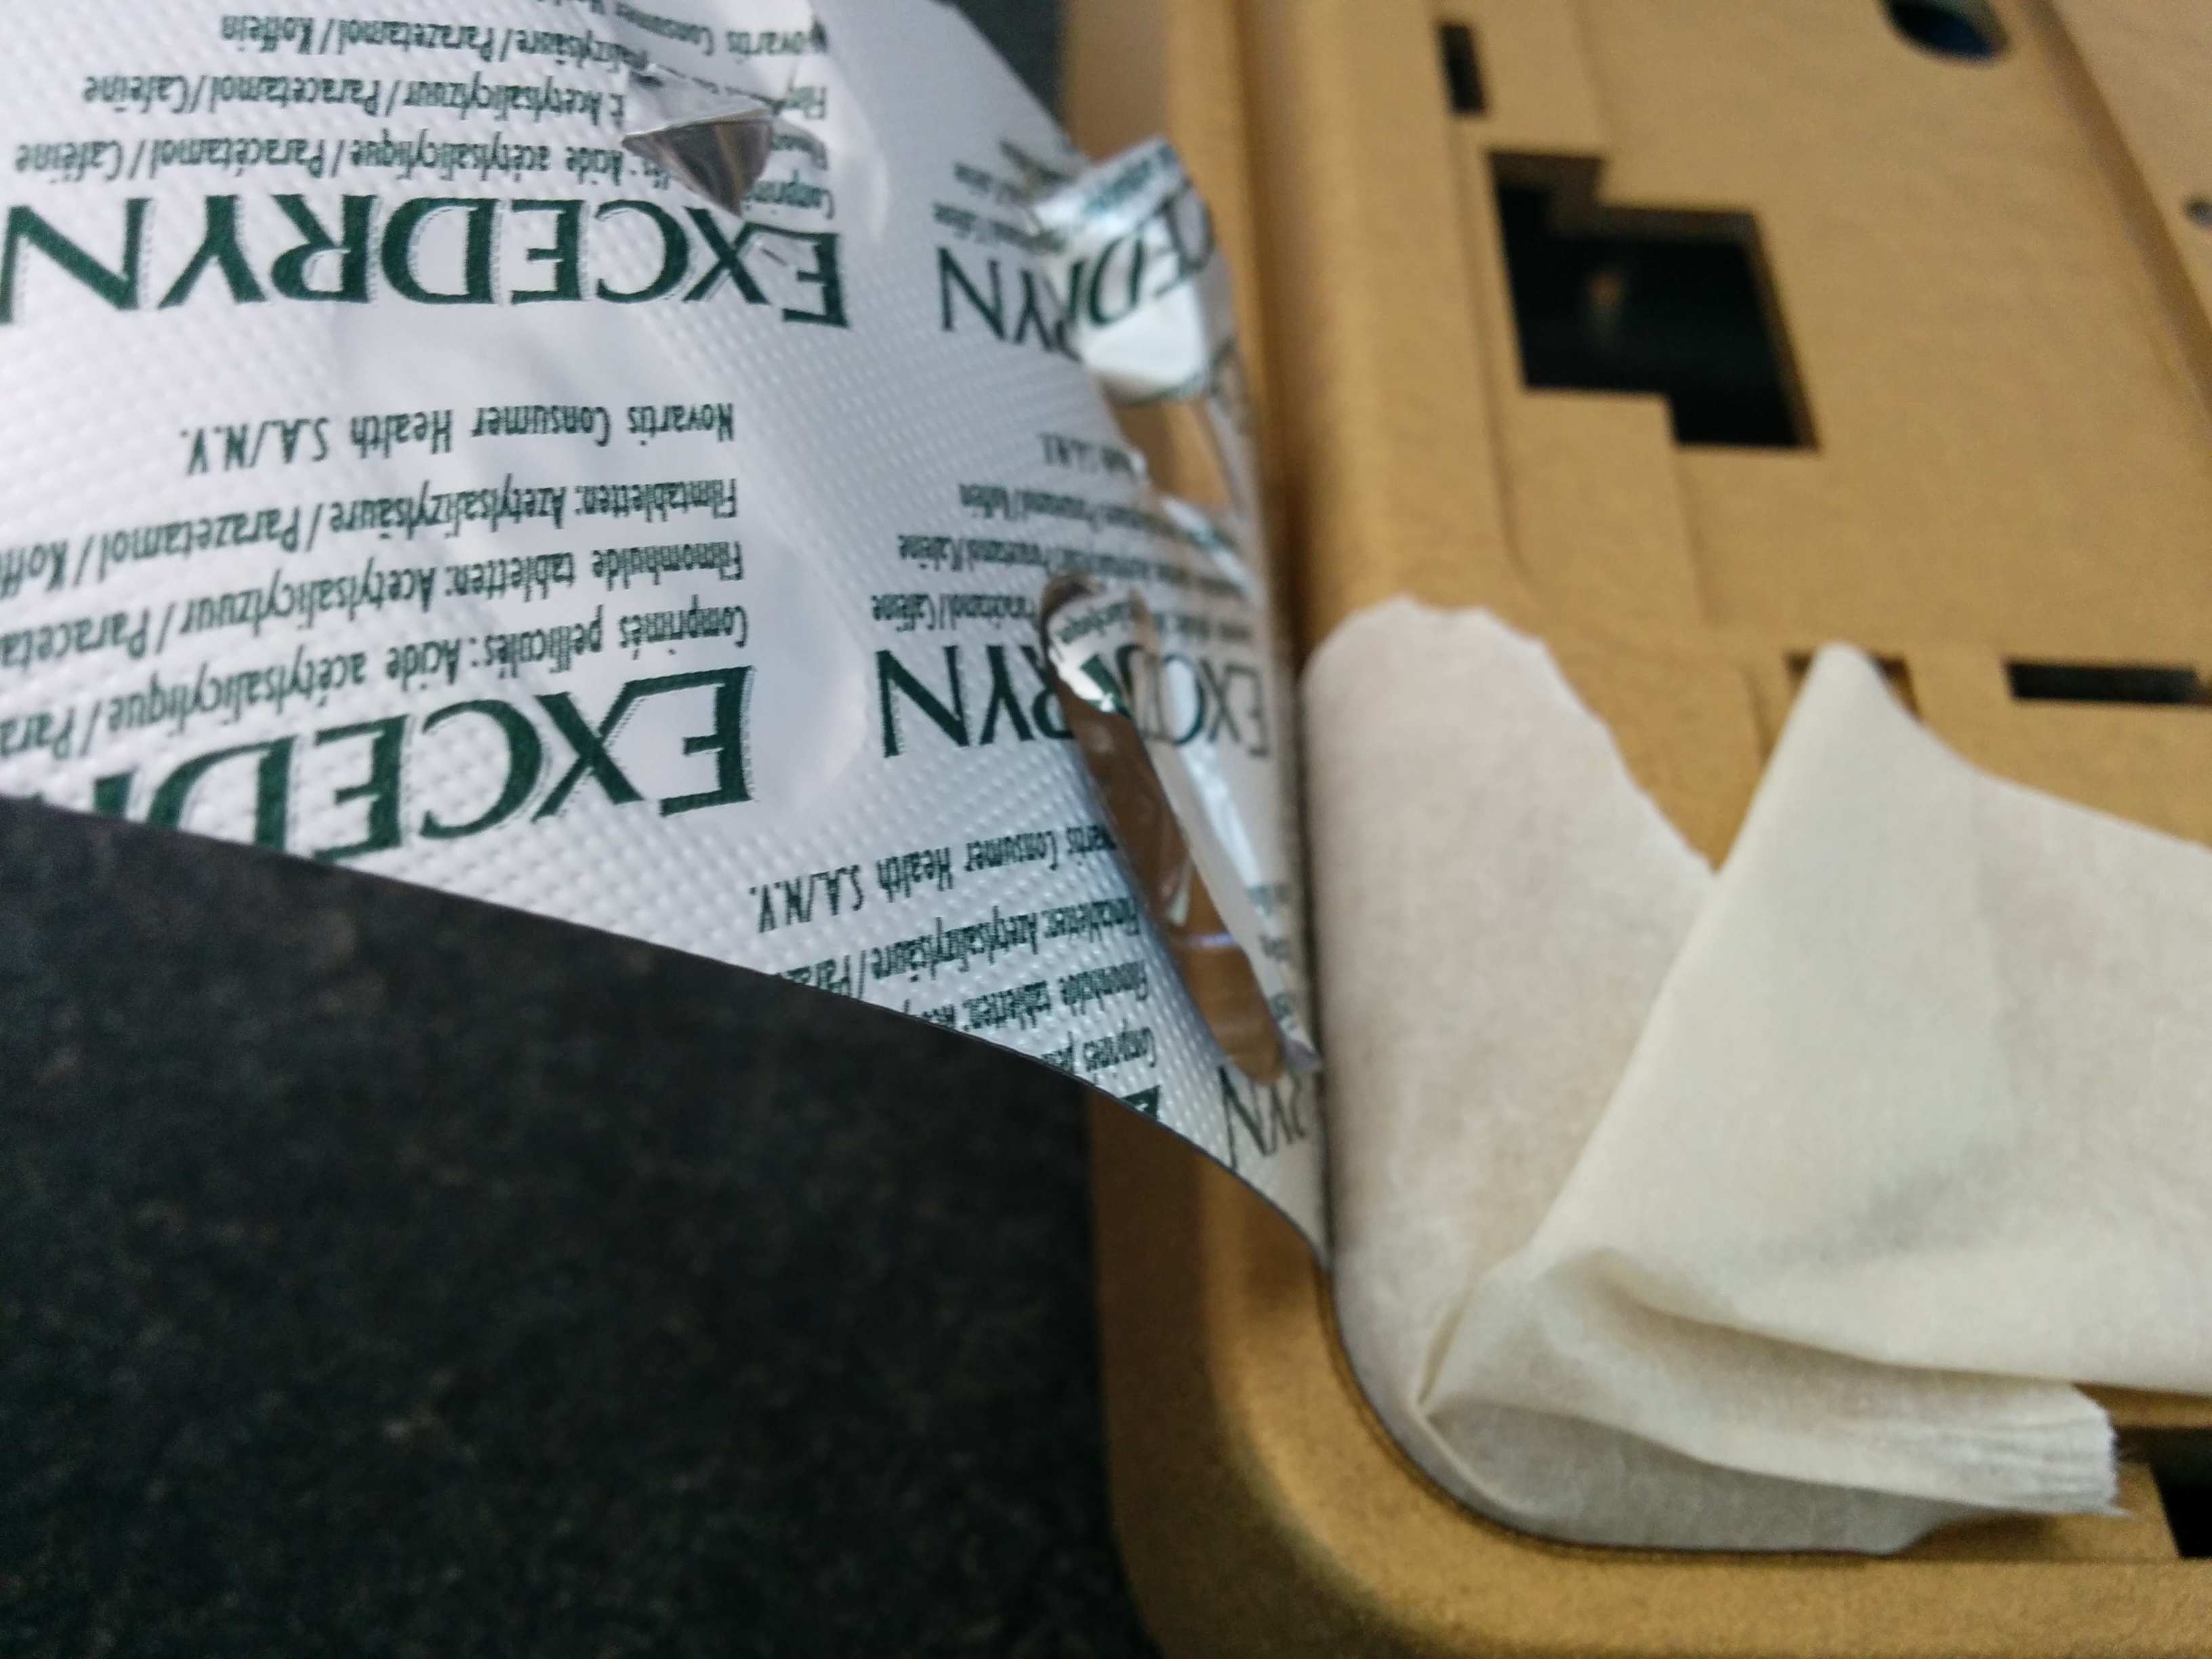
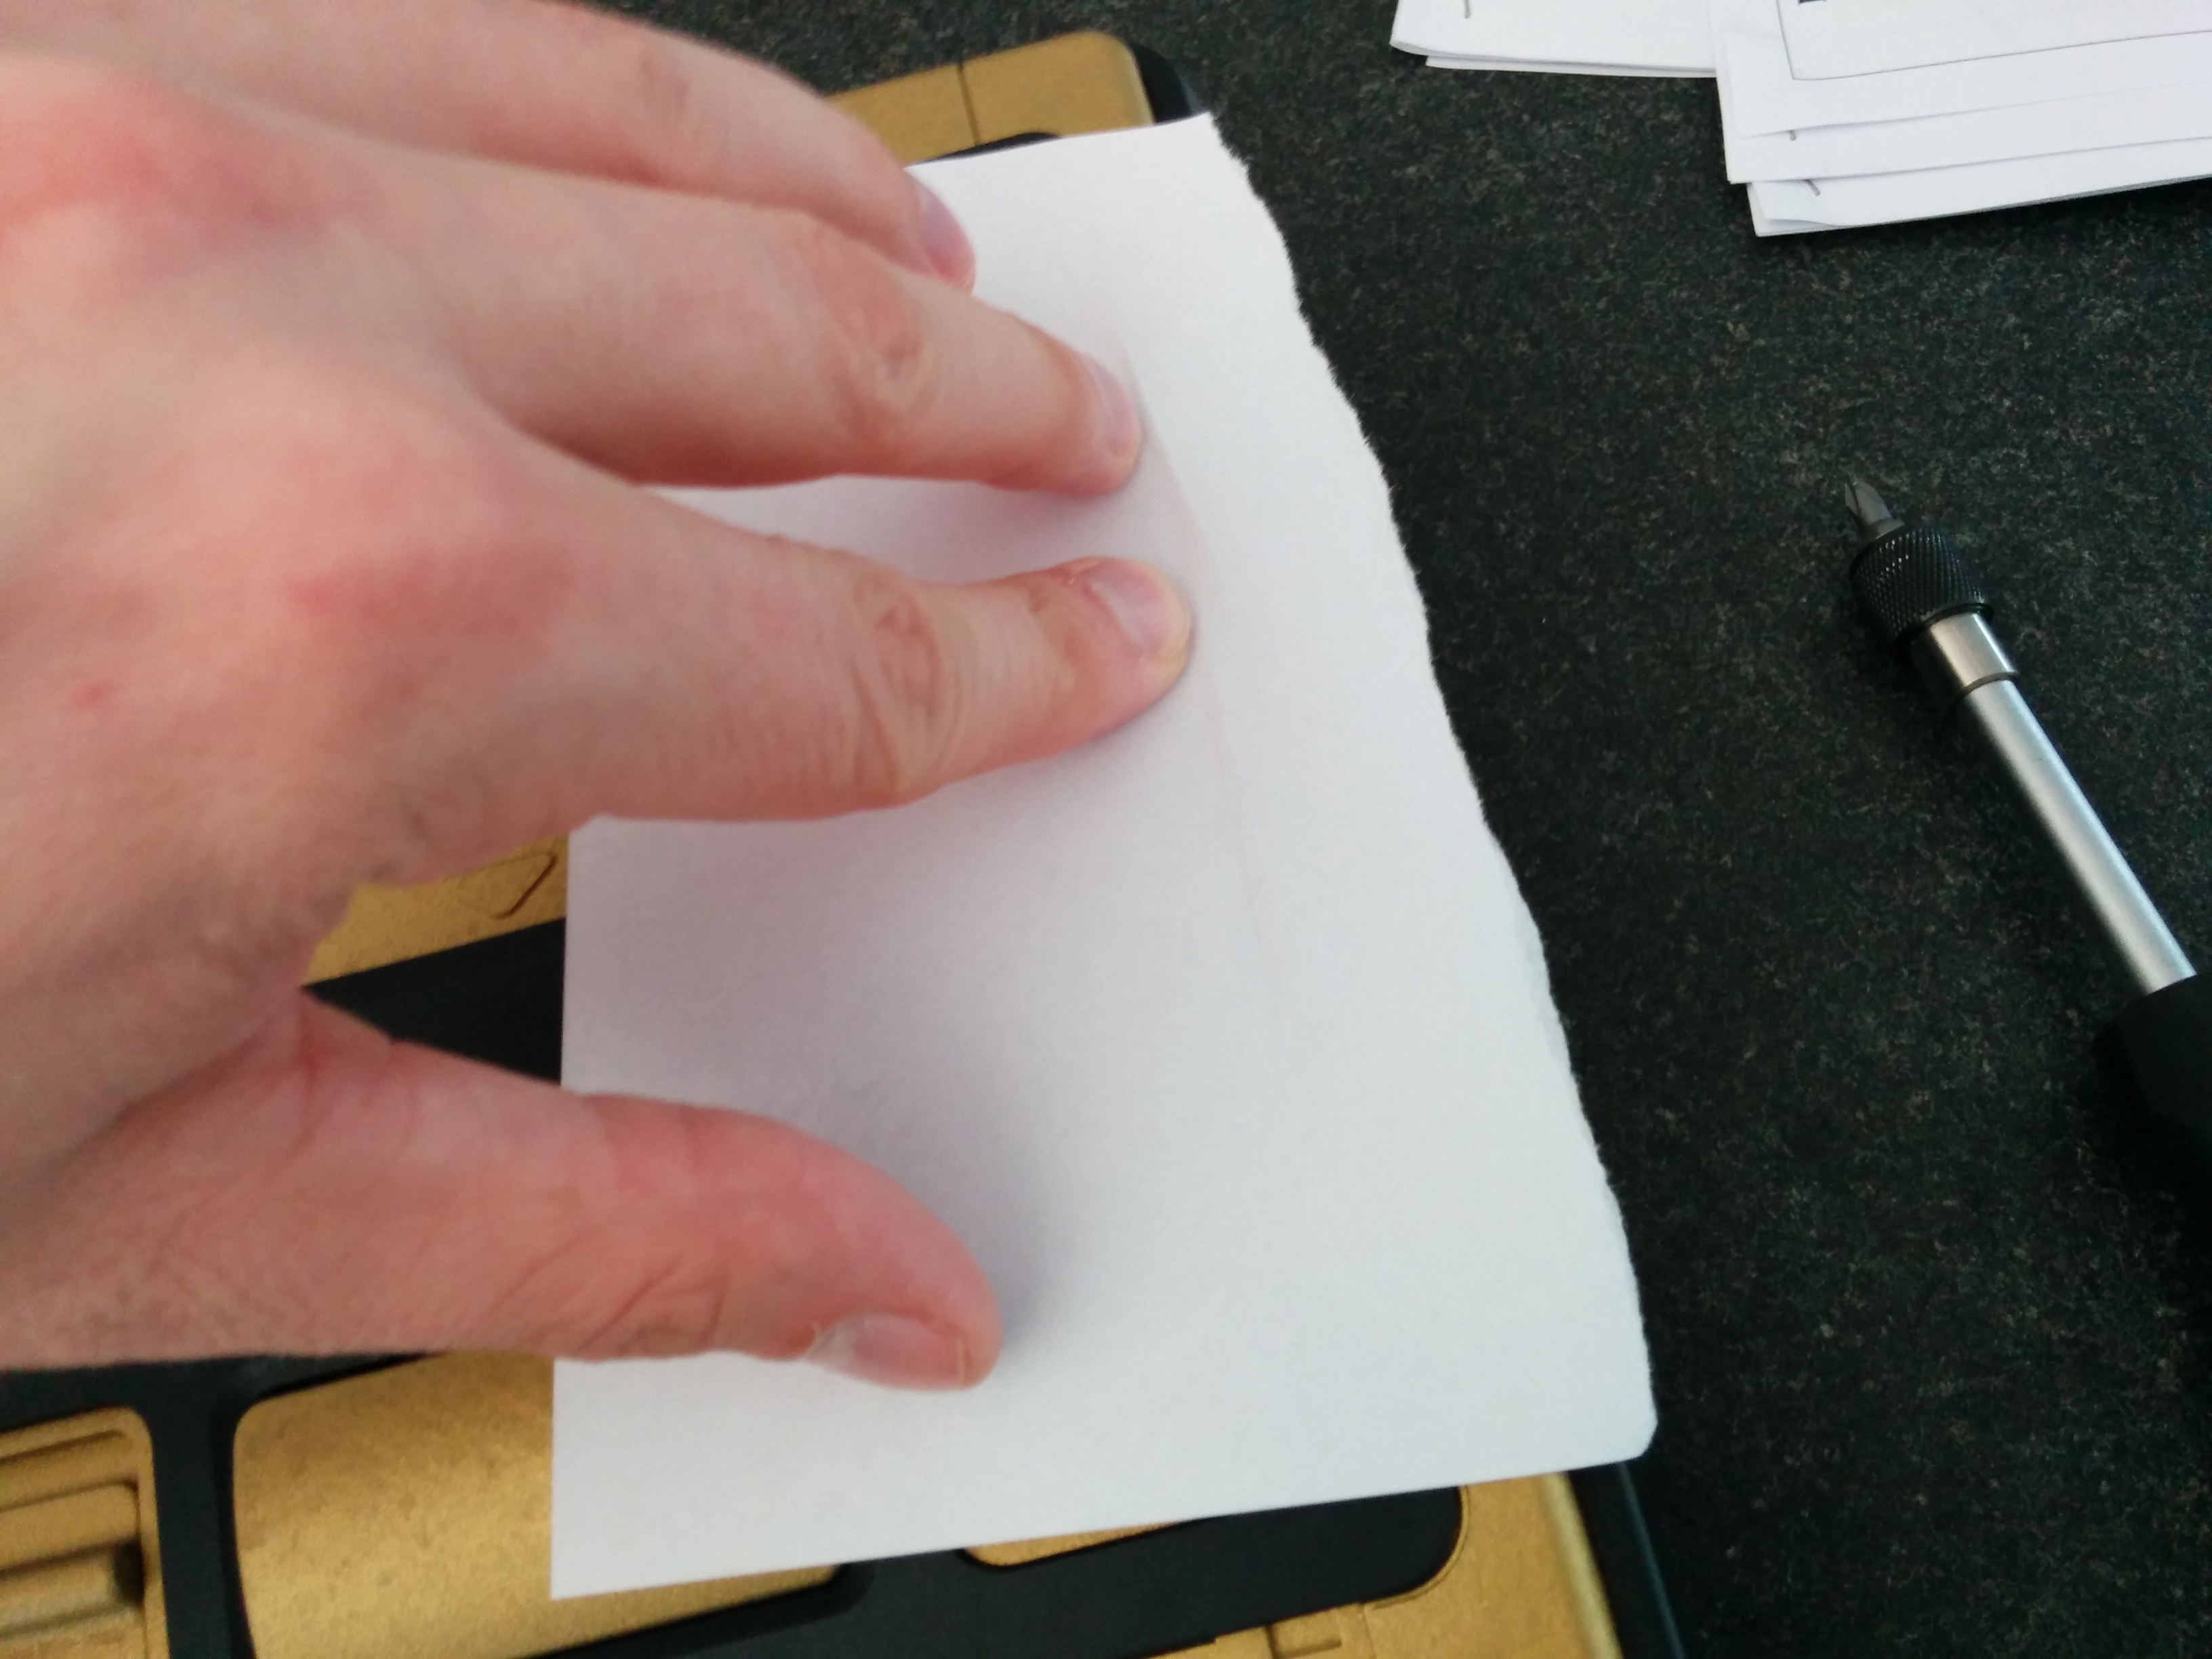
If you’re satisfied with the results, reassemble the SNES. Be sure to either wear rubbergloves or wash your hands. I used a piece of paper to push the top part onto the SNES.
8)
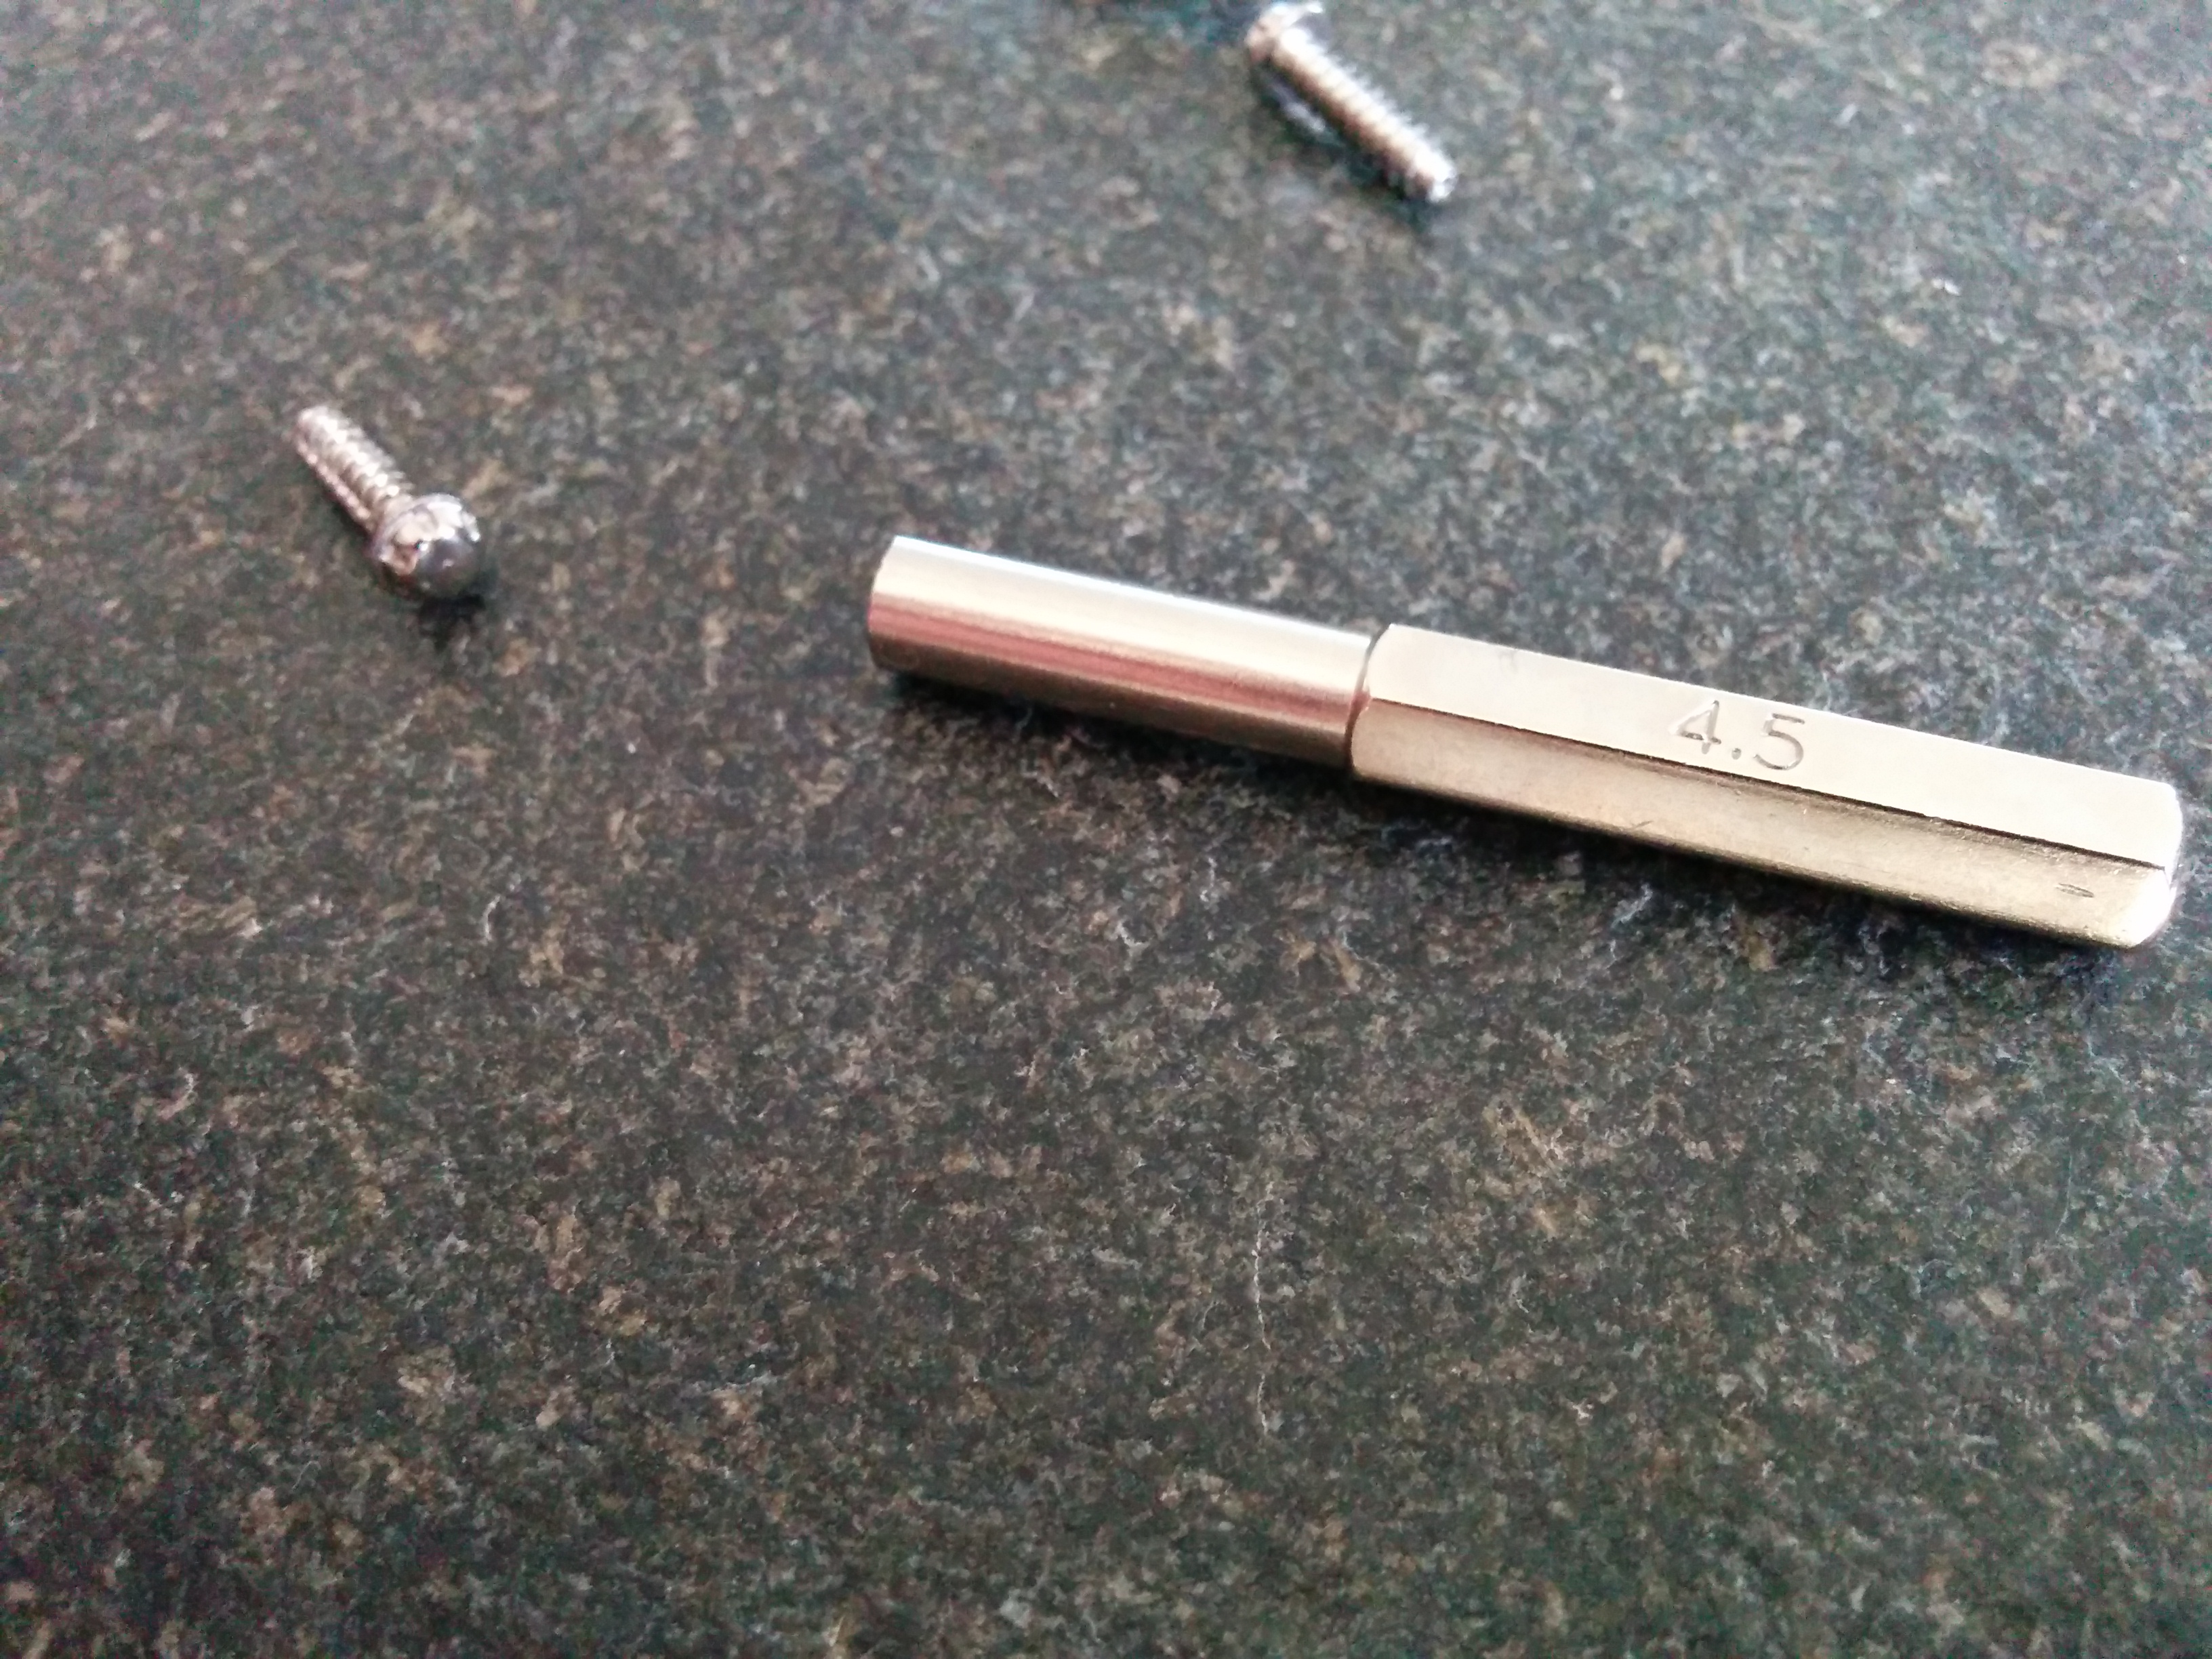
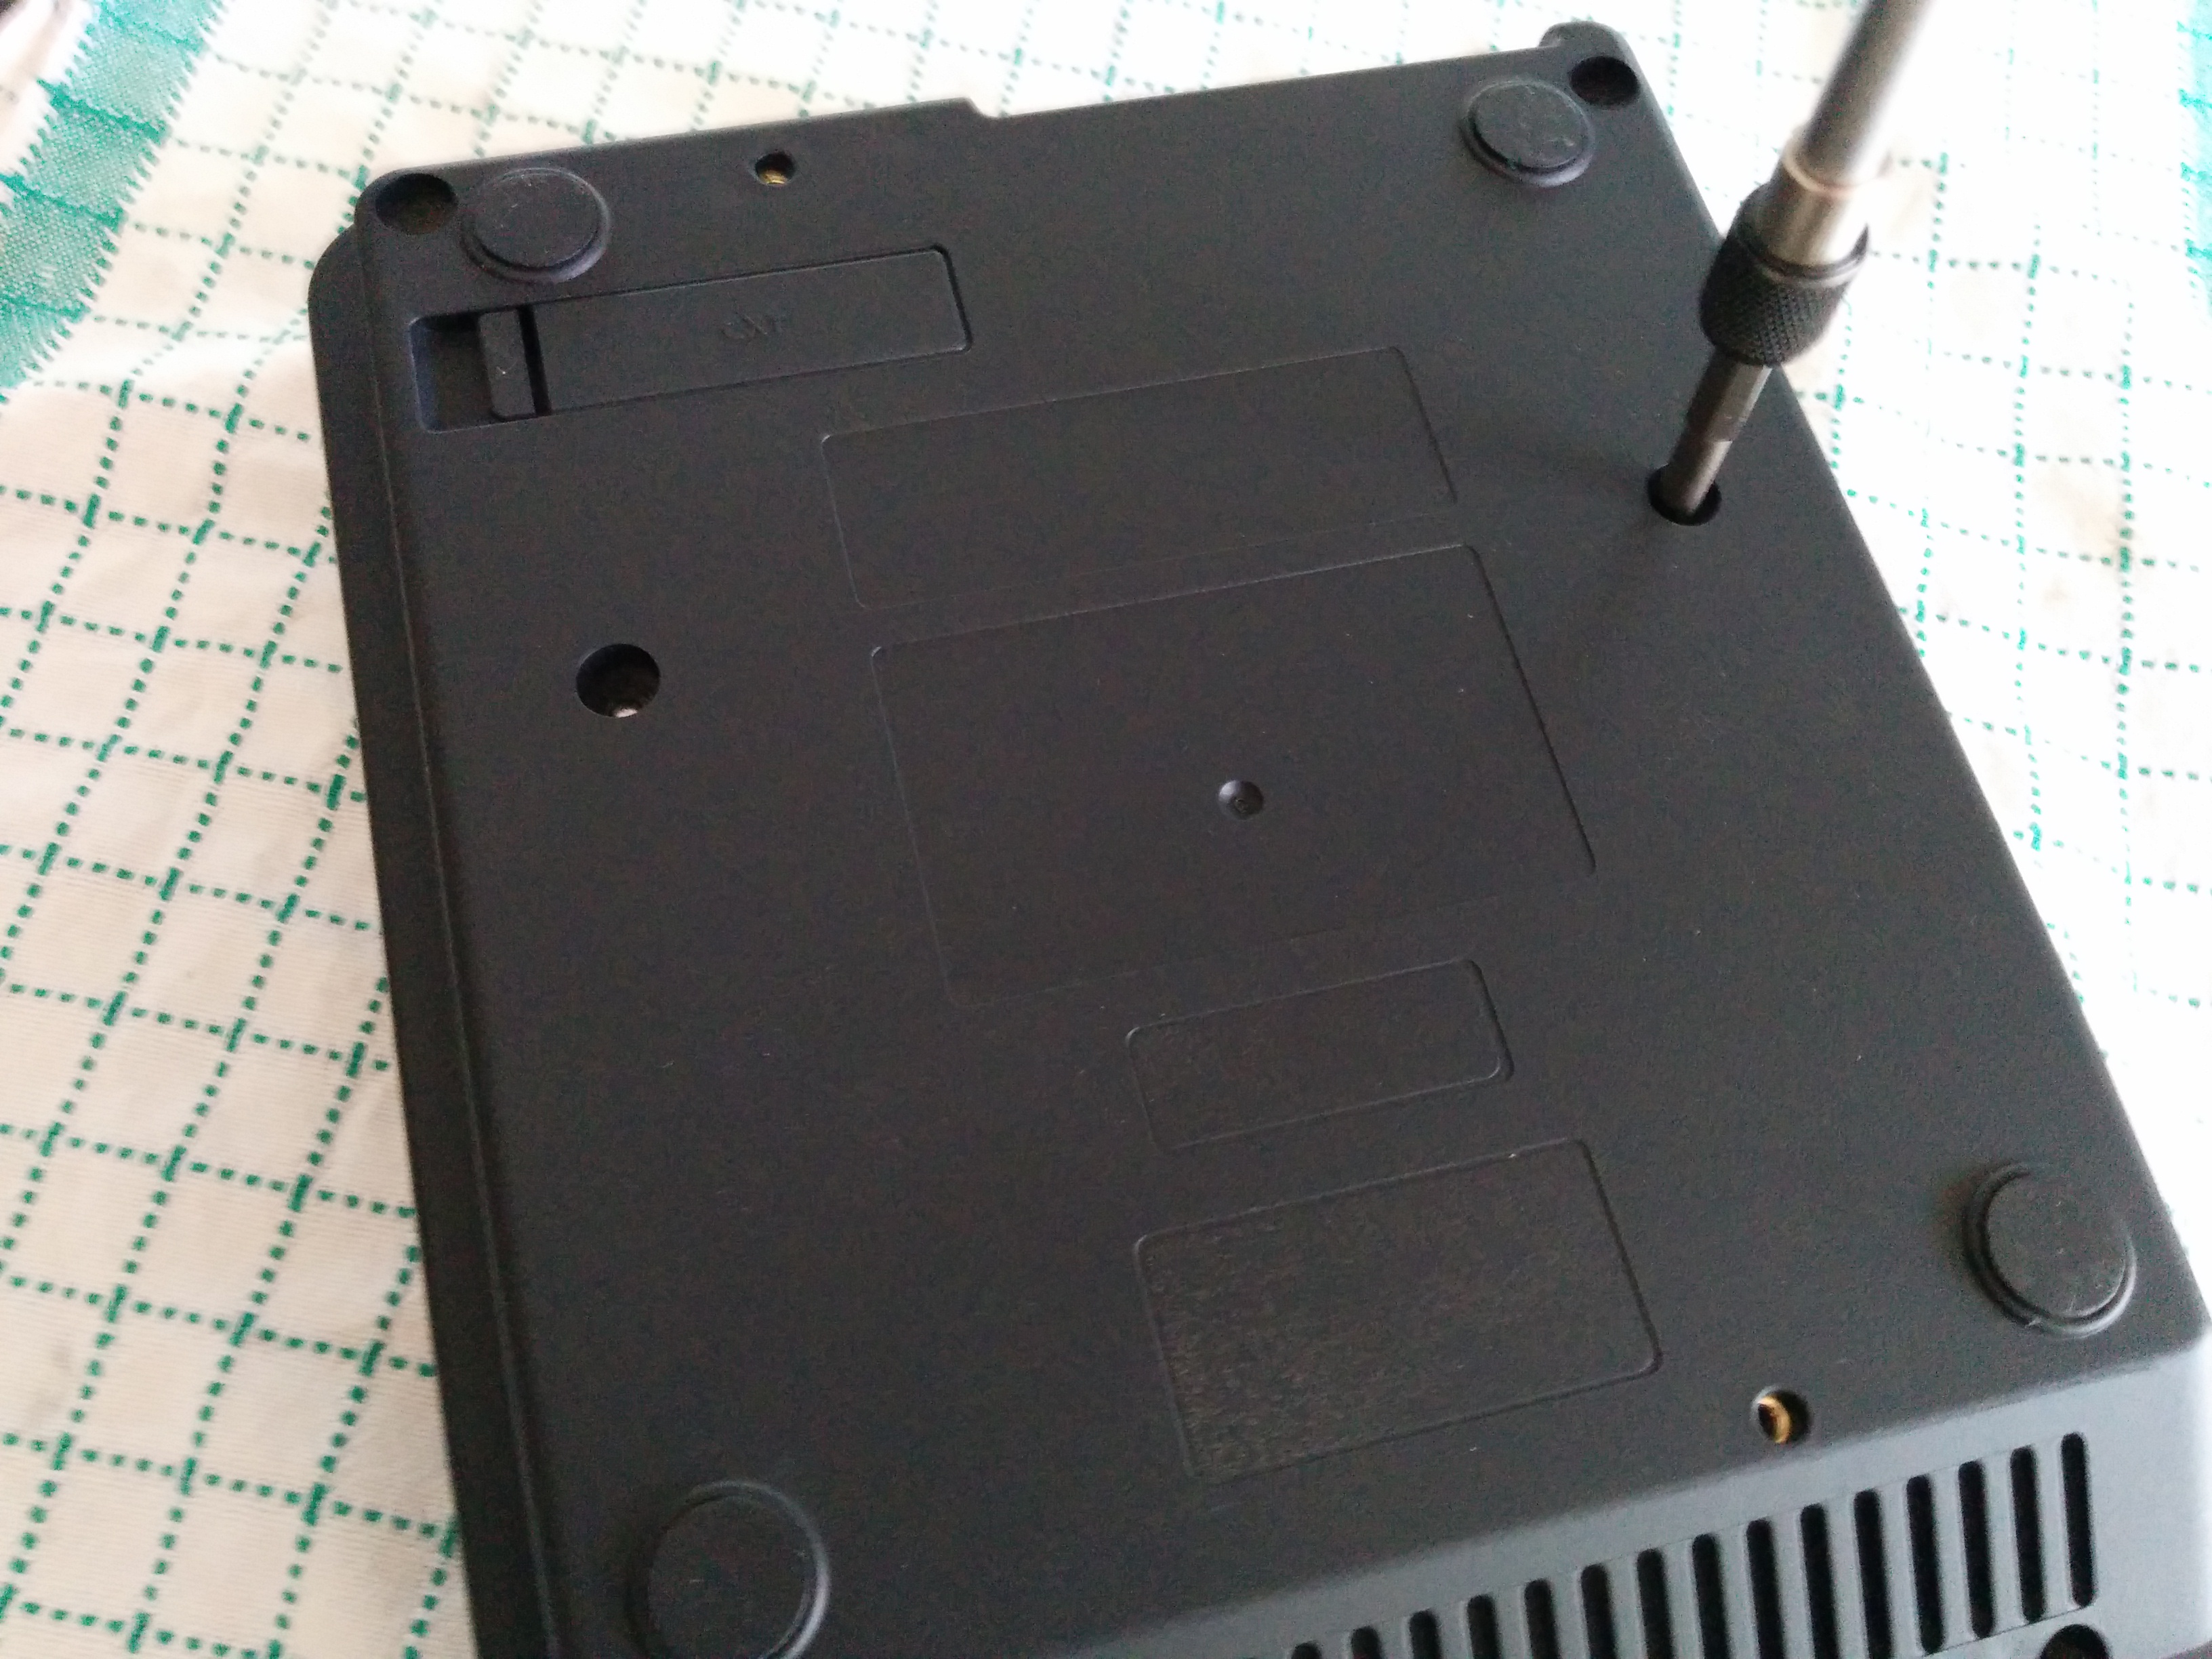
Time to screw the thing together. I put the console on some cloth to avoid scratches.
9)
It already looks nice, but empty. Time to print out some decals! Use 2 thin coats of transparent primer.
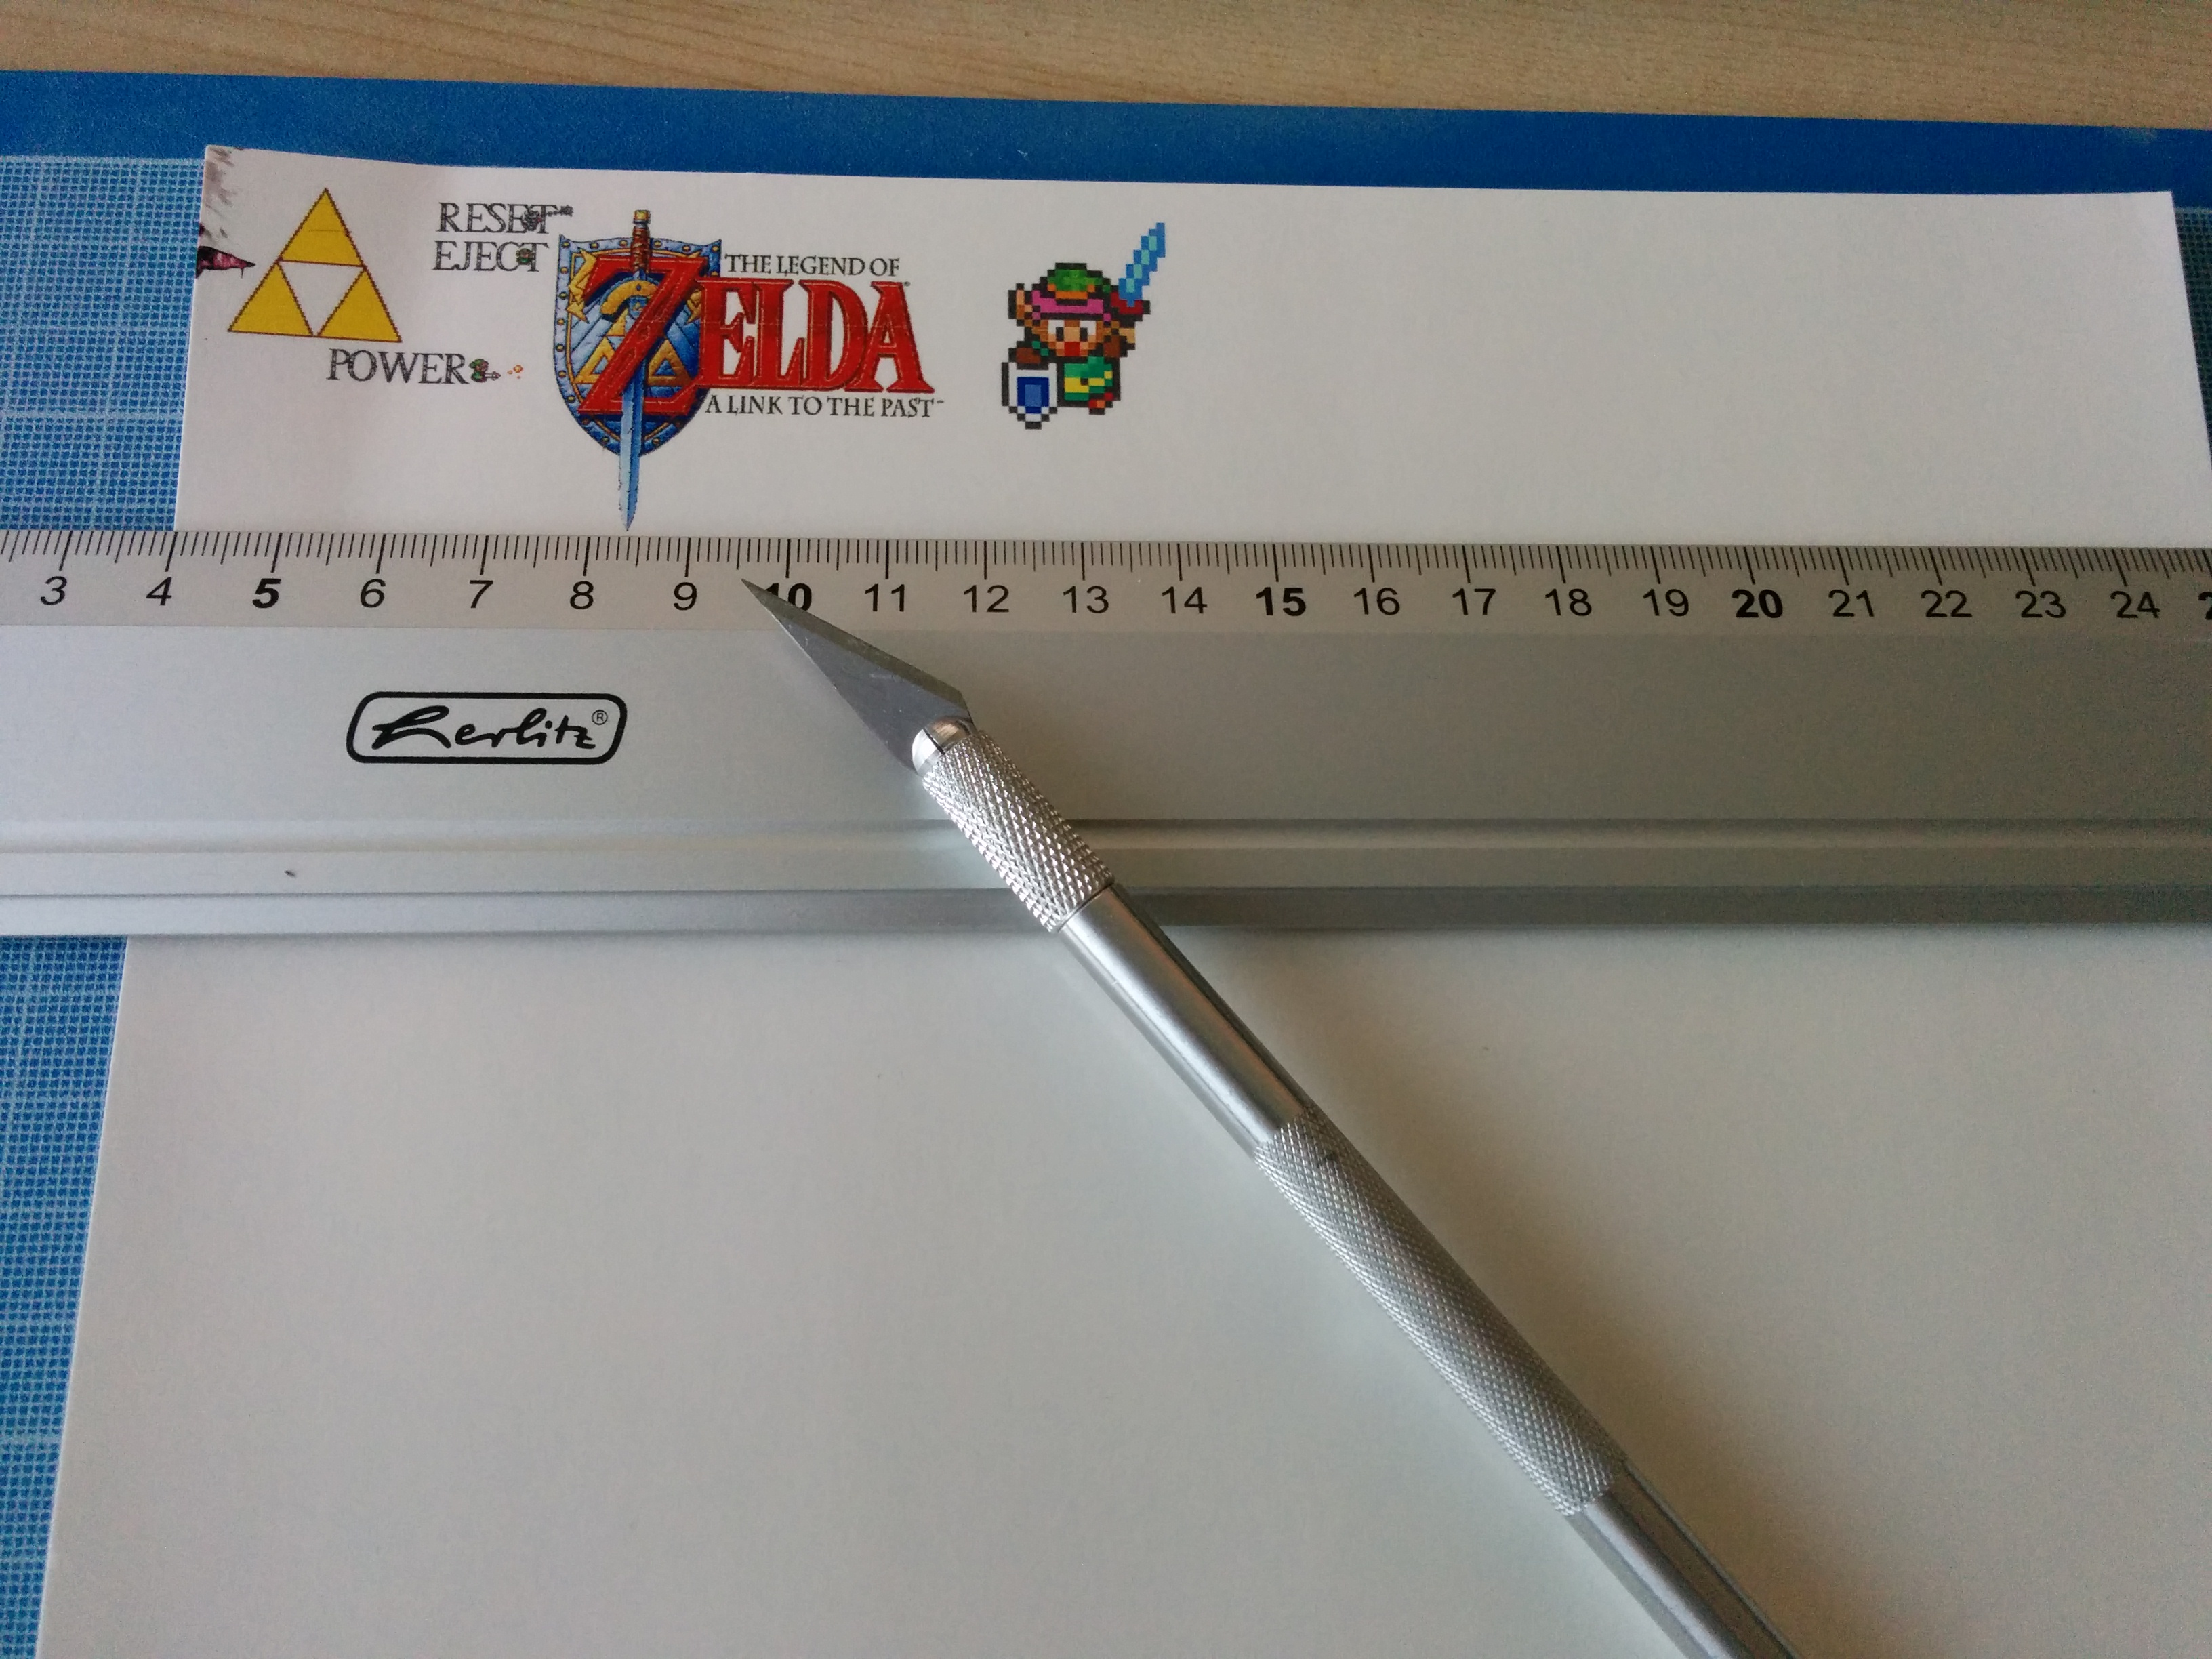

10)
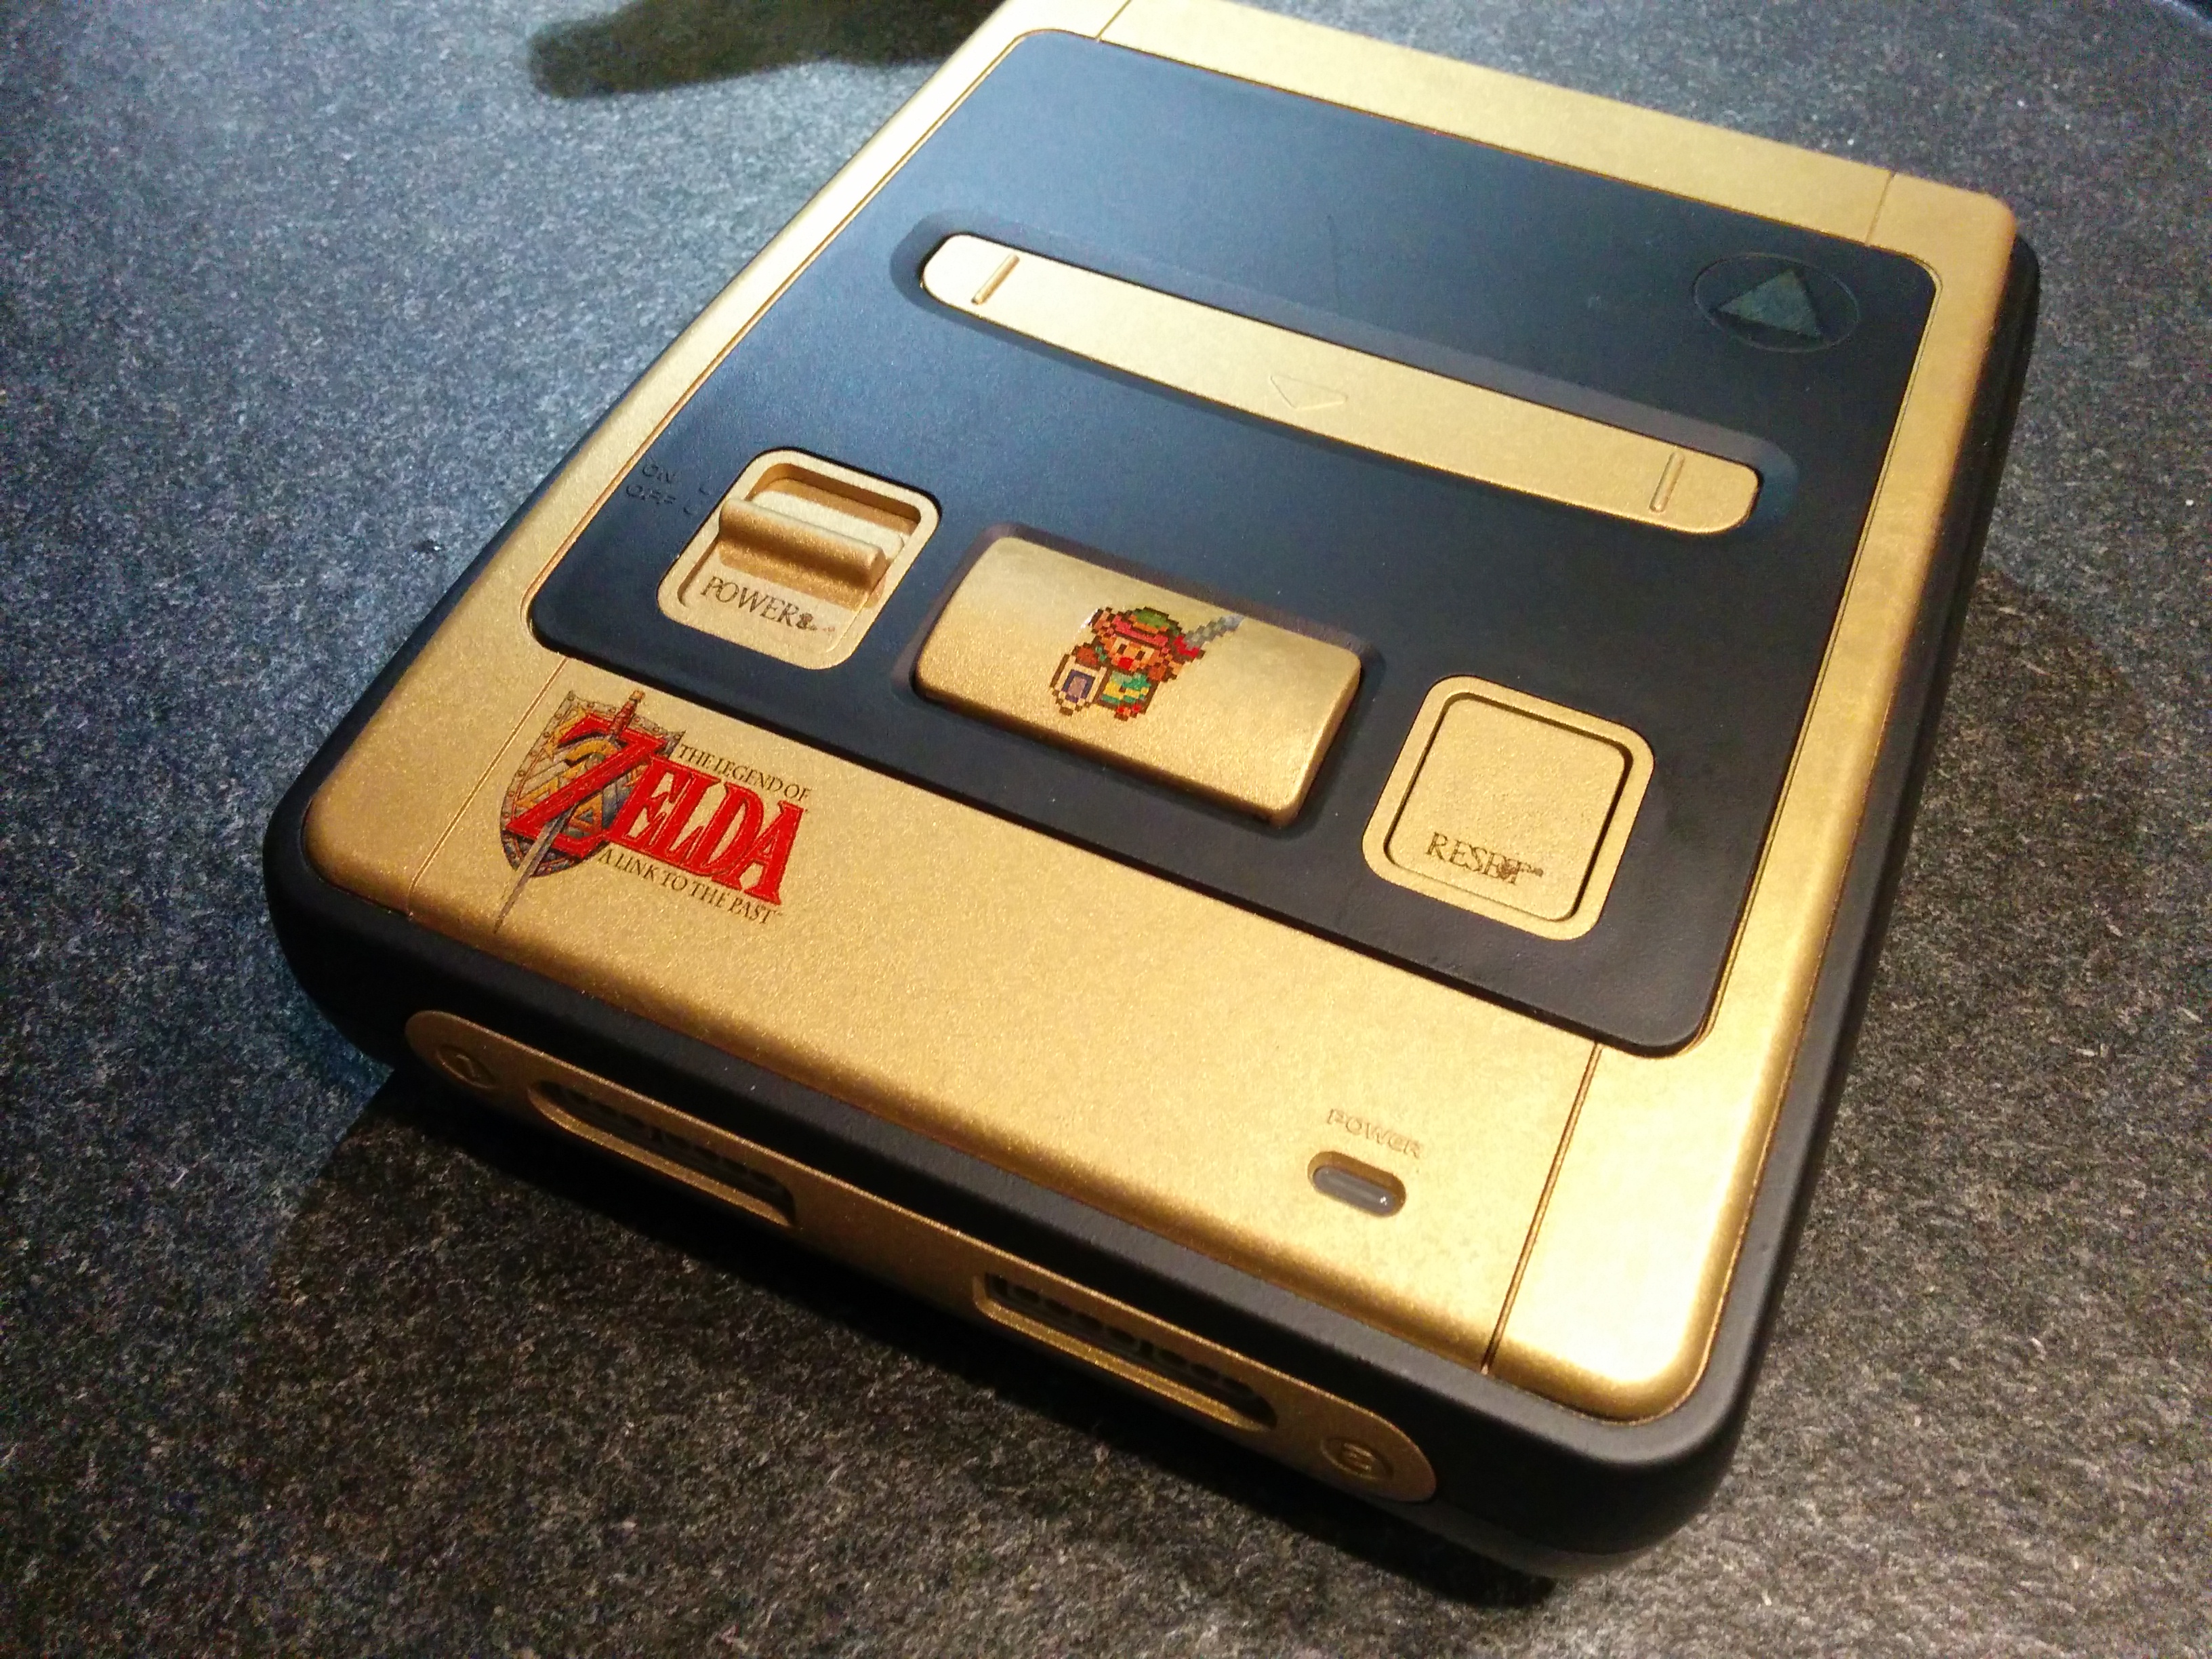
I started with the big Zelda logo for the top-front part, as it’s the easiest to apply.
11)
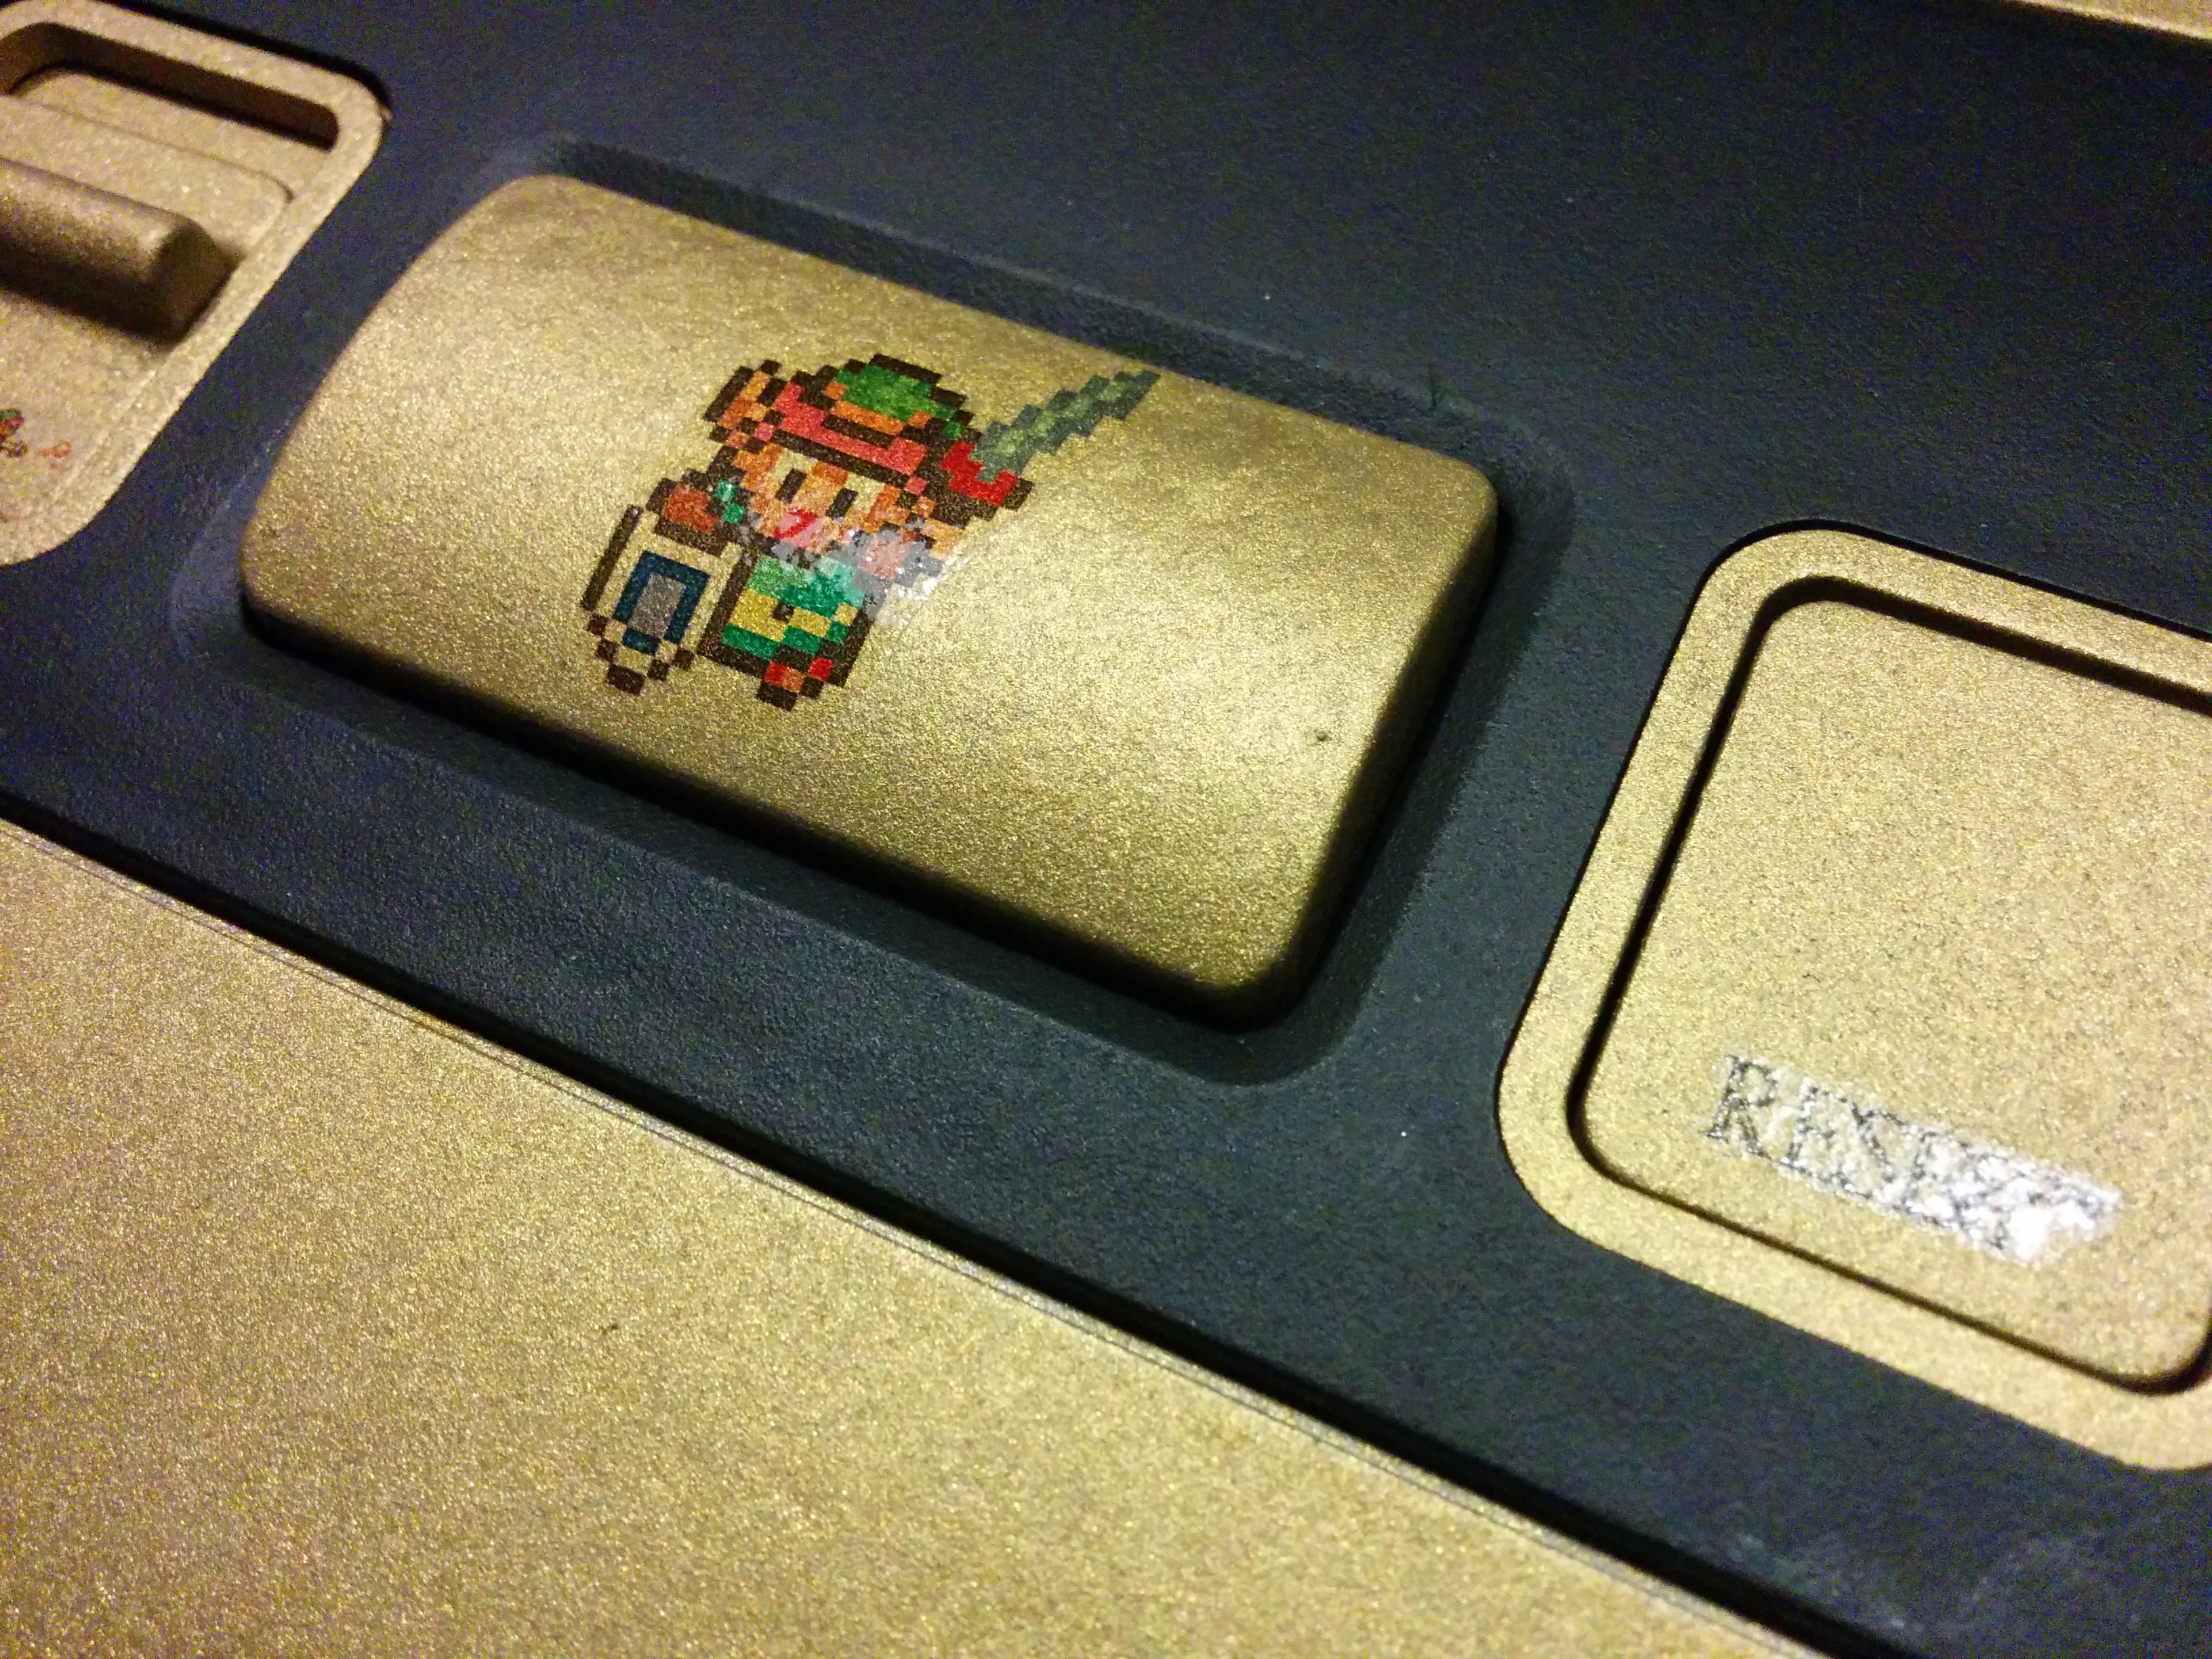
I decided to add small sprites to the Power, Eject, Reset buttons. They are very small and you need a lot of patience to apply them. Apply them gently, using a tool to move it into the correct position. Then use some paper towel to suck out the bits of water beneath the decal !
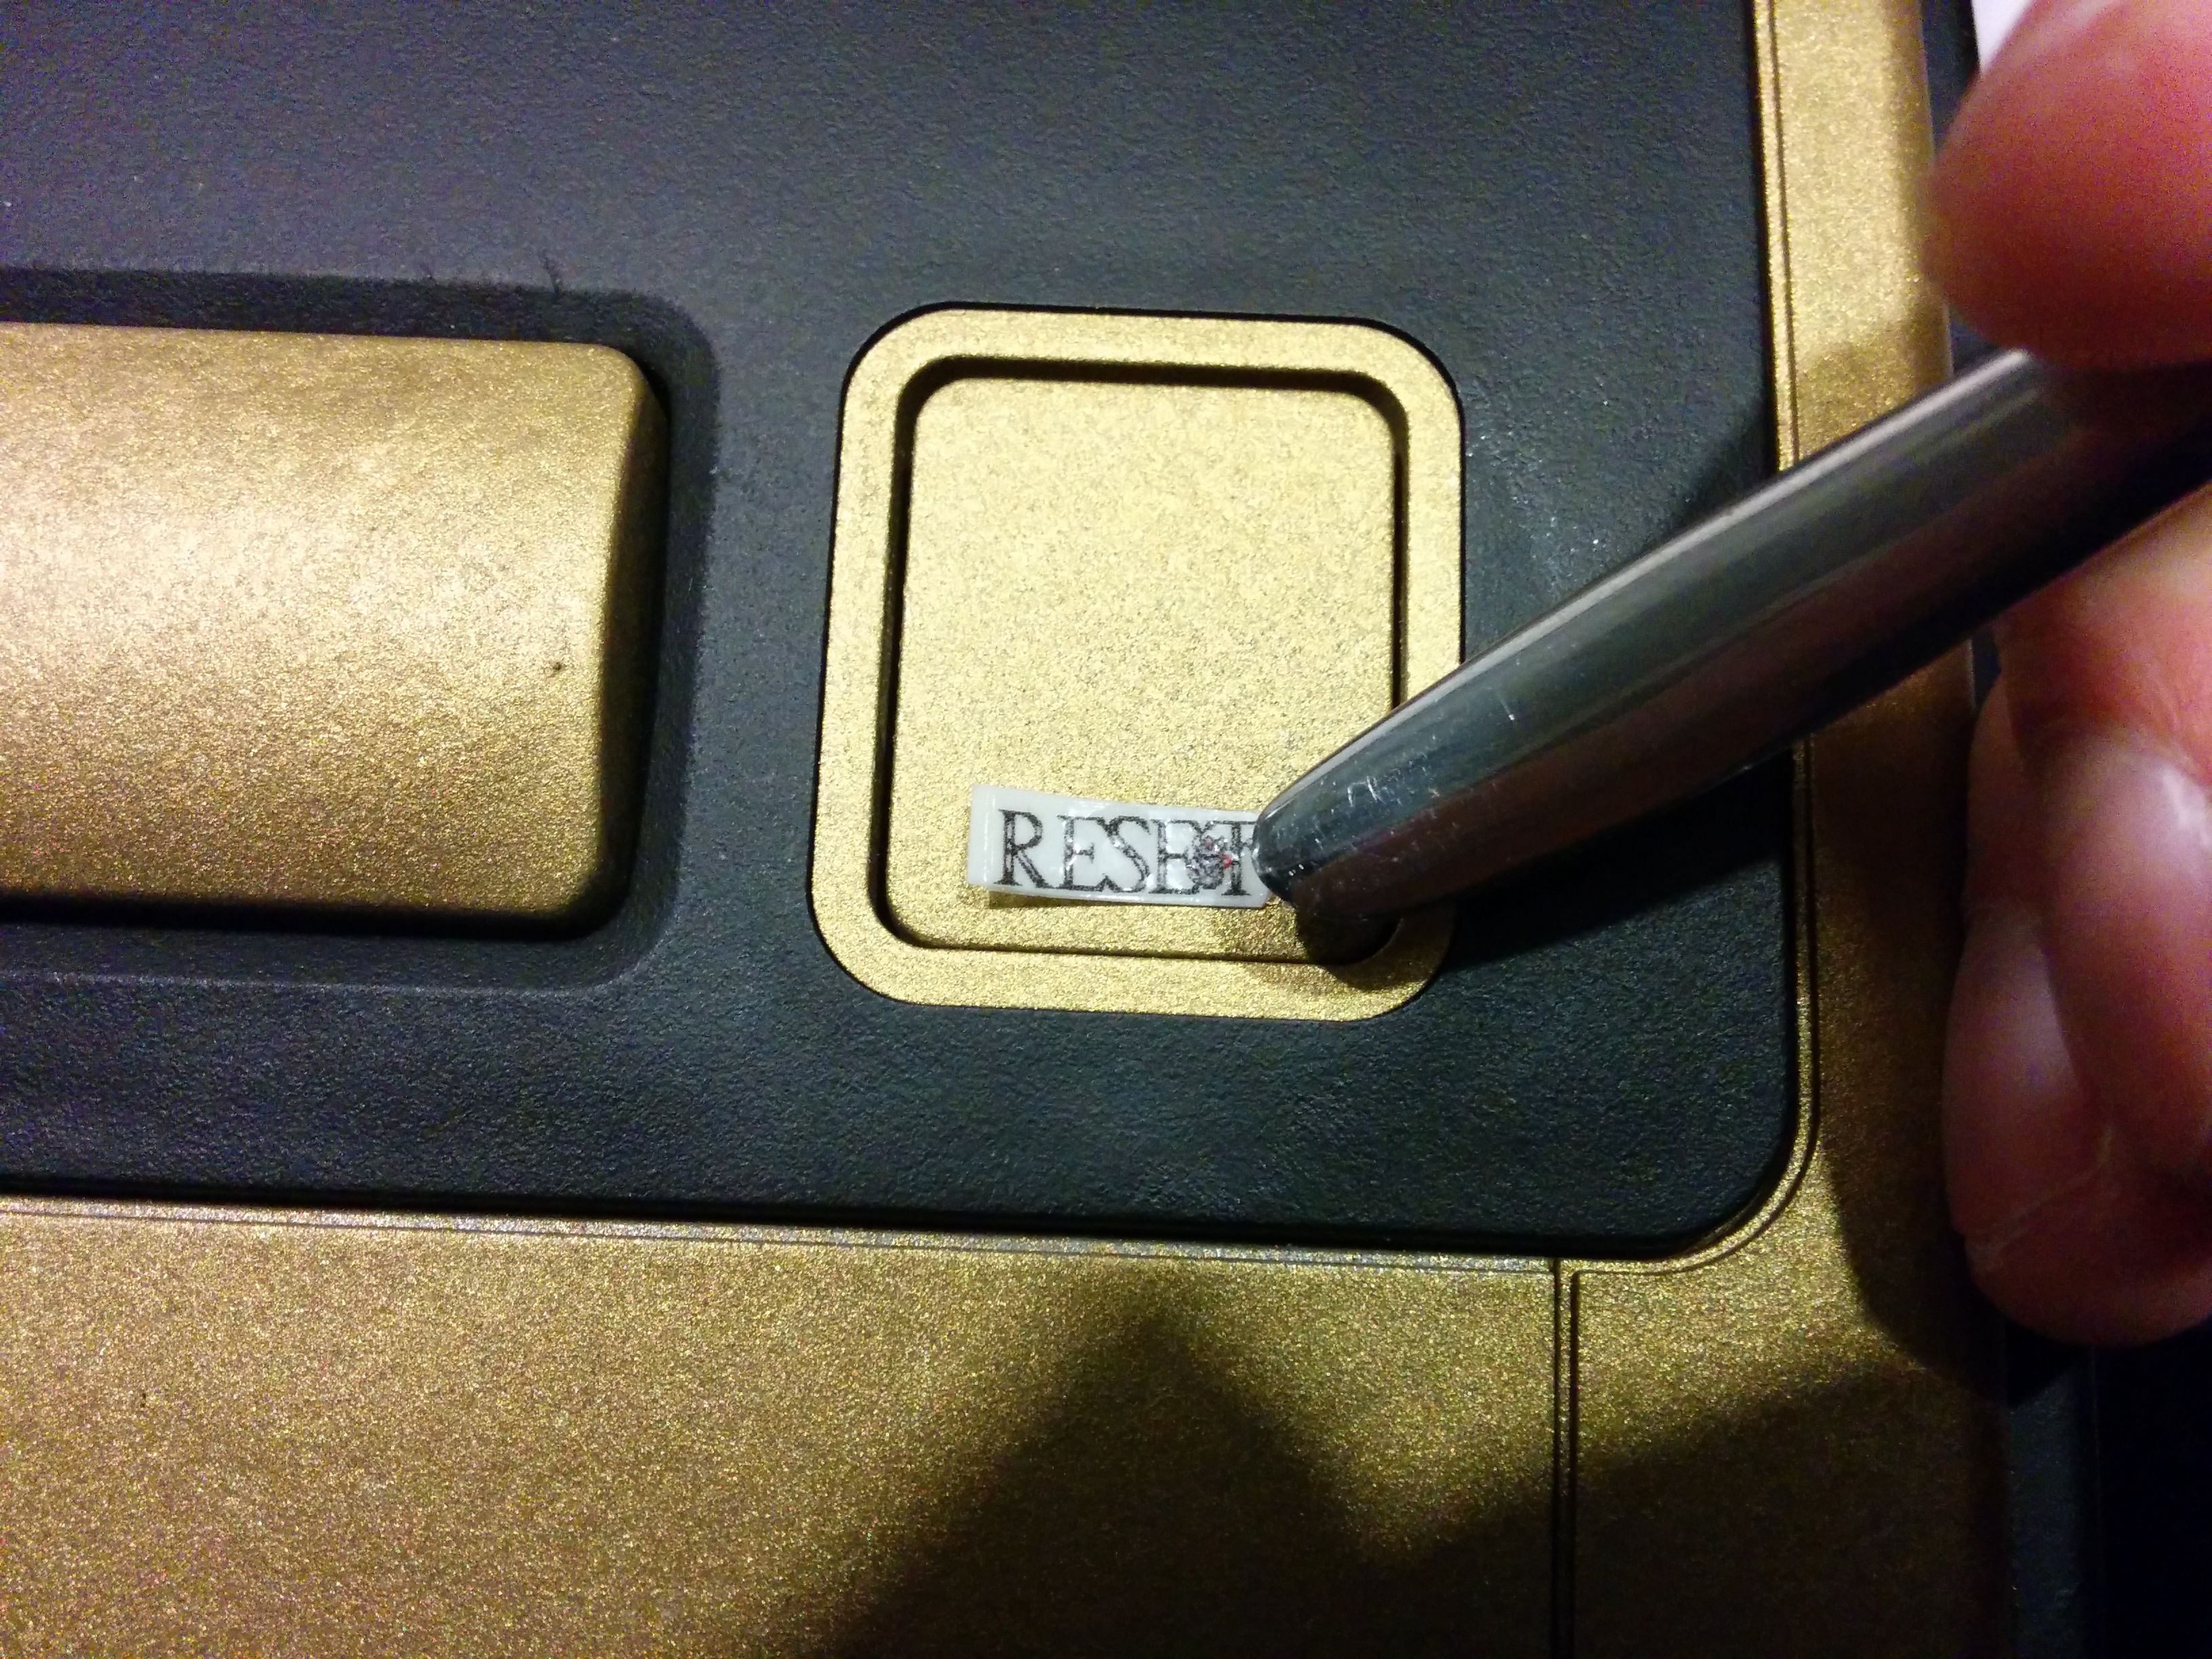
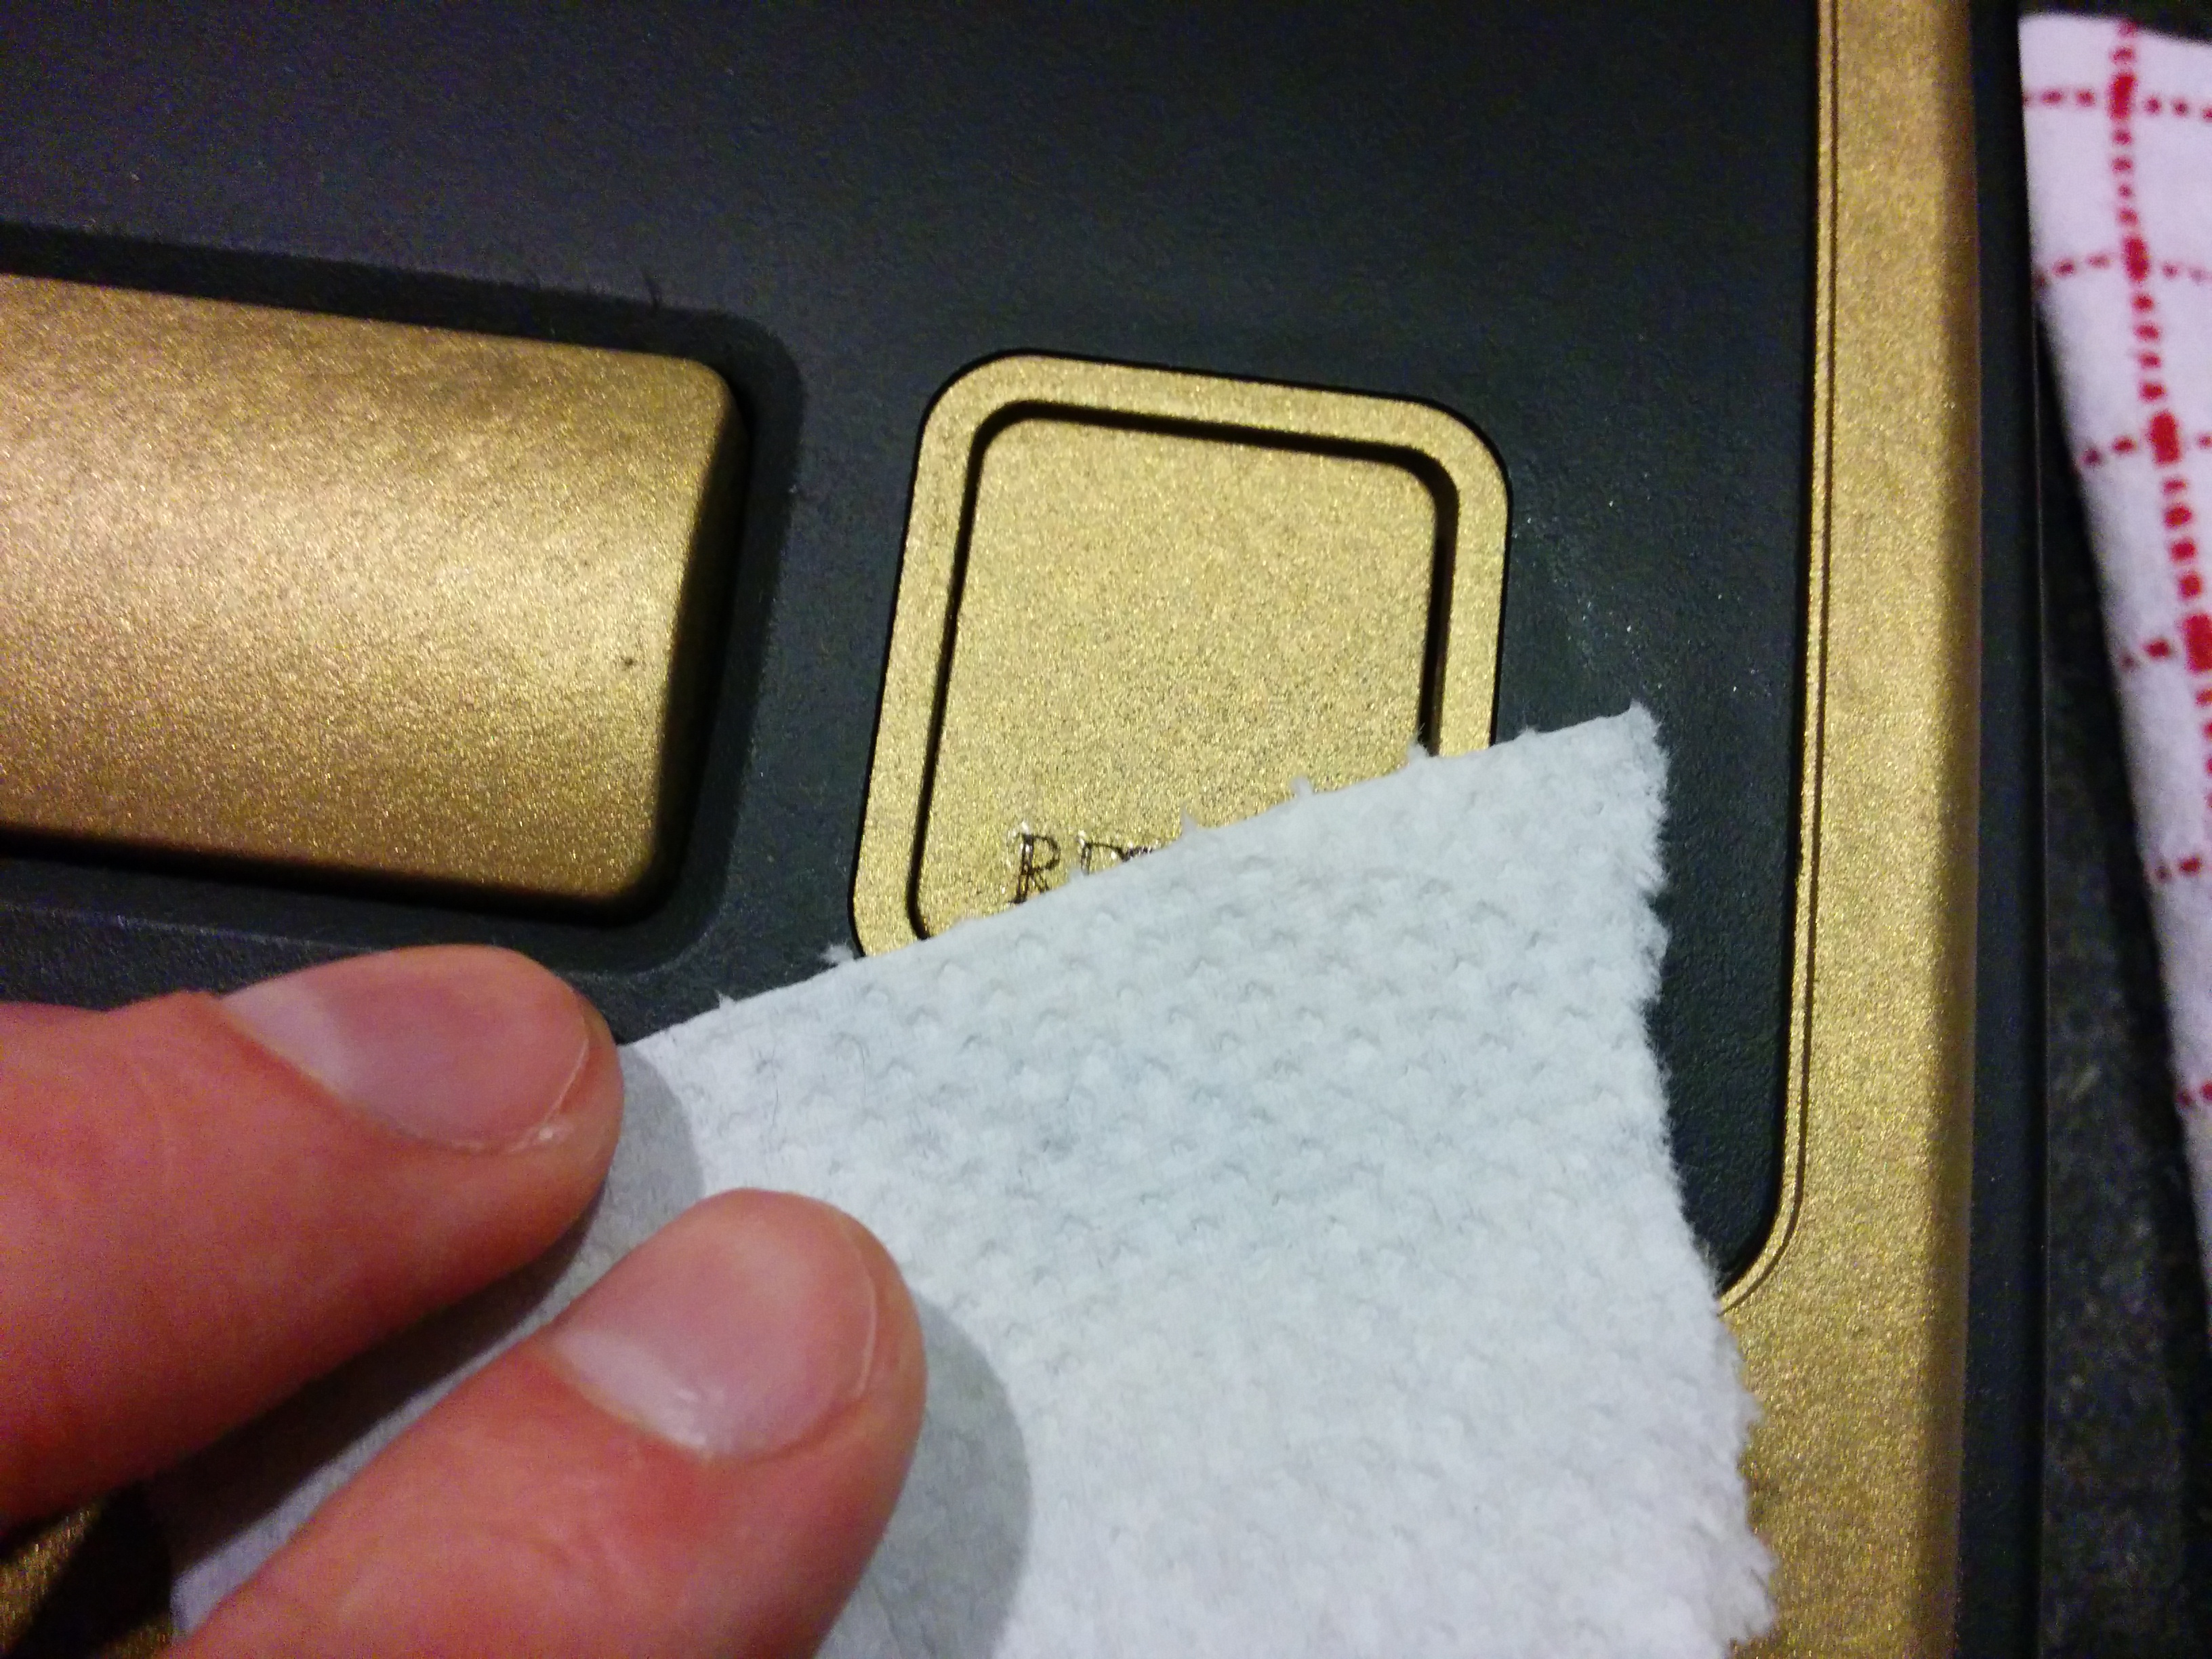
12)
Final impressions