
First of all, i suppose you got already NOOBS on an SD card. I suggest an 8GB+ SD card, so that you have enough space left to save files and apps.

Choose your flavor
After starting the Pi (just plug in the USB, e.g to your screen/TV), NOOBS will boot and you can chose what OS to install on the SD card.
I go for Raspbian, based on Debian Linux. Keep in mind, that the data on the SD card is replaced by the OS installation and you have to reformat your SD card with noobs if you ever want to set up another OS.
It takes some time to install so grab a coffee, walk the dogs….
Raspbi-config menu after boot

Raspi-config menu
The OS starts into the raspbi-config menu.
First, set a password for the standard user, named “pi”, menu 2. it’s pretty self-explaining.
Check SSH settings
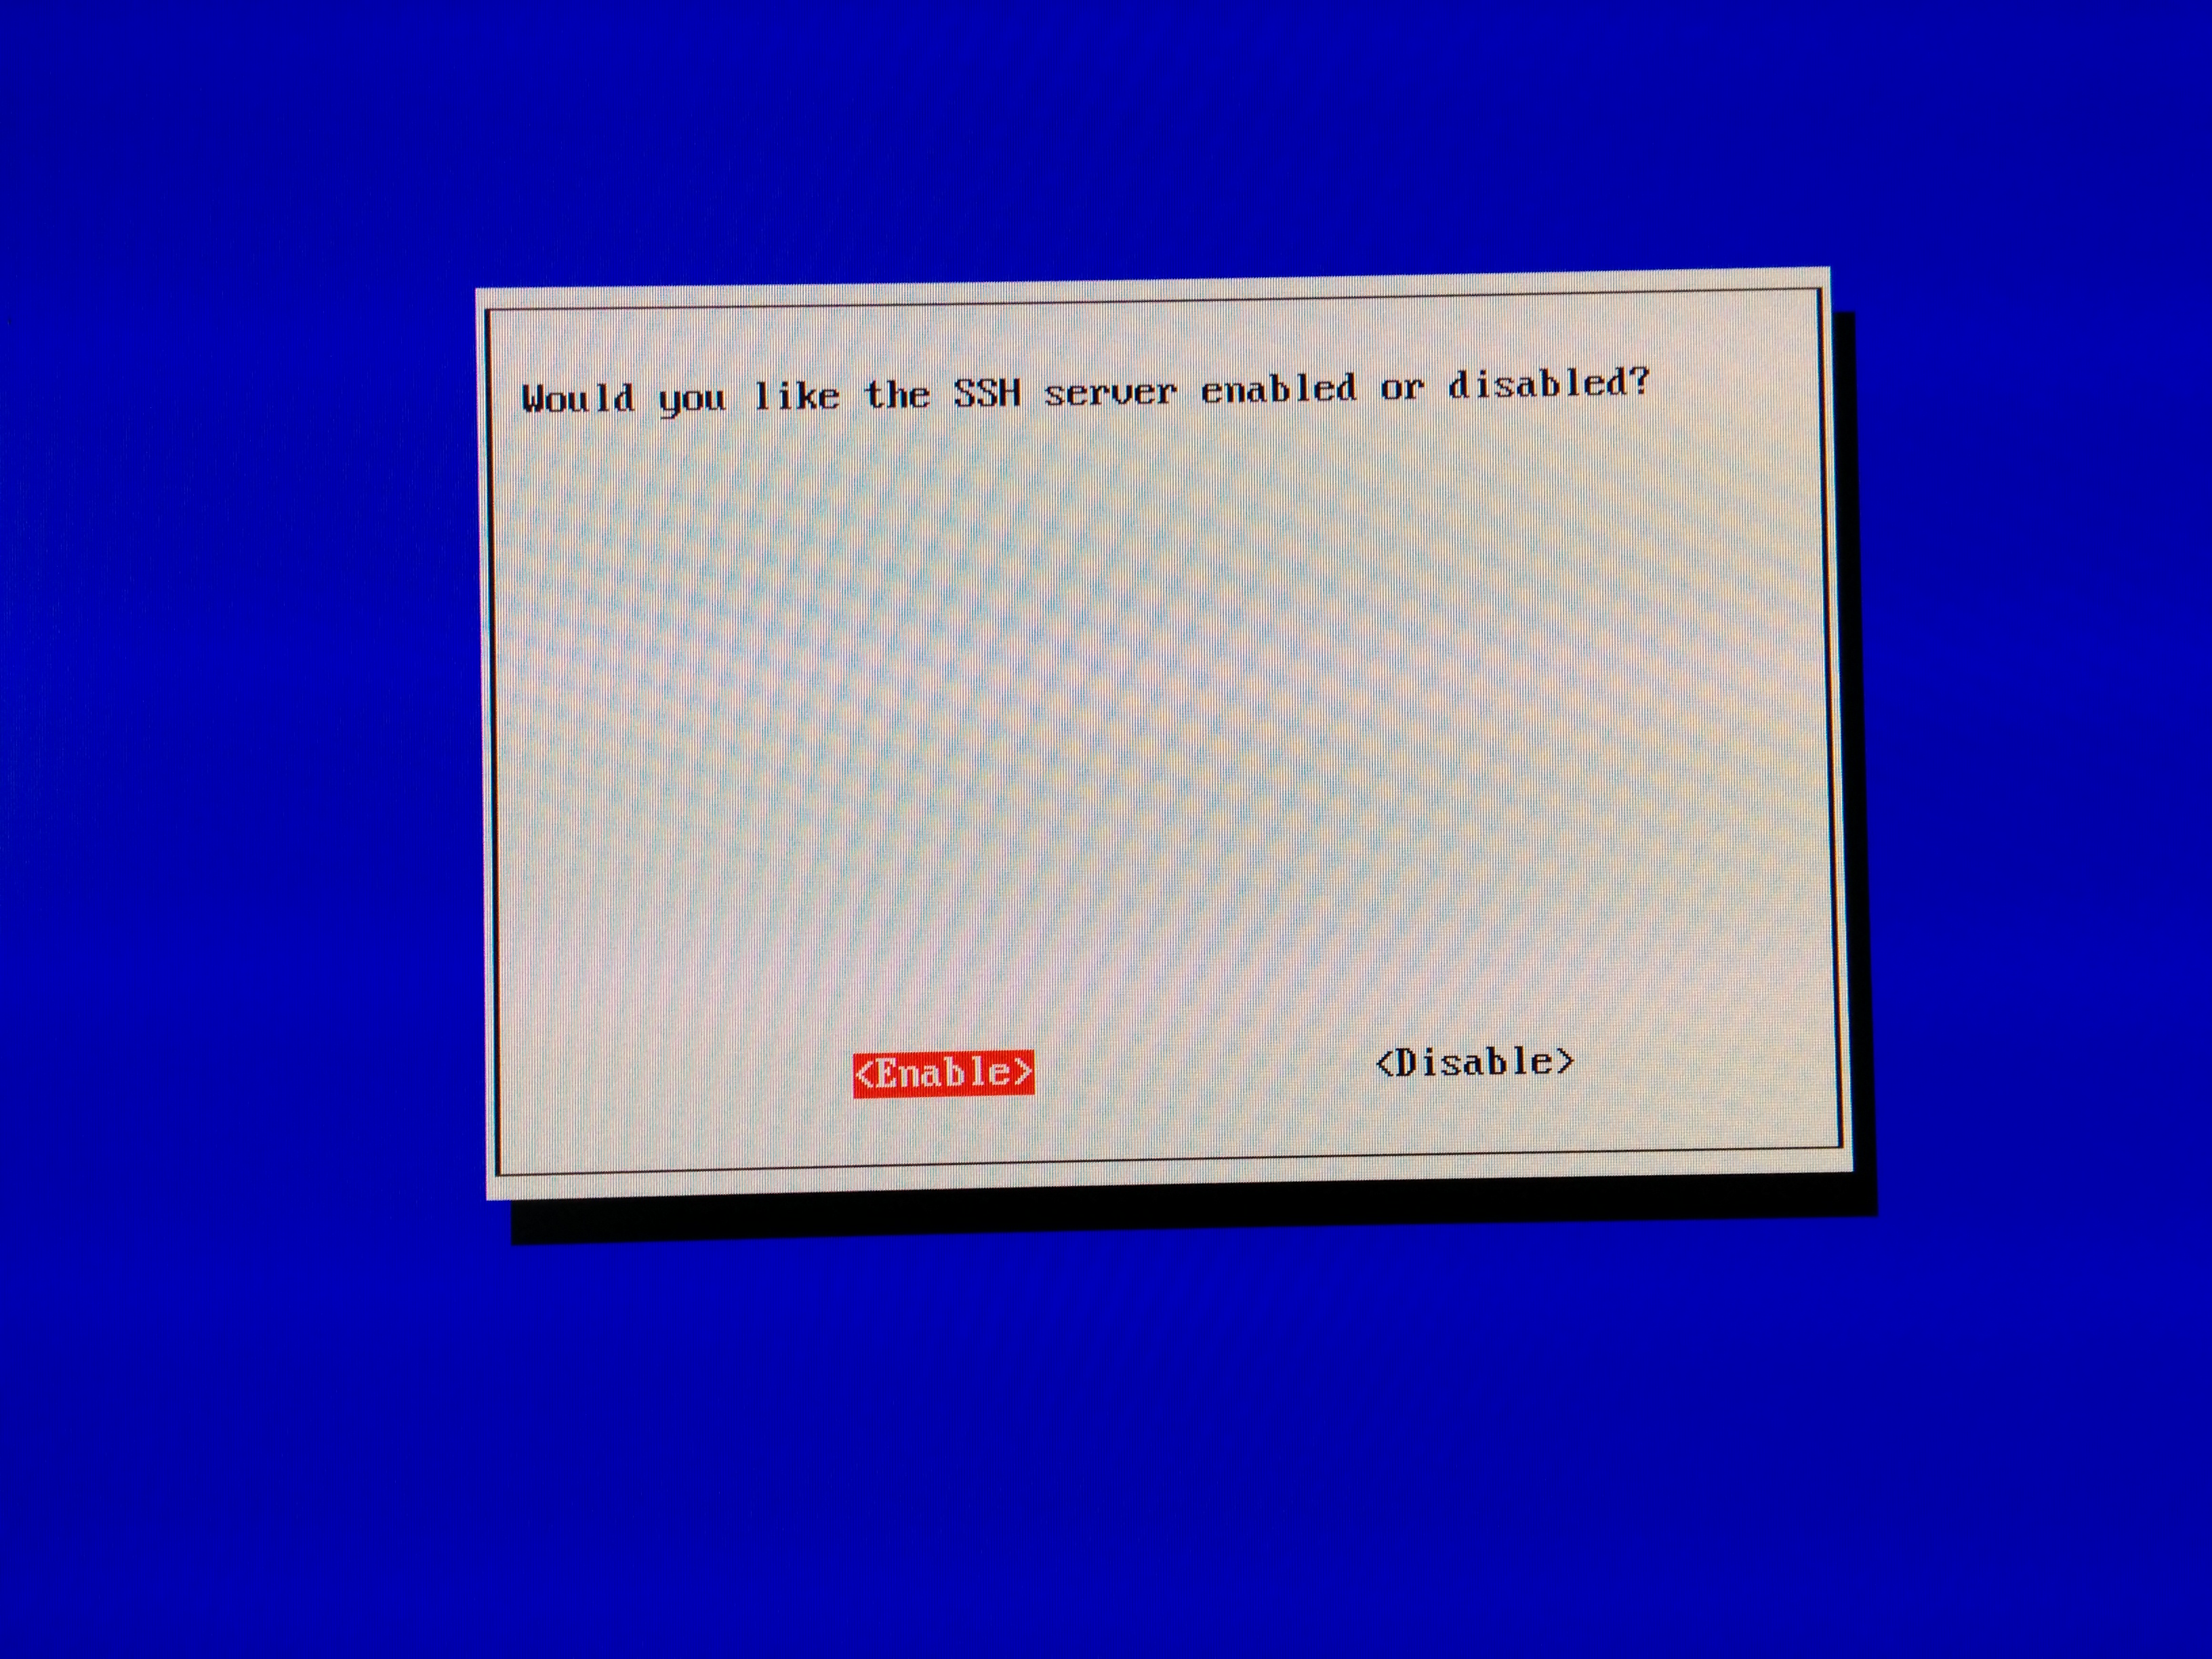
SSH enable
Check if SSH is enabled (8 – advanced options). It’s useful to control the Pi from another computer, if you want to use it standalone, or without a wireless keyboard.
Internationalisation options.
The locales determine the language of the OpenBox desktop interface, so chose wisely. You can change languages later.

Raspbi locales
I first choose a german keyboard layout and wanted to add the swiss-french one… later on I did just change the whole locales to english 😉
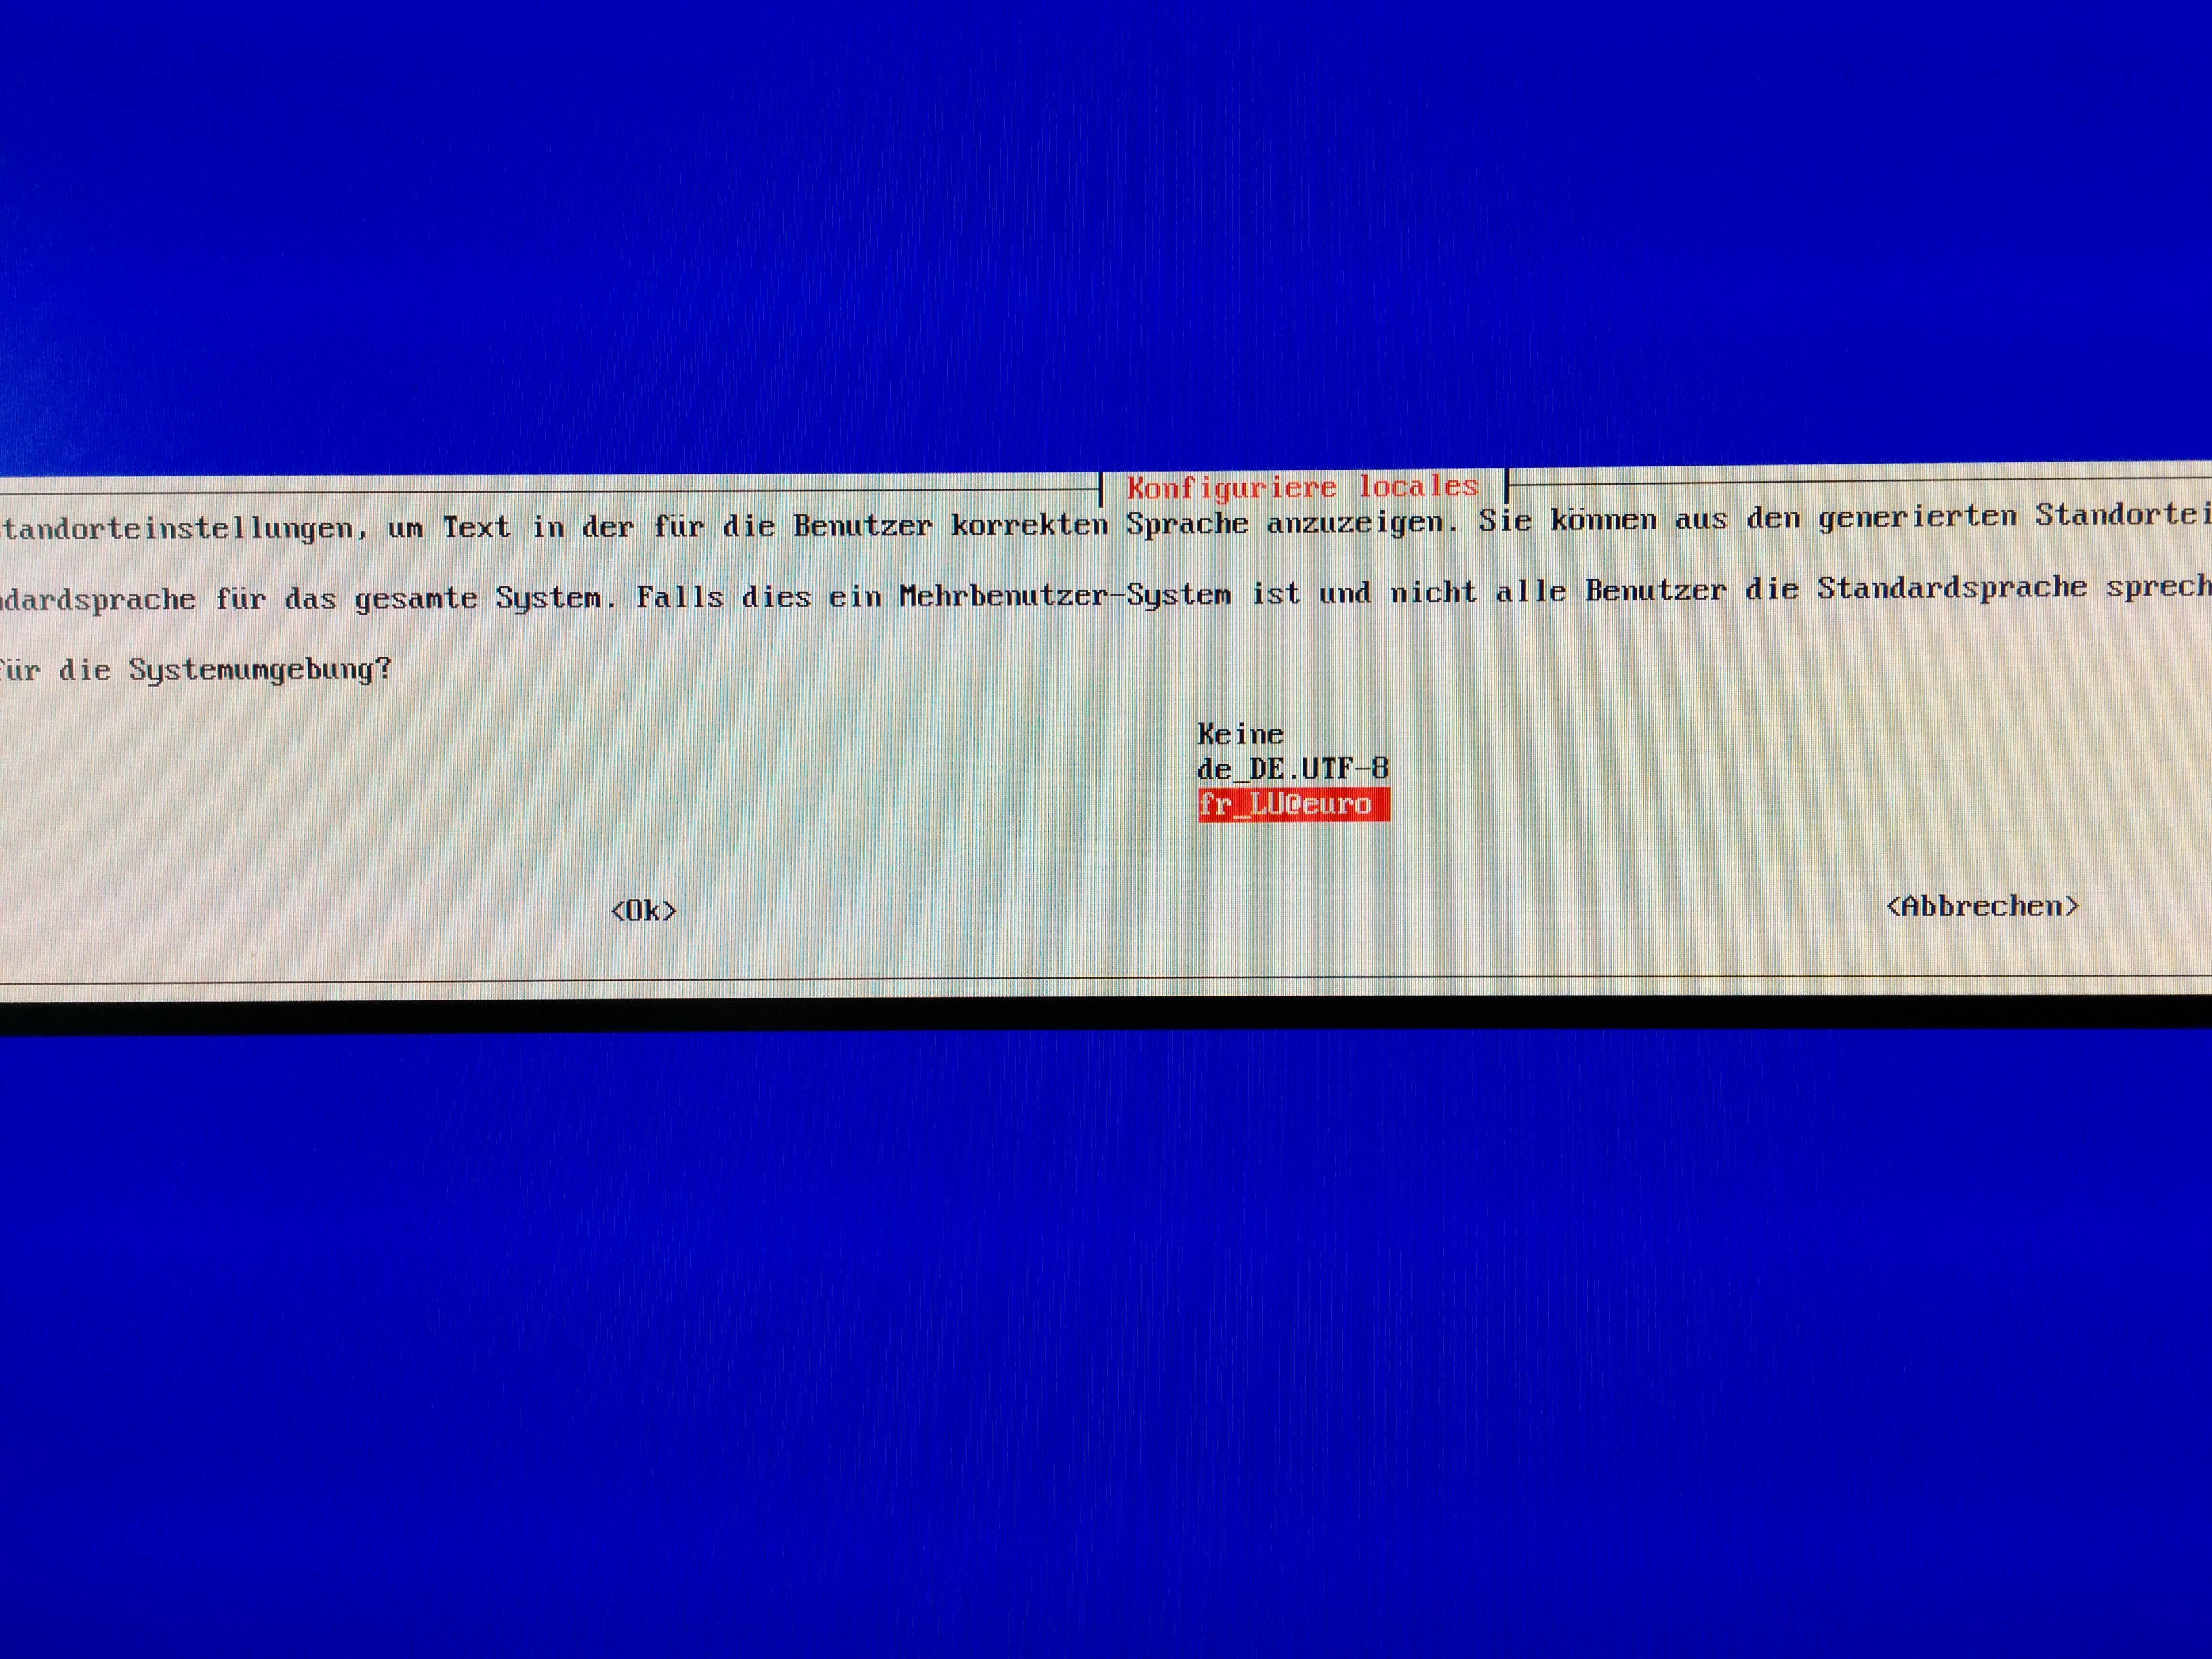
Locales locales…
Audio settings – jack or HDMI ?
Raspbi audio settings
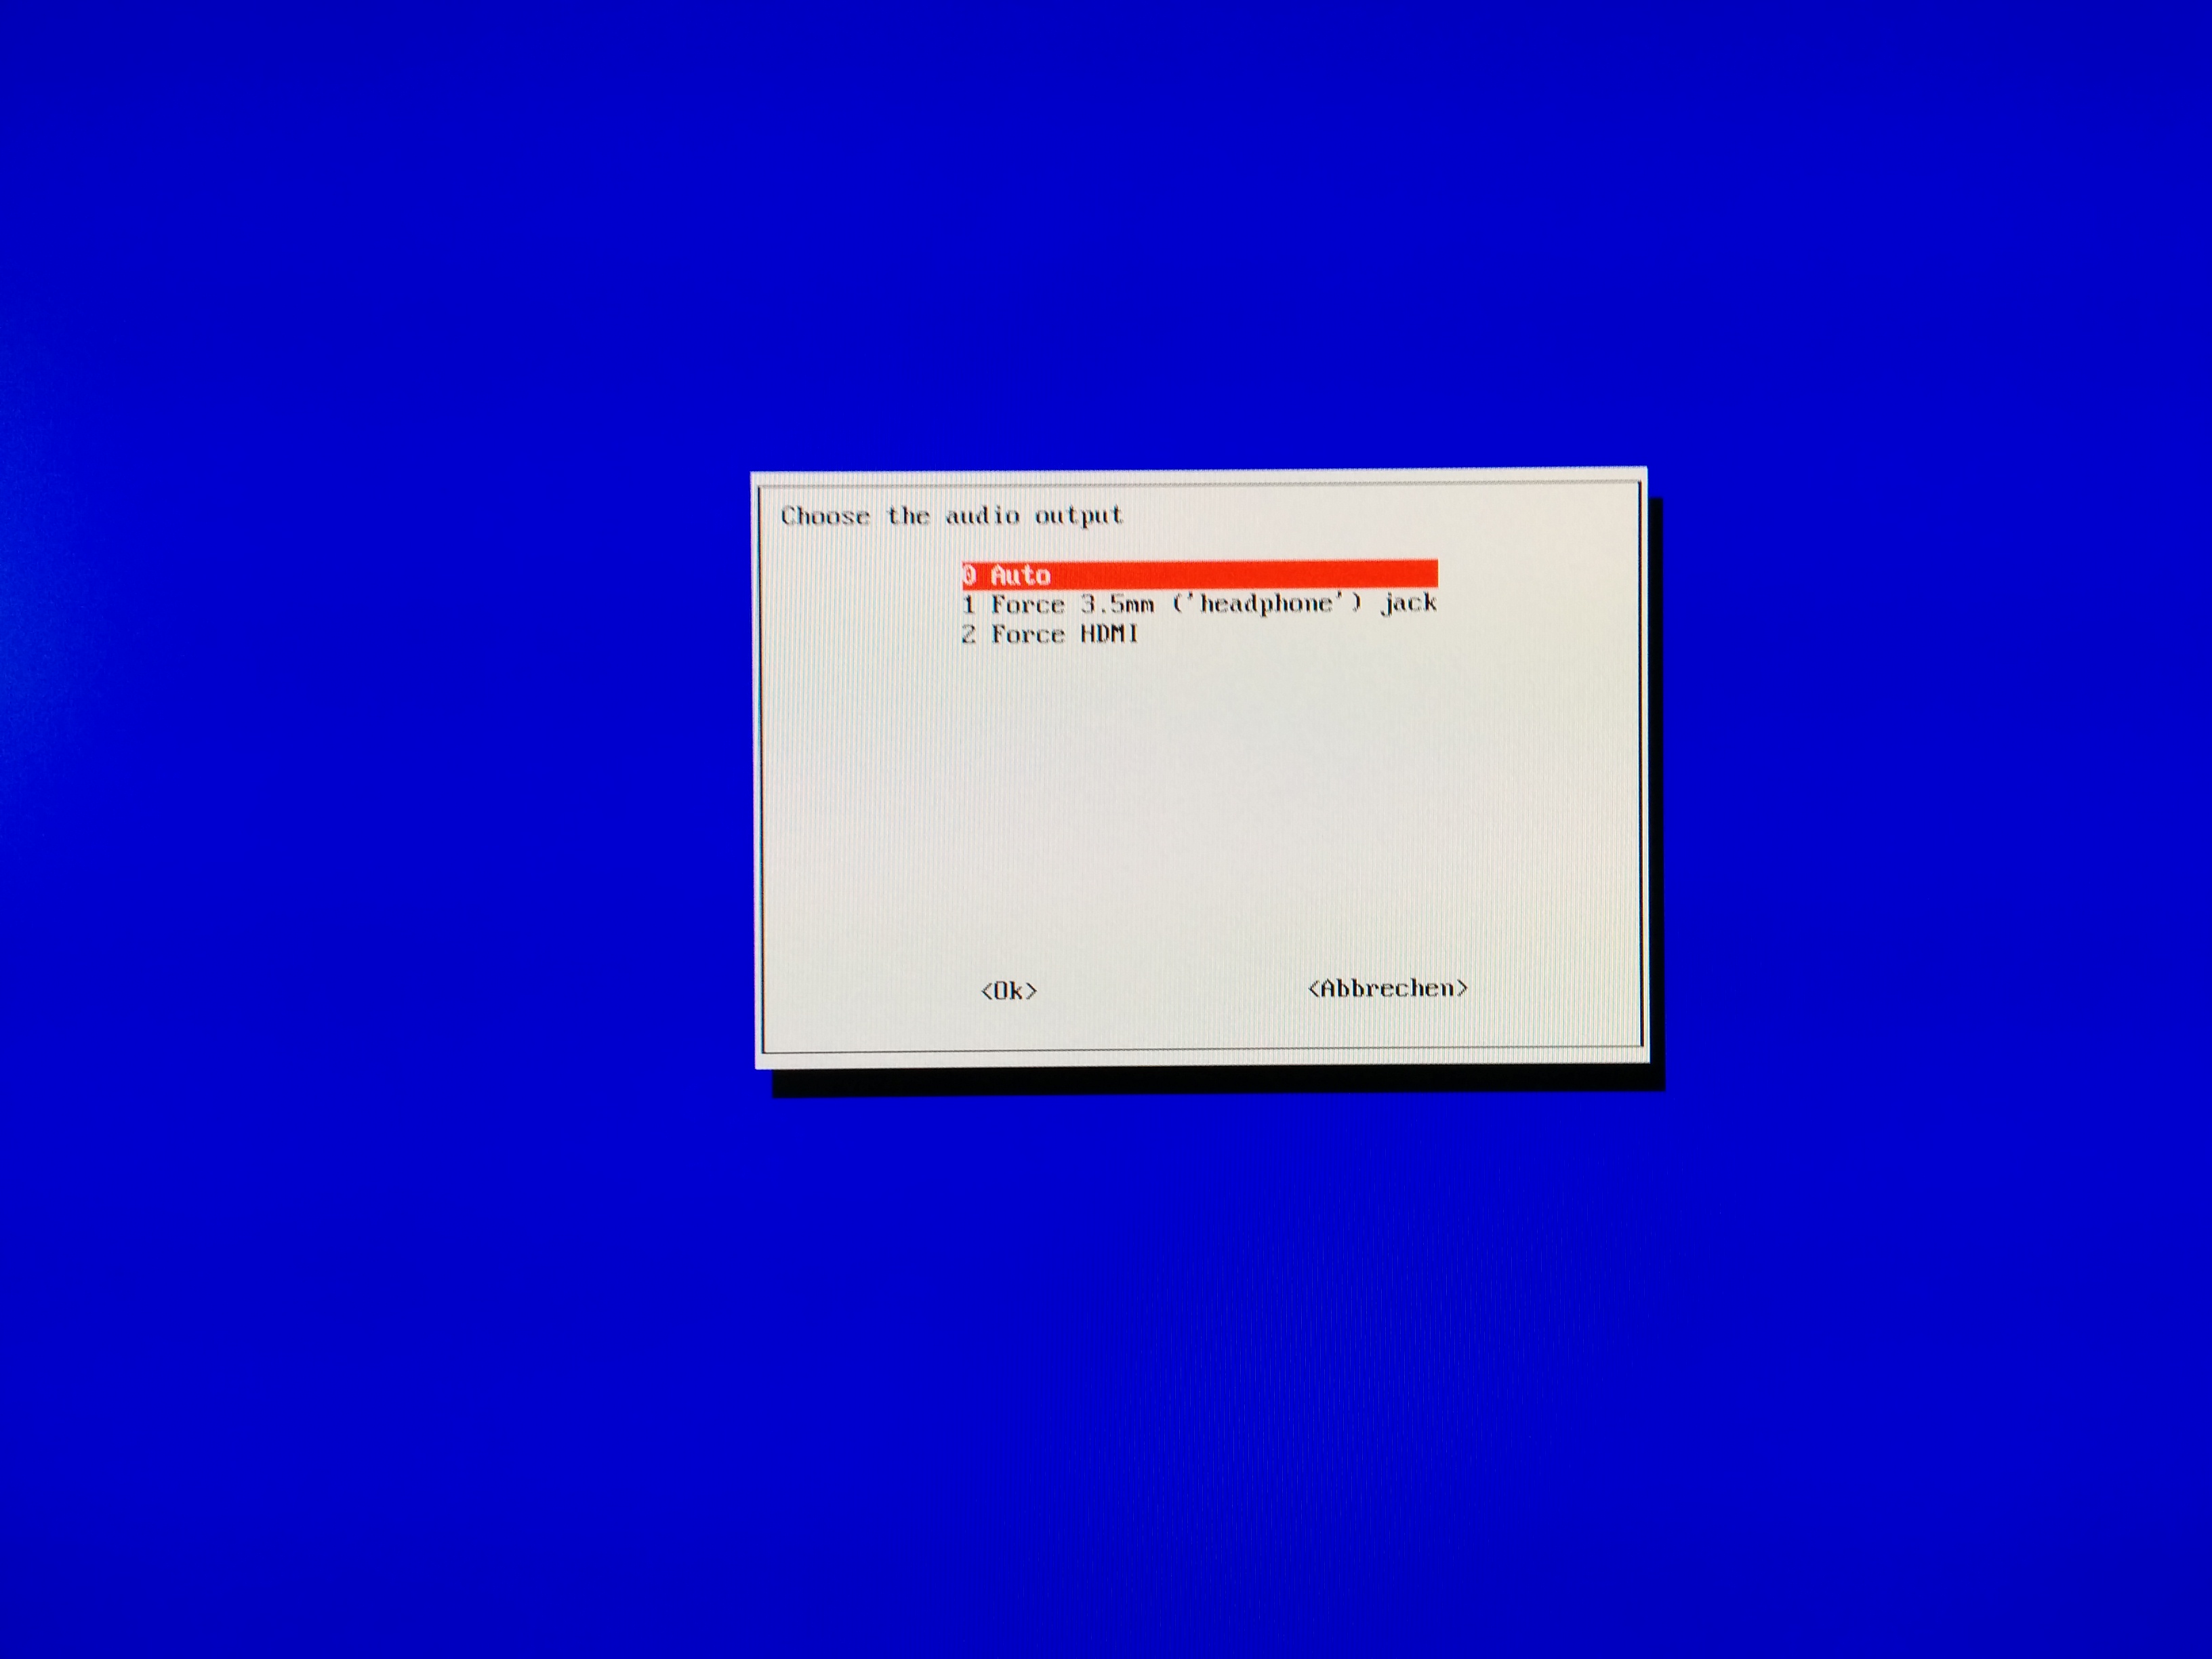
You can chose to force audio to output on either the HDMI output or the 3.5mm jack. Some devices could not give the right information to the Pi, here you can force the output. I leave it on Auto.
Check the hostname

Check the Pi hostname
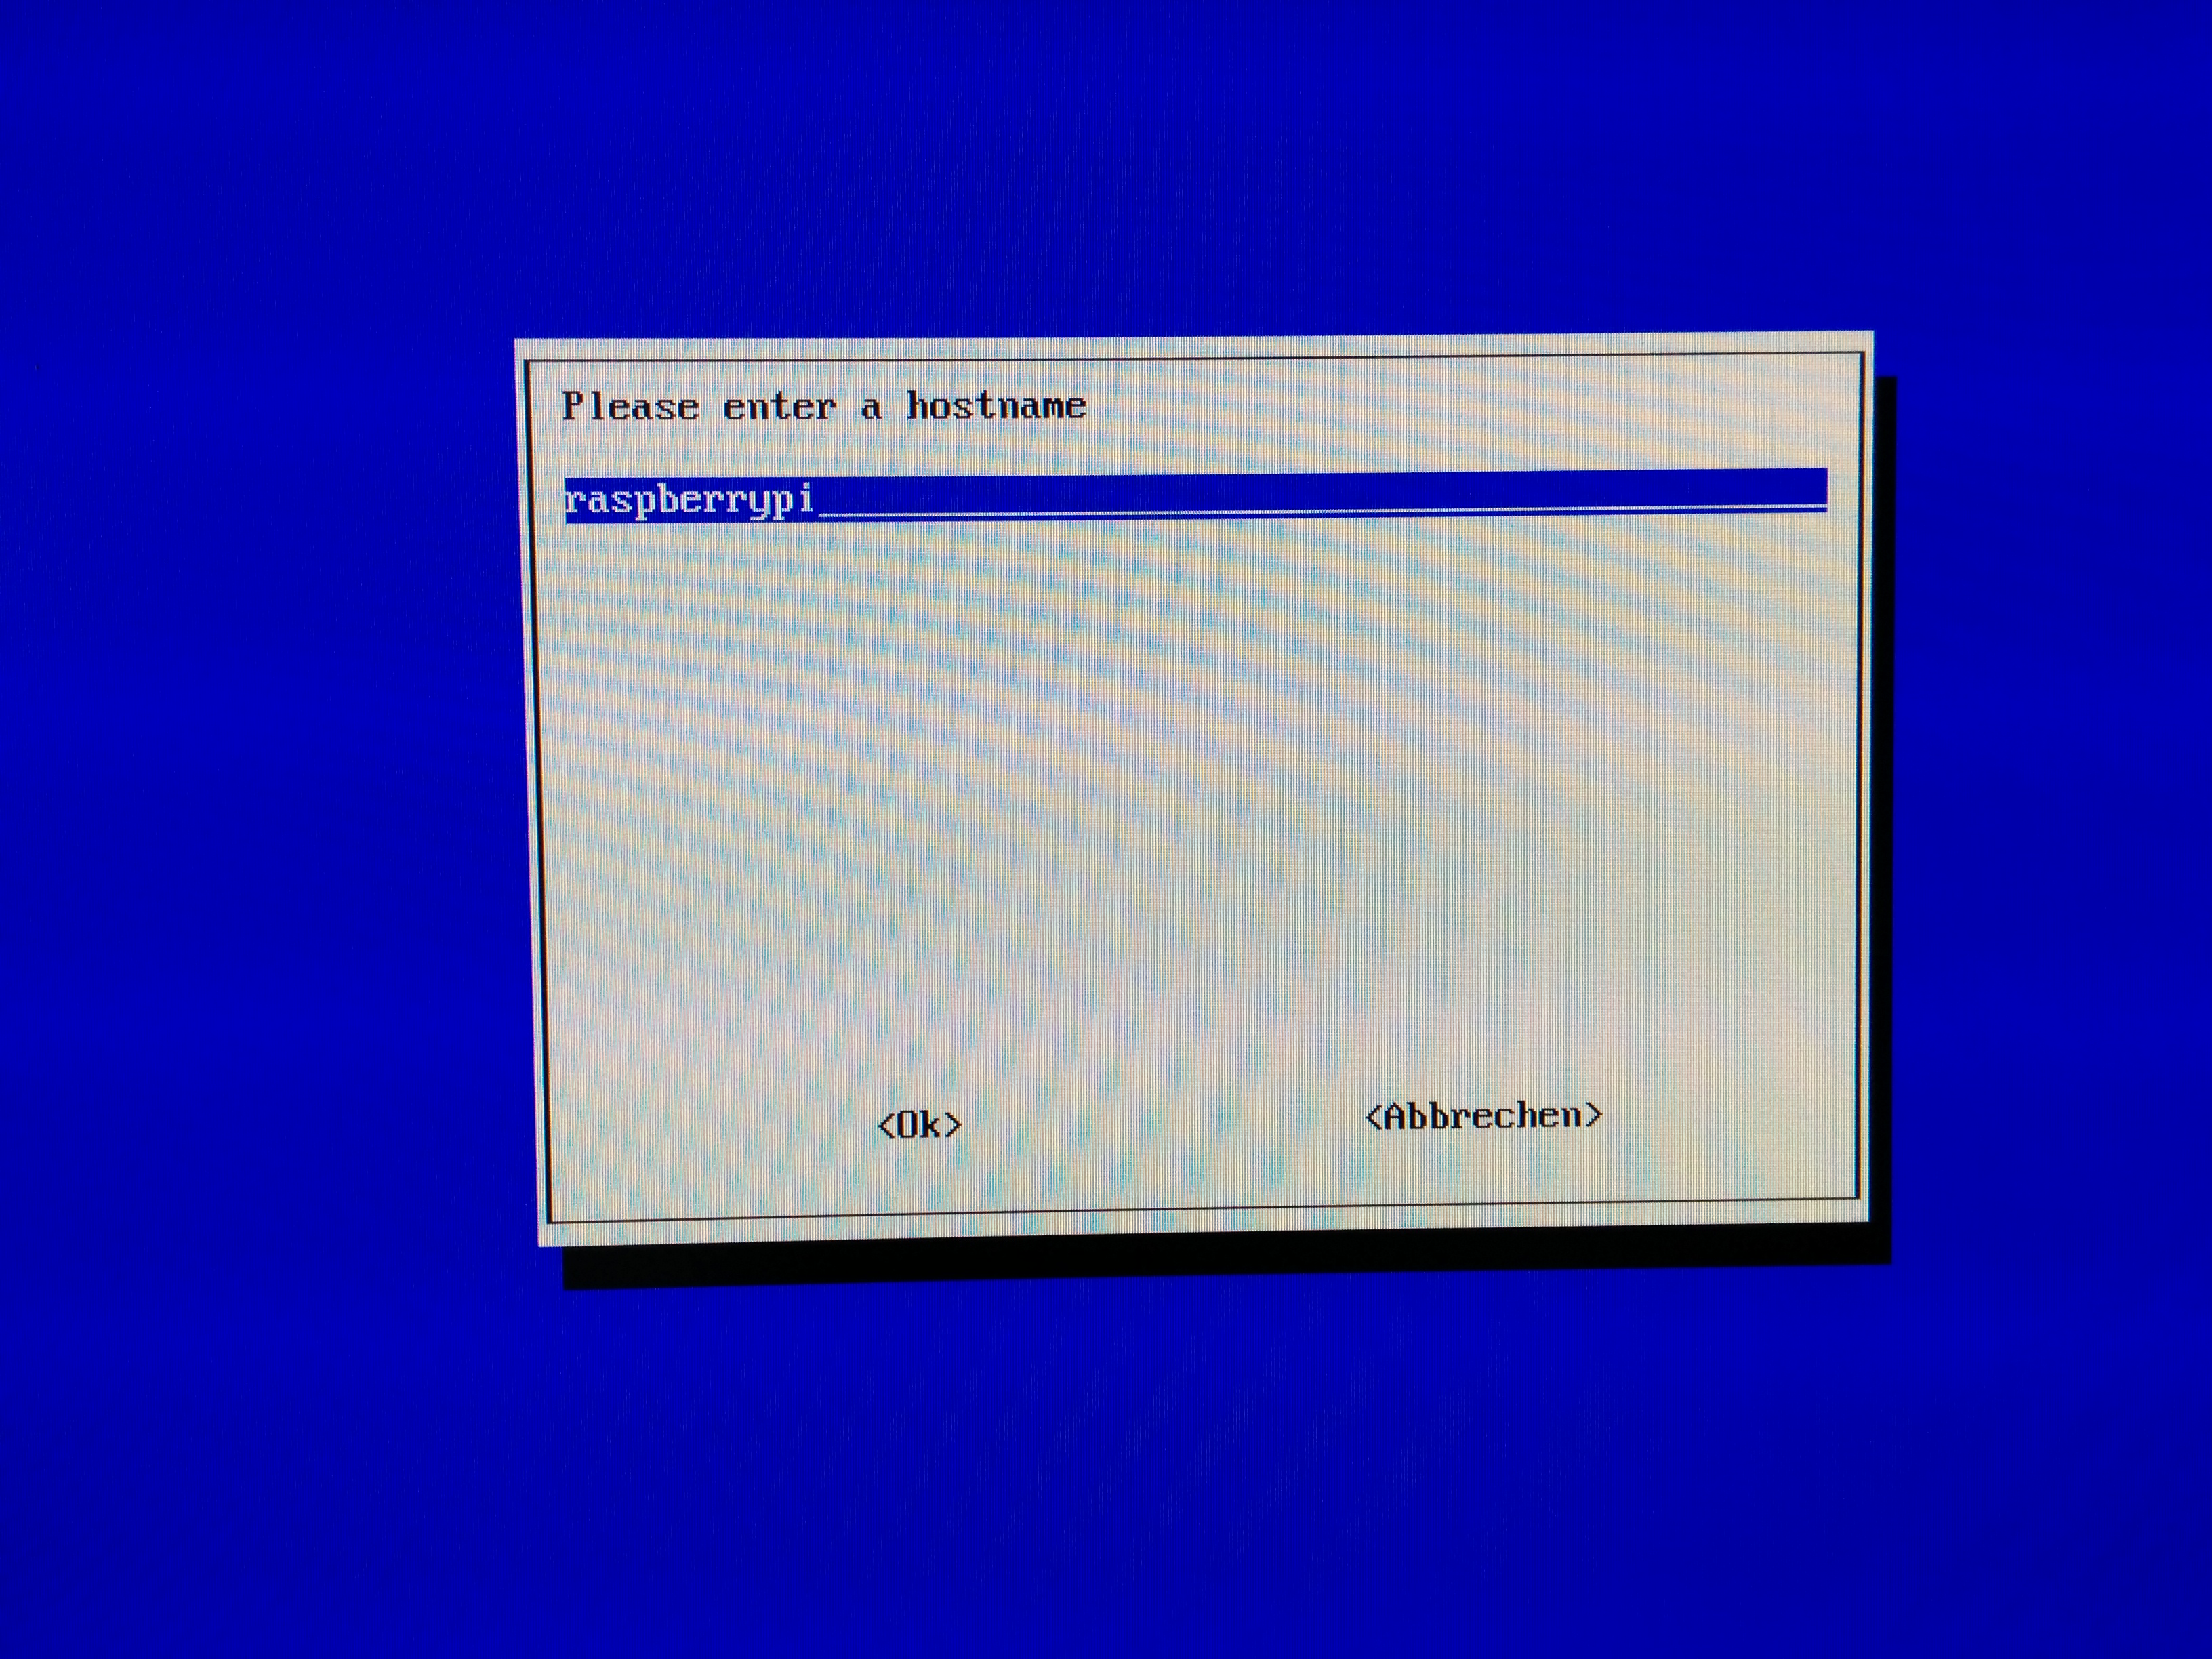
If you want to rename your Pi, you can do it here. I did just stick with the default name, “raspberry-pi”.
default hostname
Wifi setup
After the first boot, the Pi booted into the graphical desktop, as I chose it during setup. My wifi stick was instantly detected. Start the Wifi configuration by clicking the icon on the desktop, then click scan to detect networks. On my 11n stick, no 5Ghz networks are detected, only the “classic” 2.4Ghz one.
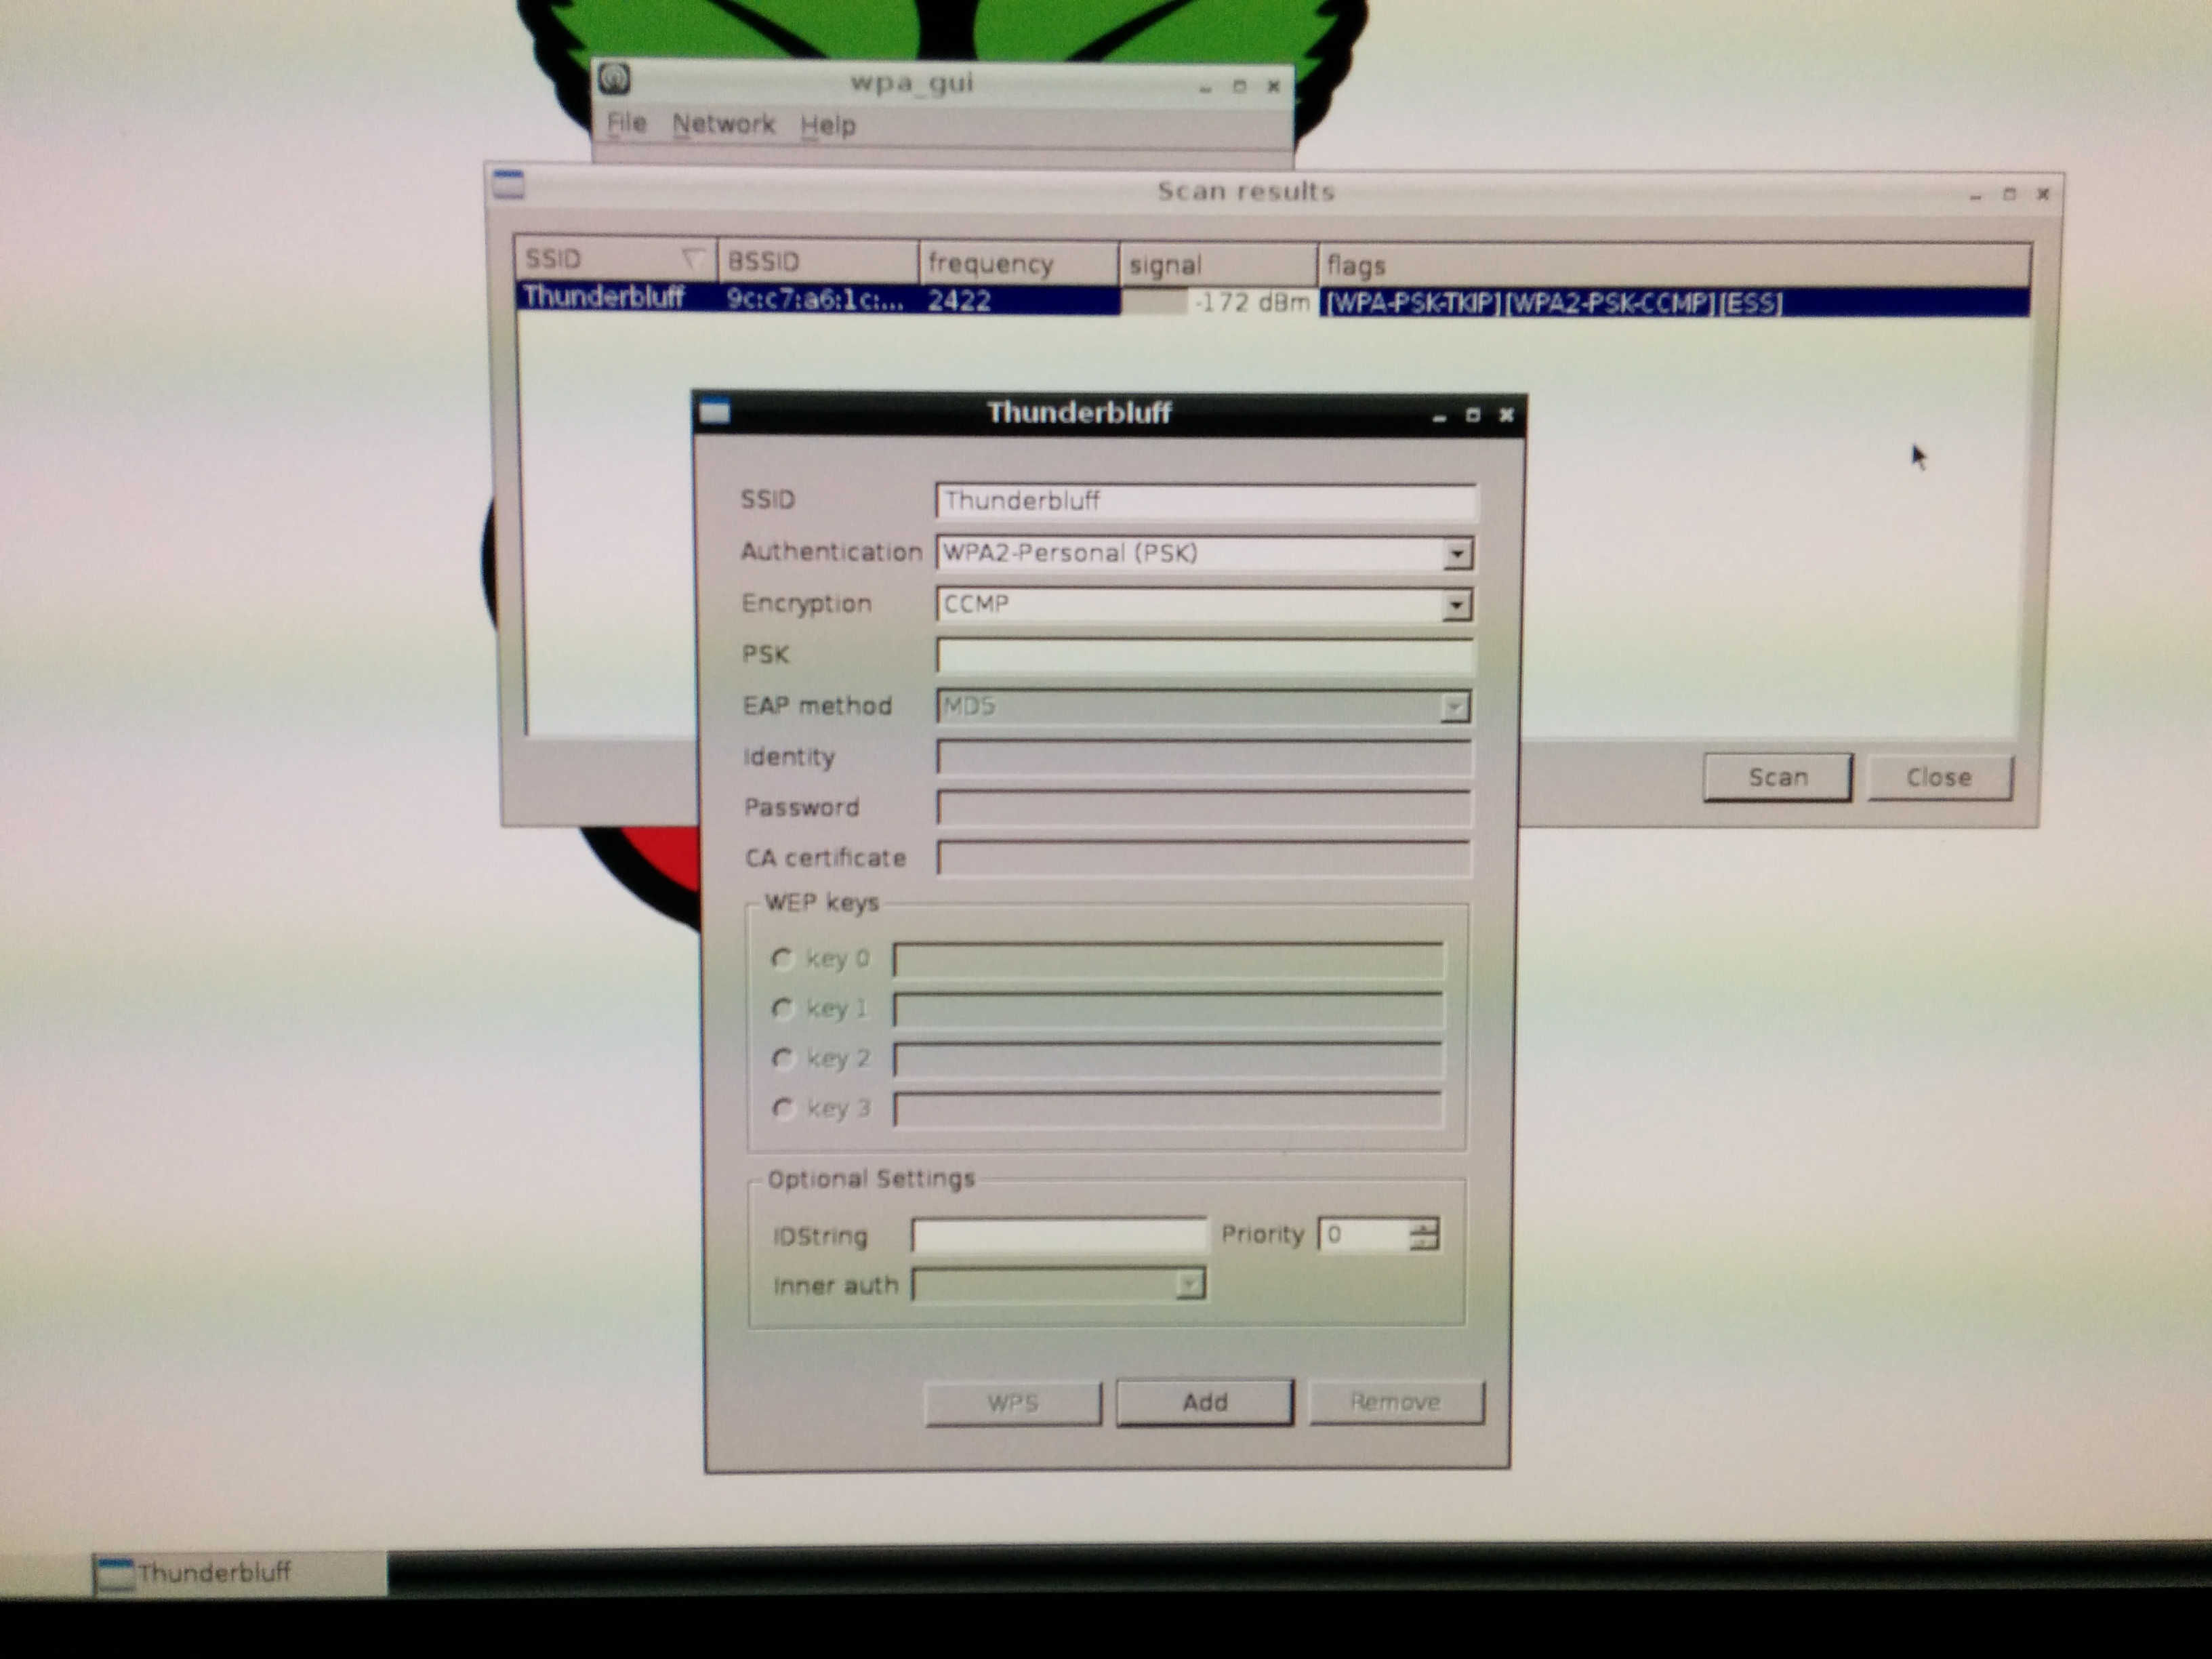
Wifi setup
Enter the password in the PSK field, hit “add”, connected 🙂
Finalizing setup moves
We should start by updating the system and packages, especially as some security failures may exist in packages such as openssl
pi@raspberrypi ~ $ openssl version
pi@raspberrypi ~ $ OpenSSL 1.0.1e 11 Feb 2013
in my case, 66 upgrades were available and it took some time for them all to upgrade
As the standard memory size for the raspi desktop environment is 64MB, I increase it to 128MB for a smoother experience
pi@raspberrypi ~ $ sudo raspi-config
Choose split memory, set 128MB, reboot the fruit 🙂
To change system locales type, if you set incorrectly during setup:
pi@raspberrypi ~ $ sudo dpkg-reconfigure locales
restart the pi to make changes
after that, we are ready to use the system